Technology is deeply interwoven into our daily lives, and when it malfunctions, it can be incredibly frustrating. Instead of immediately rushing to a professional (and incurring potentially high costs), you can learn to troubleshoot many common tech issues yourself. This guide provides a practical starting point for diagnosing and resolving problems with your devices, saving you time and money.
DIY tech repair might seem daunting, but with a systematic approach and a bit of patience, you can master the basics. We'll walk you through the essential steps, from identifying the problem to implementing simple fixes. Remember to proceed with caution and always prioritize safety when working with electronics.
This guide covers common software and hardware problems you might encounter with computers, smartphones, and other everyday gadgets. Let's get started!
Step-by-Step Troubleshooting Guide
Step 1: Identify the Problem
The first step in any troubleshooting process is to clearly define the problem. What exactly is happening? When did it start? What were you doing when the problem occurred? The more specific you can be, the easier it will be to find a solution. Write down the symptoms – error messages, unusual sounds, or unexpected behavior – as these clues can be crucial for diagnosis. For example, instead of saying "My computer is slow," describe it as "My computer takes 5 minutes to boot up and applications freeze frequently."

Step 2: Restart the Device
This may seem like an obvious step, but it's often the most effective. Restarting your device clears temporary files, resets processes, and can resolve minor software glitches. A simple restart can fix a surprising number of issues. For computers, ensure you perform a proper shutdown through the operating system, rather than simply holding the power button. For smartphones, try a soft reset (turning it off and on) or a hard reset (which may involve pressing specific button combinations, check your phone's manual for instructions, and be warned that a hard reset can erase data).

Step 3: Check Connections
Many tech problems stem from loose or faulty connections. Ensure all cables are securely plugged into both the device and the power source. Visually inspect cables for damage, such as frayed wires or bent connectors. Try swapping out cables to rule out a faulty cable as the source of the problem. For wireless connections, verify that Wi-Fi is enabled and that you're connected to the correct network. Restart your router if necessary.

Step 4: Run Diagnostics
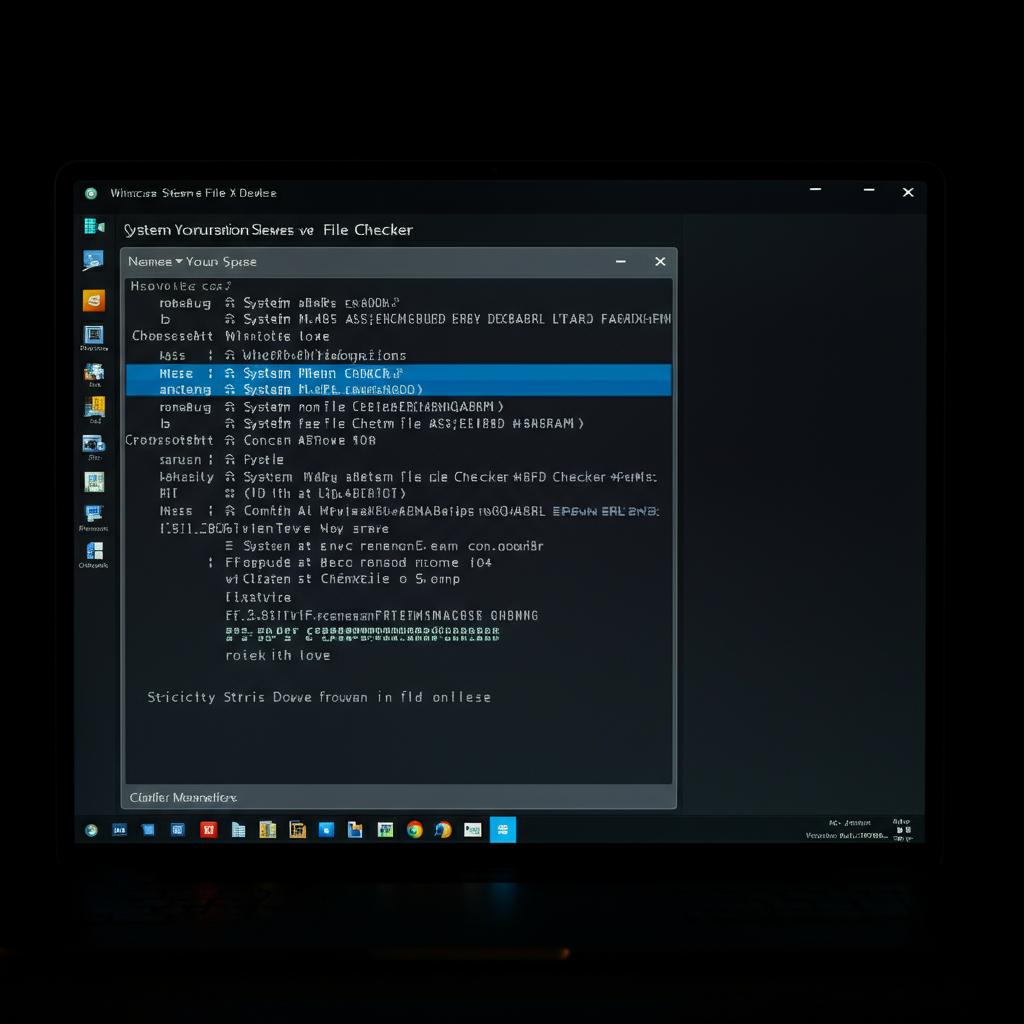
Most operating systems and devices include built-in diagnostic tools that can help identify hardware and software problems. For Windows, use the System File Checker (SFC) to scan for and repair corrupted system files. For macOS, use Disk Utility to check the health of your hard drive. Smartphones often have diagnostic menus accessible through specific key combinations or within the settings app. Refer to your device's manual or the manufacturer's website for instructions on how to run these diagnostics.
Step 5: Update Software and Drivers
Outdated software and drivers can cause compatibility issues and performance problems. Ensure that your operating system, applications, and device drivers are up to date. Enable automatic updates whenever possible to minimize the risk of running outdated software. Check the manufacturer's website for the latest drivers for your hardware components, such as graphics cards and printers. Outdated drivers are a very common source of problems.

Step 6: Check for Malware
Malware infections can severely impact your device's performance and stability. Run a full system scan with a reputable antivirus program to detect and remove any malicious software. Keep your antivirus software up to date with the latest virus definitions. Be cautious about clicking on suspicious links or downloading files from untrusted sources. Consider using a secondary malware scanner for an extra layer of protection.

Step 7: Search for Solutions Online
If you've tried the above steps and are still experiencing problems, try searching for solutions online. Use specific keywords describing your problem, including the device model and any error messages you've encountered. Check reputable tech forums and manufacturer's support websites for solutions and troubleshooting tips. Be wary of advice from unknown sources, and always back up your data before making any significant changes to your system.

Step 8: System Restore (Windows) or Time Machine (macOS)
If you've recently made changes to your system (e.g., installed new software or drivers) and are now experiencing problems, you can try restoring your system to a previous state. Windows has a "System Restore" feature, and macOS has "Time Machine," which creates backups of your system at regular intervals. Restoring to a previous state can undo changes that may be causing the problem. Be aware that this might remove recently installed programs or files.

Tools or Materials Required
- Screwdrivers (Phillips head and flathead)
- Antistatic wrist strap
- Compressed air
- Isopropyl alcohol and lint-free cloths
- Multimeter (optional, for advanced troubleshooting)
- USB drive for backups
Common Mistakes to Avoid
- Forcing connections or screws
- Ignoring warning signs (e.g., unusual noises or smells)
- Working on electronics without proper grounding
- Deleting or modifying system files without understanding the consequences
- Not backing up data before making significant changes
Safety Considerations
- Always unplug devices before working on them.
- Use an antistatic wrist strap to prevent electrostatic discharge (ESD) damage.
- Avoid working in wet or humid environments.
- Do not attempt to repair devices that are still under warranty.
- Be careful when handling batteries, as they can be dangerous if mishandled.
Pro Tips
- Keep a log of all troubleshooting steps you've taken.
- Take photos of cable connections before disconnecting them.
- Label cables to avoid confusion during reassembly.
- Use a bright light to inspect components closely.
- Don't be afraid to ask for help from experienced users or professionals.
FAQ Section
- Q: My computer won't turn on at all. What should I do?
- A: First, check that the power cord is securely plugged into both the computer and the wall outlet. Then, try a different power outlet to rule out a faulty outlet. If that doesn't work, your power supply might be faulty and need replacing.
- Q: My smartphone's battery drains very quickly. What can I do to improve battery life?
- A: Reduce screen brightness, disable location services for apps that don't need them, close unused apps running in the background, and turn off Wi-Fi and Bluetooth when not in use. You can also check your battery usage statistics to identify apps that are consuming the most power.
- Q: My printer isn't printing. What should I check?
- A: Make sure the printer is turned on and connected to your computer. Check that there is paper in the tray and that the ink cartridges are not empty. Run the printer's built-in troubleshooting tool, and check for driver updates.
Conclusion
Troubleshooting your own tech can be a rewarding and cost-effective experience. By following these steps and practicing patience, you can resolve many common tech issues yourself. Remember to always prioritize safety and back up your data before making any significant changes. With a little knowledge and effort, you can become your own tech support expert!