A cluttered garden can quickly transform a serene outdoor space into a source of stress. Over time, gardening tools accumulate, pots multiply, and miscellaneous items seem to magically appear, creating an unorganized and overwhelming environment. But fear not! Regaining control of your outdoor space is achievable with a systematic approach and a touch of creativity.
This guide is designed for beginners, offering practical steps and expert tips to help you transform your cluttered garden into an organized oasis. We'll cover everything from initial assessment and decluttering to implementing effective storage solutions and establishing sustainable habits to maintain order.
Get ready to roll up your sleeves and embark on a journey to a more organized and enjoyable garden! Remember, a well-organized garden is not just aesthetically pleasing; it also enhances productivity and makes gardening a more relaxing and fulfilling experience.
Step 1: Assess and Declutter
Conduct a Thorough Garden Inventory
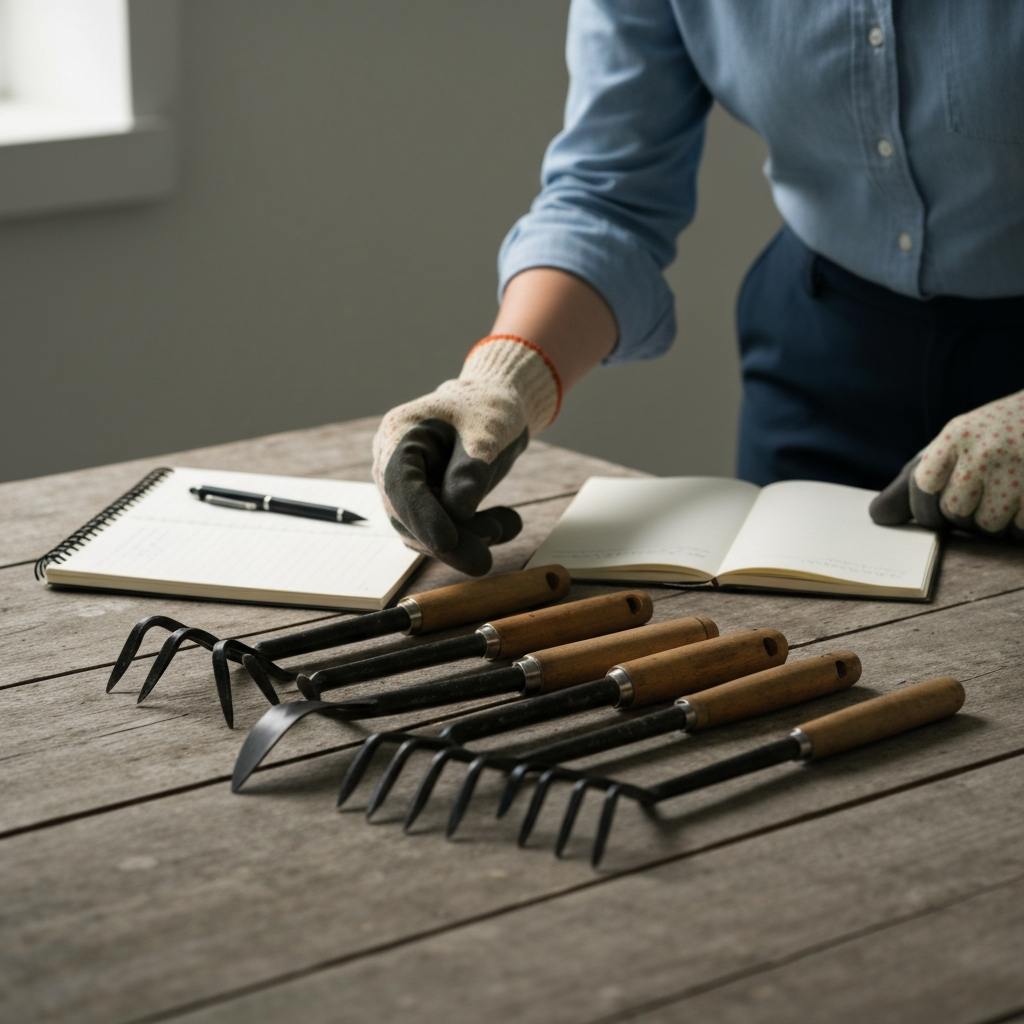
The first step to conquering garden clutter is to take stock of what you have. Walk through your garden and make a comprehensive inventory of all items present. This includes tools, pots, gardening supplies, furniture, and any miscellaneous objects. Be honest about what you use regularly, what you rarely use, and what you no longer need. Consider the condition of each item; is it still functional, or is it broken and taking up valuable space?
Step 2: Categorize and Prioritize
Sort Items into Distinct Categories
Once you have your inventory, categorize the items. Obvious categories include "Tools," "Pots," "Gardening Supplies," "Furniture," and "Decor." Within each category, further sub-categorize by frequency of use (e.g., "Daily Use Tools," "Seasonal Use Tools"). This will help you determine what needs to be readily accessible and what can be stored away. Prioritize items you use frequently and those that are essential for your gardening activities. Items that are broken, duplicated, or no longer used should be considered for disposal, donation, or repurposing.
Step 3: Implement Effective Storage Solutions
Maximize Vertical Space
In many gardens, space is a premium. To maximize your available space, consider implementing vertical storage solutions. Install shelving units along fences or walls to store pots, gardening supplies, and tools. Use hanging organizers for small hand tools. A trellis or repurposed pallet can serve as a vertical garden for climbing plants or herbs, freeing up ground space. Consider the weight-bearing capacity of any structures you build or install to ensure they can safely hold the intended items.
Step 4: Organize Tools for Easy Access
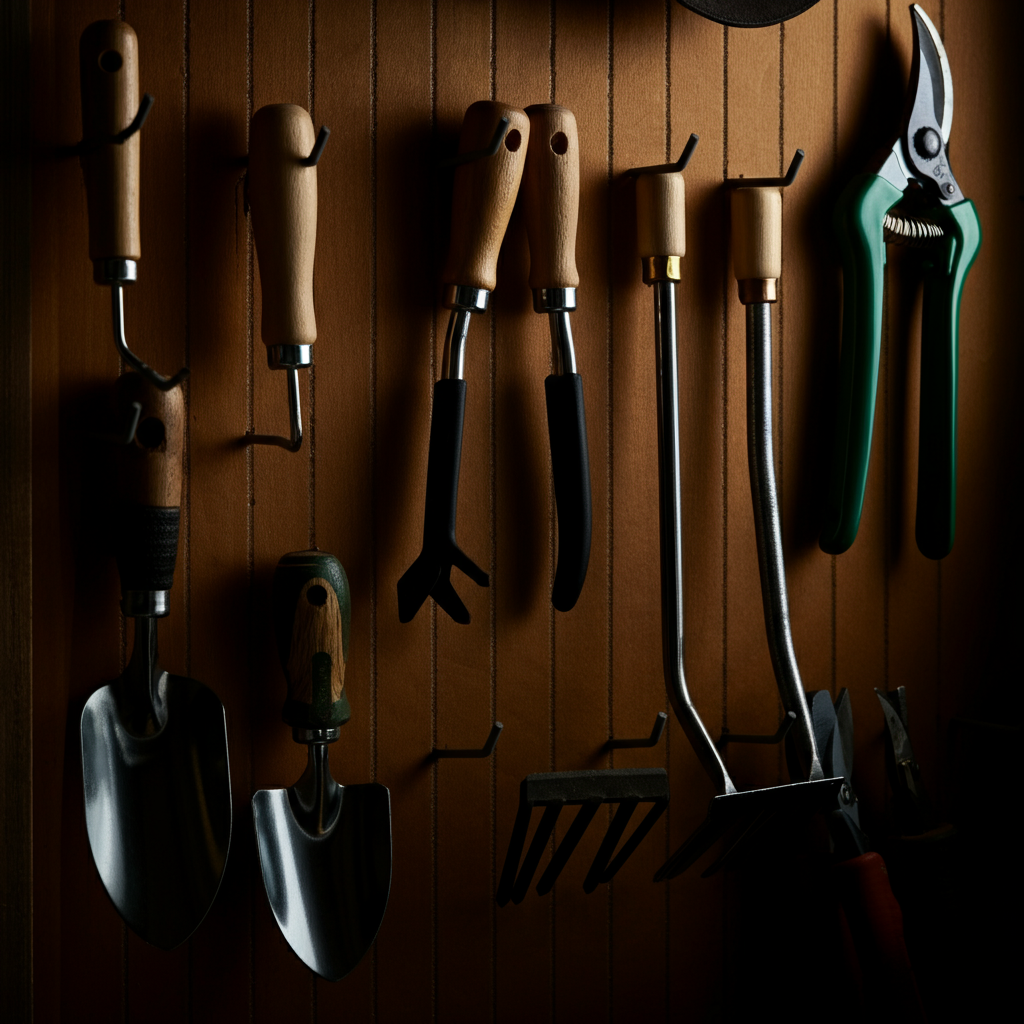
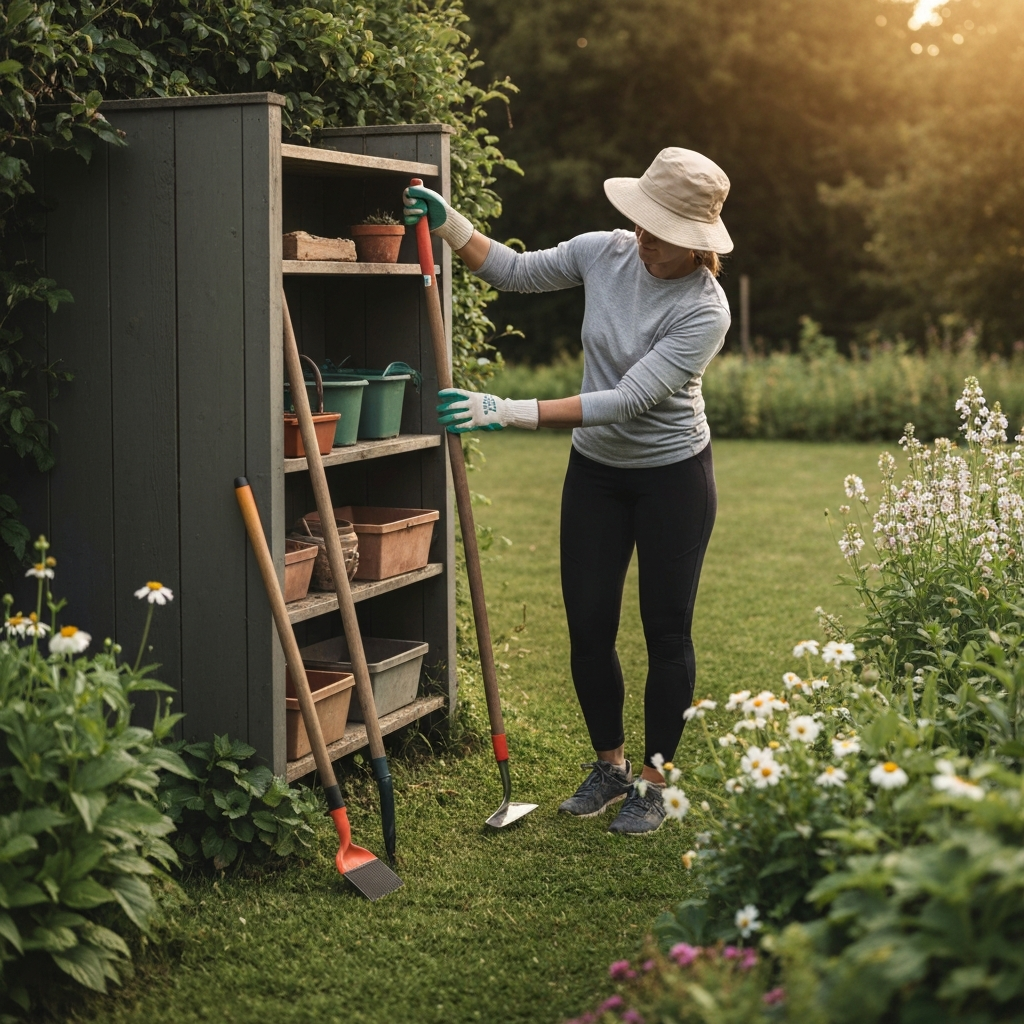
Create a Dedicated Tool Storage Area
A well-organized tool storage area is crucial for efficient gardening. Use a pegboard to hang hand tools, ensuring they are visible and easily accessible. Consider a rolling tool chest for larger tools or those that you frequently move around the garden. Label each storage location to make it easy to return tools to their designated spot after use. For long-handled tools like rakes and shovels, use a wall-mounted rack or create a designated corner in the shed.
Step 5: Optimize Pot and Container Storage
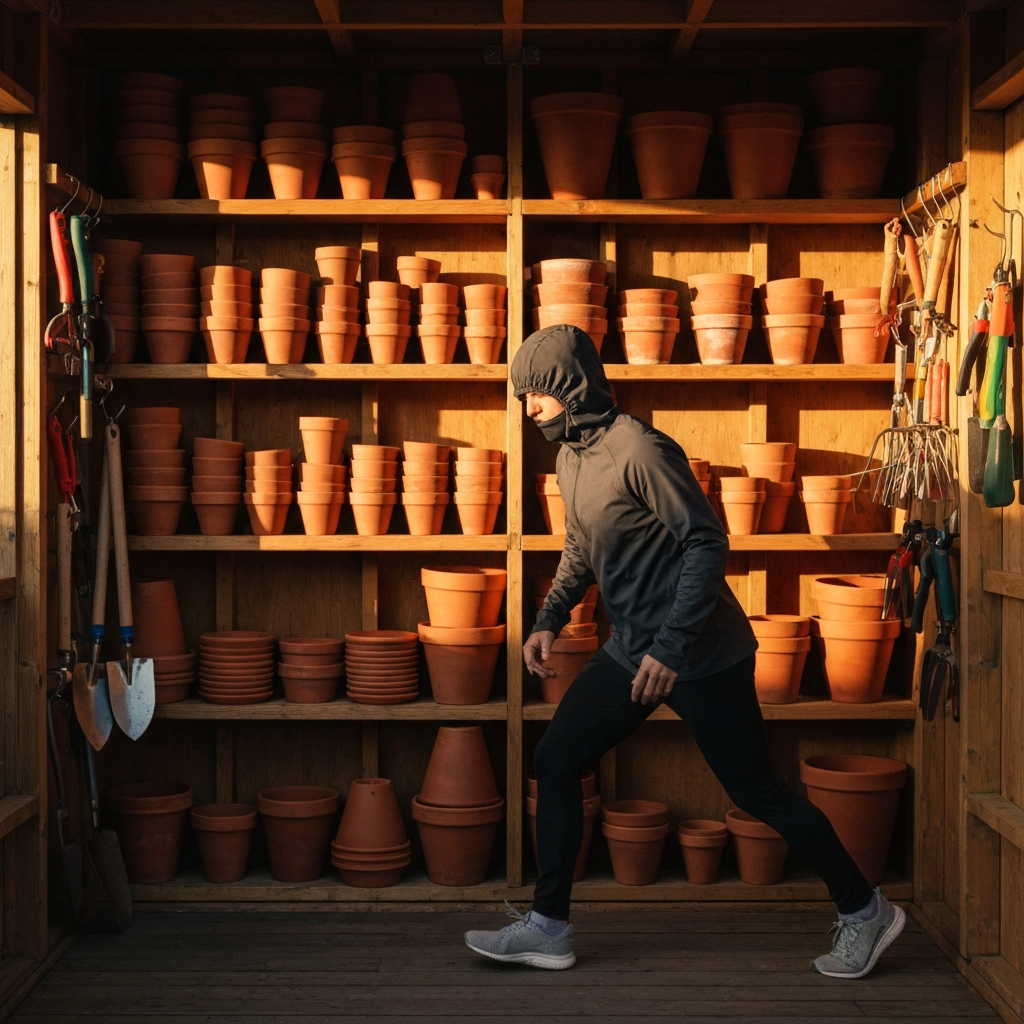
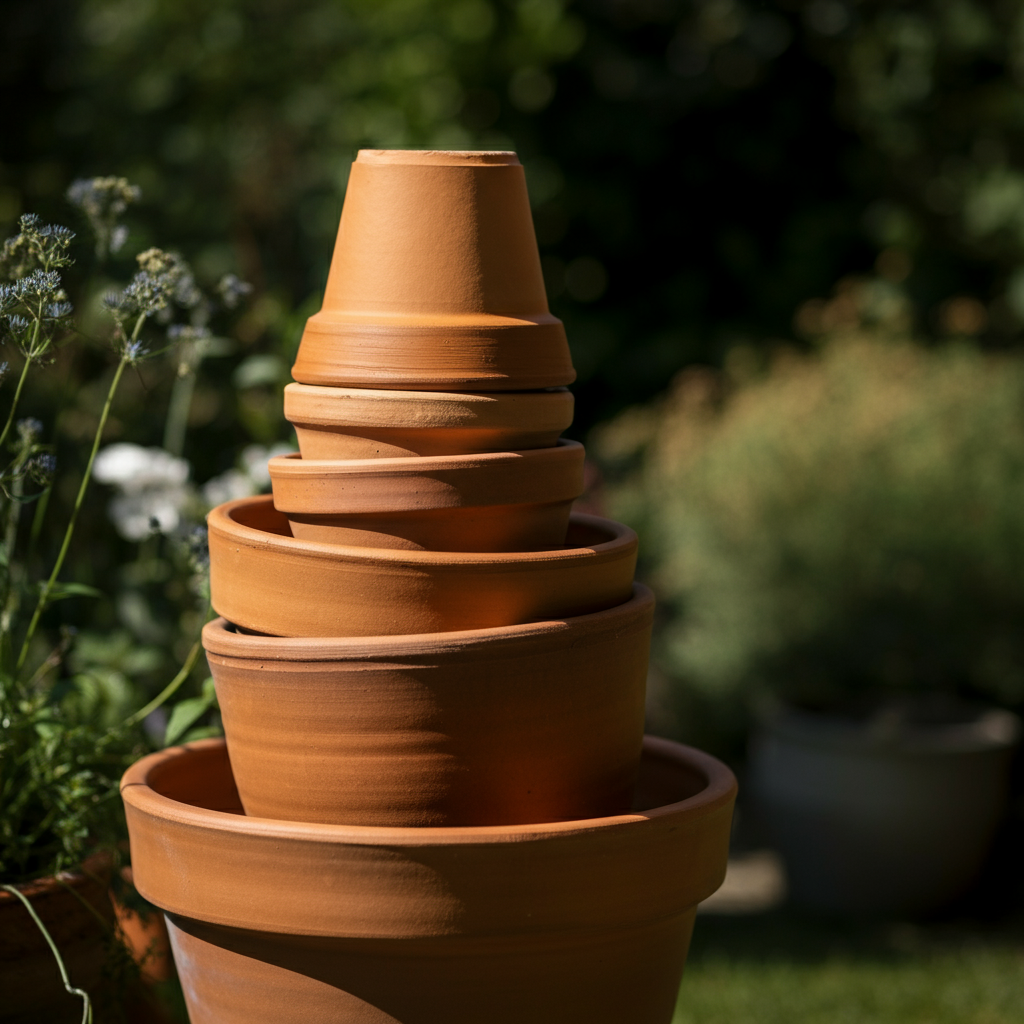
Stack and Nest Pots Efficiently
Pots can quickly accumulate and create clutter. Nest smaller pots inside larger ones to save space. Stack pots of similar sizes and materials. Consider using a pot rack or shelving unit specifically designed for pot storage. Discard broken or unused pots. If you have a large number of plastic pots, consider recycling them or donating them to a local gardening club or community garden. Clean and dry pots before storing them to prevent mold growth.
Step 6: Manage Gardening Supplies Strategically
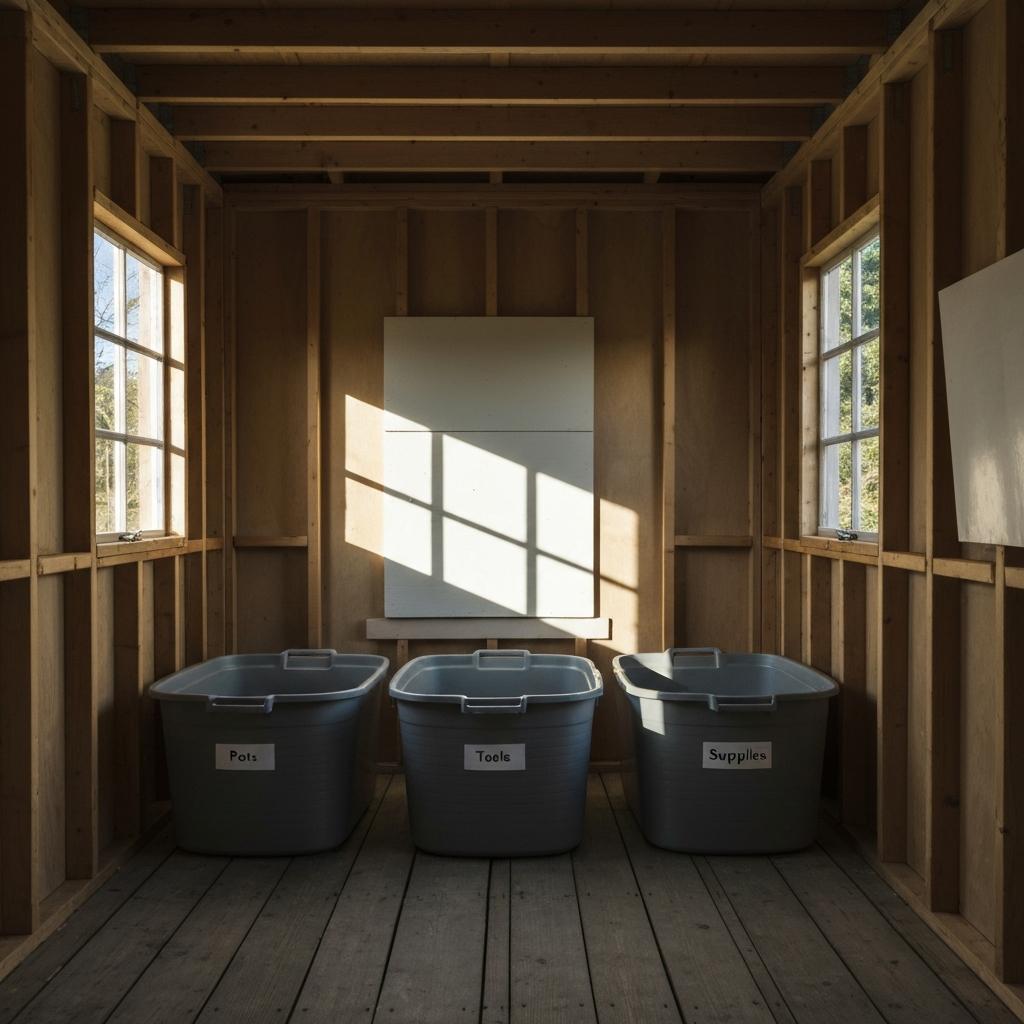
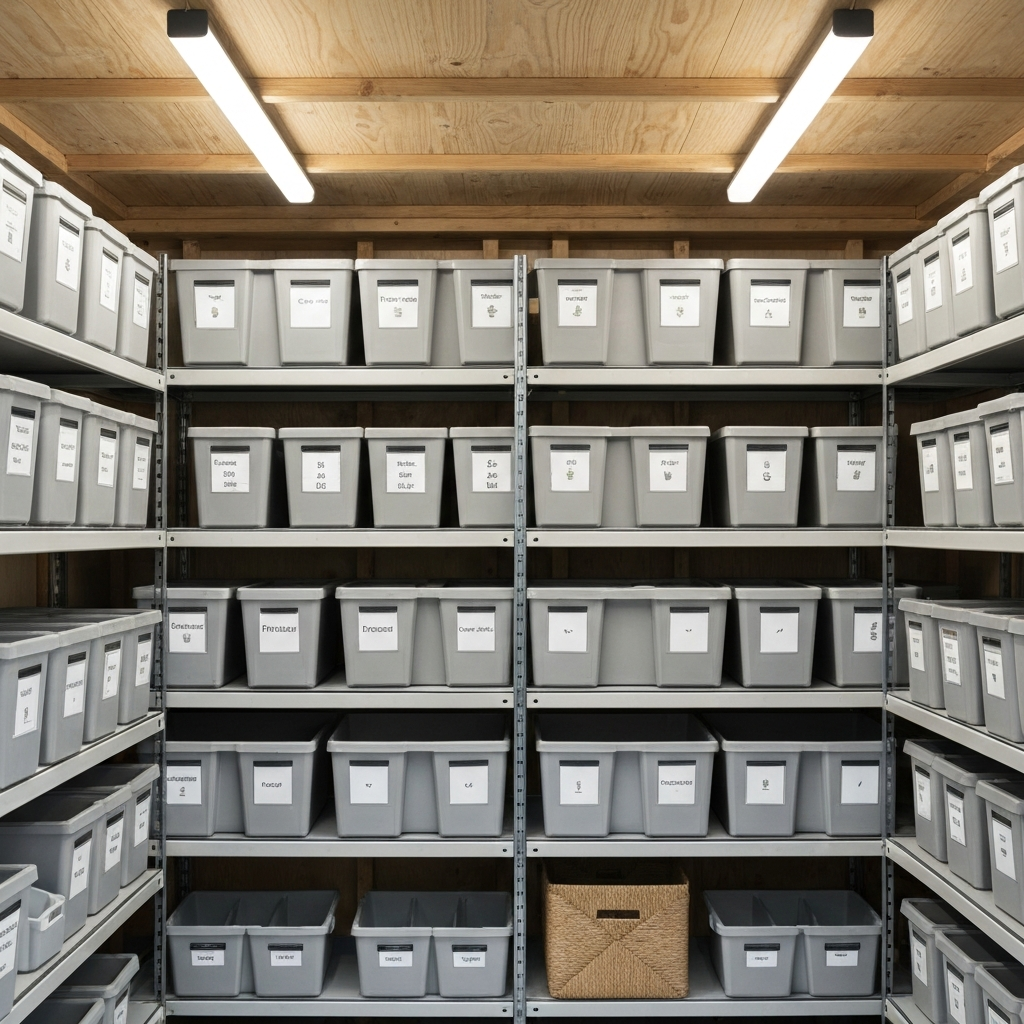
Designate Storage Bins for Supplies
Gardening supplies, such as fertilizers, pesticides, and soil amendments, should be stored in a cool, dry place, away from direct sunlight and moisture. Use airtight containers to prevent spills and leaks. Label each container clearly with its contents and any relevant safety information. Store chemicals separately from other supplies. Consider using a dedicated storage bin or cabinet for gardening supplies, ensuring it is out of reach of children and pets.
Step 7: Implement a Regular Maintenance Routine
Schedule Regular Garden Clean-Ups
Maintaining an organized garden is an ongoing process. Schedule regular clean-up sessions to prevent clutter from accumulating. Dedicate a few minutes each week to tidy up your garden, putting tools away, weeding, and removing debris. A quick daily sweep can prevent minor messes from escalating into major clutter problems. At the end of each gardening season, take the time to thoroughly clean and organize your garden, preparing it for the off-season.
Tools or Materials Required
- Shelving units
- Pegboard and hooks
- Storage bins and containers
- Pot rack or shelving unit
- Labels and markers
- Cleaning supplies
- Gloves
Common Mistakes to Avoid
- Ignoring vertical space
- Not labeling storage containers
- Failing to declutter regularly
- Storing tools improperly
- Overlooking safety considerations
Safety Considerations
- Always wear gloves when handling gardening chemicals.
- Store chemicals out of reach of children and pets.
- Use sturdy shelving and storage solutions to prevent accidents.
- Be mindful of sharp tools and edges.
FAQ Section
Q: How often should I declutter my garden?
A: Aim for a thorough declutter at least twice a year – once in the spring before planting season and once in the fall to prepare for winter. Regular weekly maintenance will also help prevent clutter from accumulating.
Q: What should I do with broken gardening tools?
A: Depending on the material, some broken tools can be repaired. If repair is not possible, check with your local recycling center for options. Some materials can be recycled.
Conclusion
Conquering garden clutter requires a strategic approach, from assessing your belongings to implementing effective storage solutions and establishing regular maintenance habits. By following the steps outlined in this guide, you can transform your cluttered garden into an organized and enjoyable outdoor space. Remember, consistency is key! By dedicating a little time each week to maintaining order, you can ensure that your garden remains a source of relaxation and inspiration for years to come. Happy gardening!