Maintaining a clean and sanitary hospital waiting room is critical for patient safety and creating a welcoming environment. Waiting rooms, by nature, are high-traffic areas where germs and bacteria can easily spread. A consistently clean waiting room reduces the risk of infection, minimizes unpleasant odors, and contributes to a positive patient experience.
This guide provides a detailed, step-by-step approach to cleaning a hospital waiting room effectively. We'll cover everything from gathering the necessary supplies to implementing finishing touches that enhance the overall cleanliness and ambiance of the space. Following these guidelines will help ensure a safe and comfortable environment for patients, visitors, and staff. Remember that adherence to hospital protocols and proper use of personal protective equipment (PPE) are paramount throughout the cleaning process.
Regular and thorough cleaning not only prevents the spread of illness but also demonstrates a commitment to patient care and well-being. A clean waiting room can significantly reduce patient anxiety and contribute to a sense of confidence in the hospital's overall care standards. This guide provides practical advice, helpful tips, and important safety considerations to help you create a consistently clean and welcoming space.
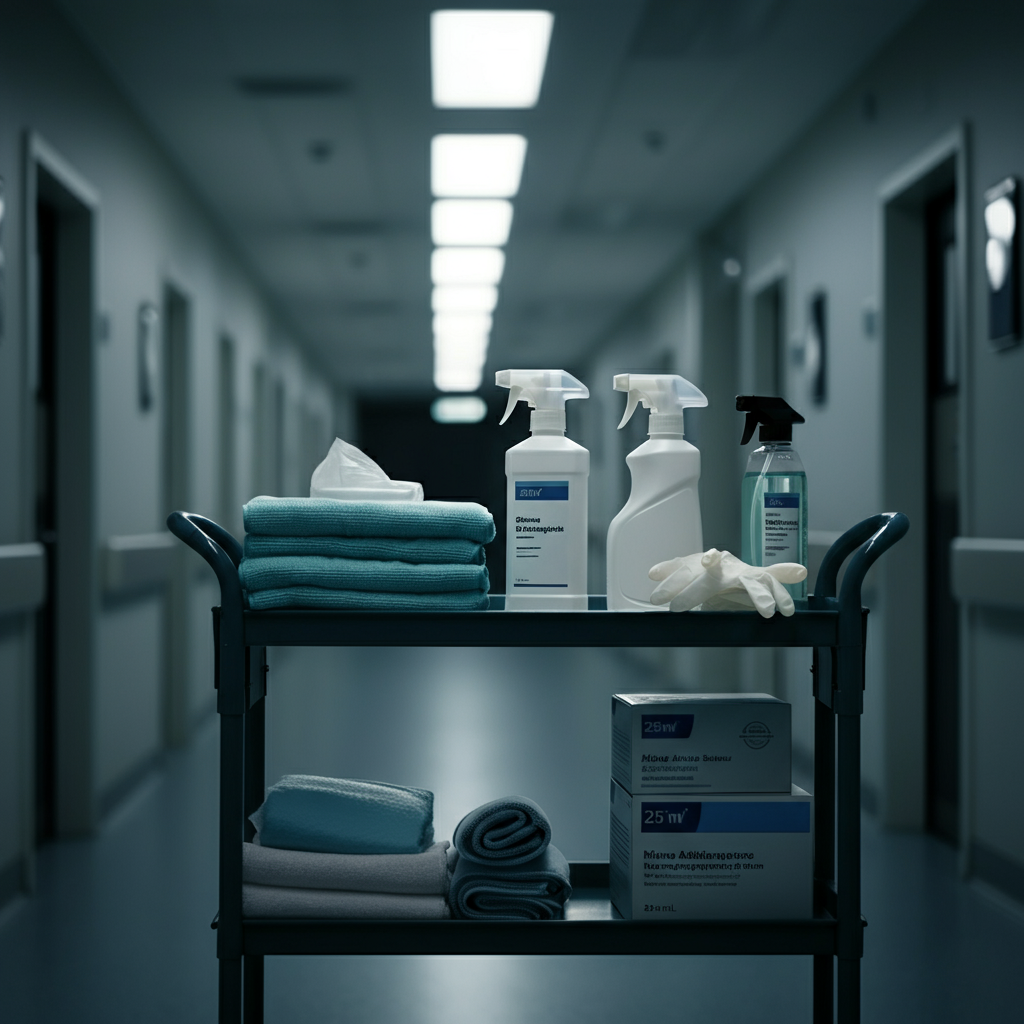
Step 1: Prepare and Gather Your Supplies
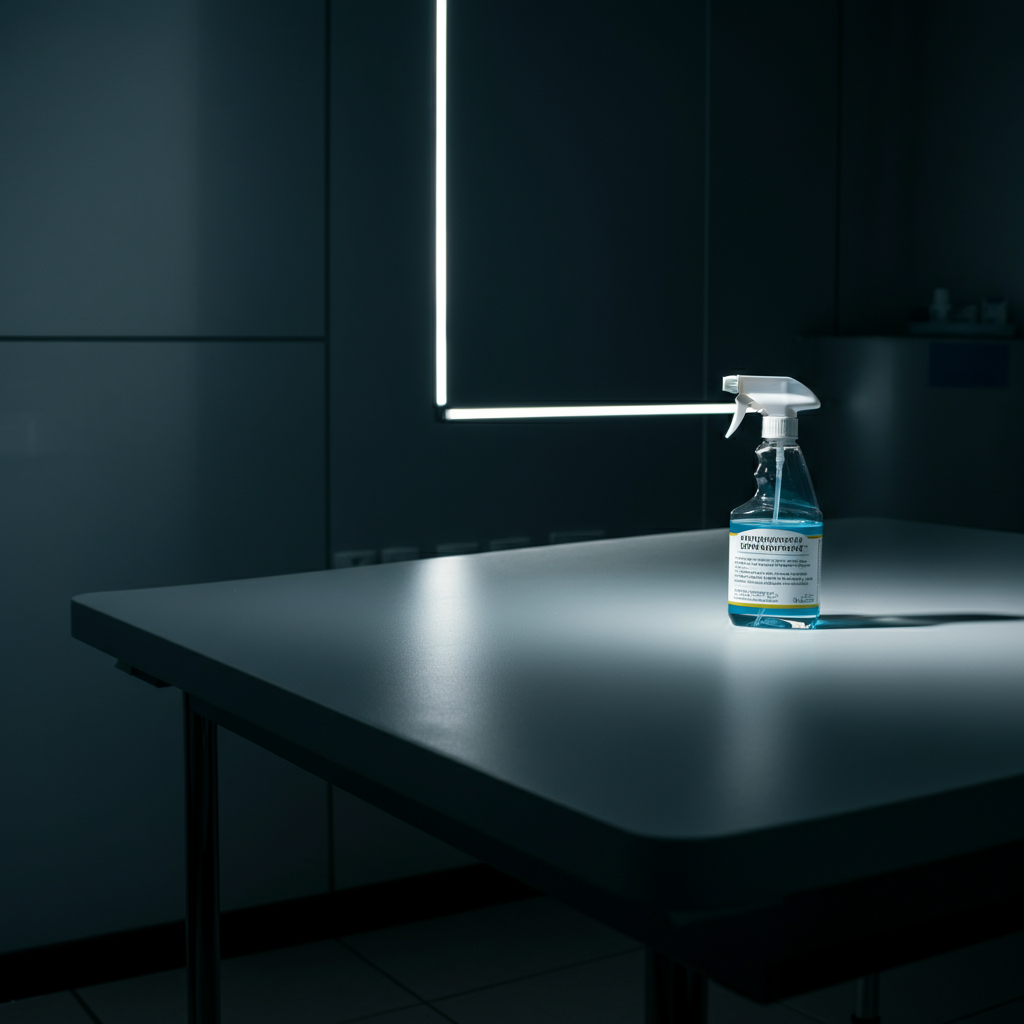
Before you begin, it's essential to gather all the necessary cleaning supplies. A well-stocked cleaning cart will save time and ensure you have everything you need at your fingertips. Essential supplies include hospital-grade disinfectant spray and wipes, glass cleaner, microfiber cloths, heavy-duty trash bags, disposable gloves, a face mask, hand sanitizer, and any specialized cleaning solutions recommended by your hospital's infection control team. Consider having a checklist to ensure nothing is missed.
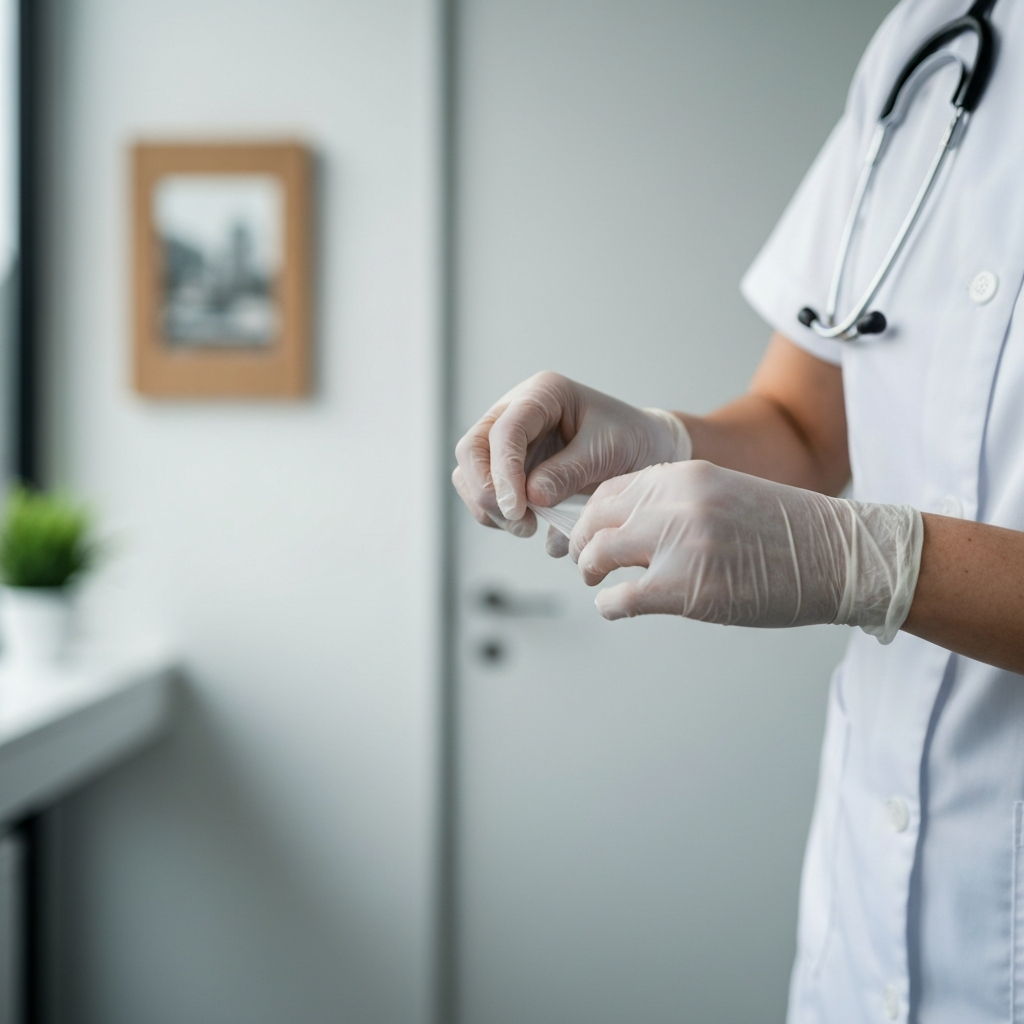
Step 2: Wear Appropriate Personal Protective Equipment (PPE)
Protecting yourself is paramount when cleaning a hospital environment. Always wear appropriate PPE to minimize the risk of exposure to germs, bacteria, and harsh cleaning chemicals. This includes disposable gloves, a face mask (preferably an N95 respirator), and, if necessary, a protective gown or apron. Ensure that the gloves fit properly and are free from tears or punctures. Replace gloves immediately if they become damaged or contaminated. Proper PPE is a non-negotiable aspect of hospital cleaning.
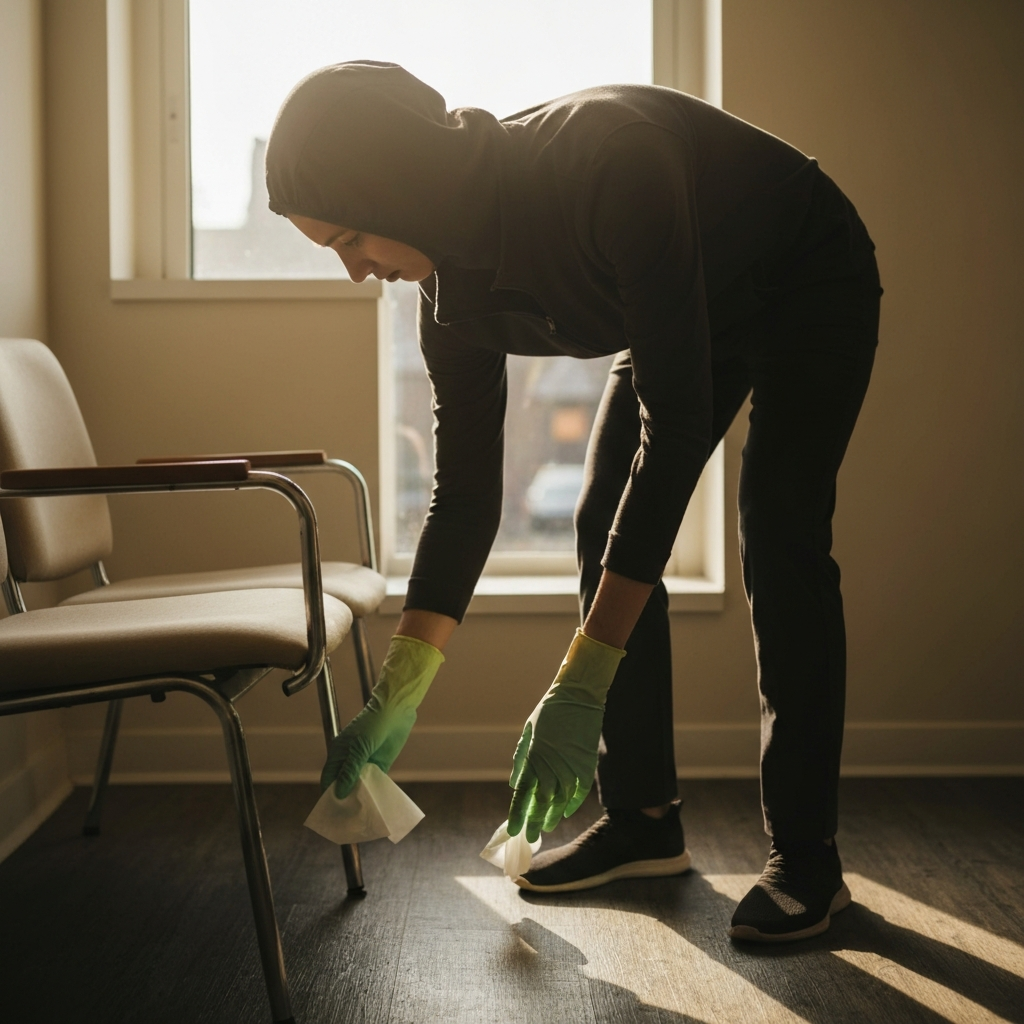
Step 3: Remove Visible Trash and Debris
Start by walking through the waiting room and collecting any visible trash or debris. This includes discarded tissues, wrappers, newspapers, magazines, and any other items left behind by patients or visitors. Use a trash bag to collect the waste, and be sure to check under chairs and tables for hidden items. Removing visible trash first creates a more sanitary environment and makes subsequent cleaning steps more effective. This also prevents the accidental spreading of germs during other cleaning tasks.
Step 4: Disinfect High-Touch Surfaces
High-touch surfaces are breeding grounds for germs and require thorough disinfection. These include chairs, armrests, tables, door handles, light switches, and any other surfaces that are frequently touched by patients and visitors. Use a hospital-grade disinfectant spray or wipes to thoroughly wet these surfaces, ensuring they remain wet for the contact time specified on the product label. Allow the disinfectant to air dry for the recommended dwell time to ensure effective germ-killing action. Wiping the surface down prematurely can render the disinfectant ineffective.
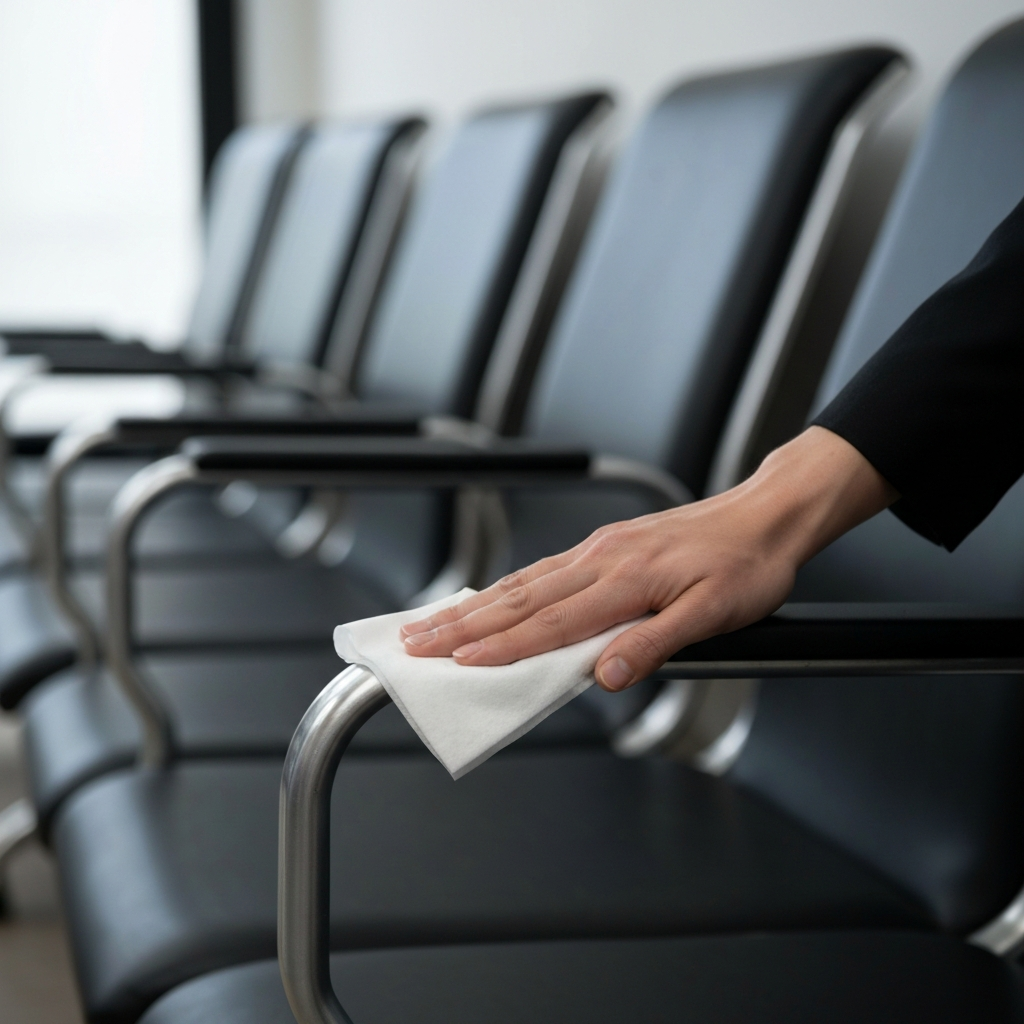
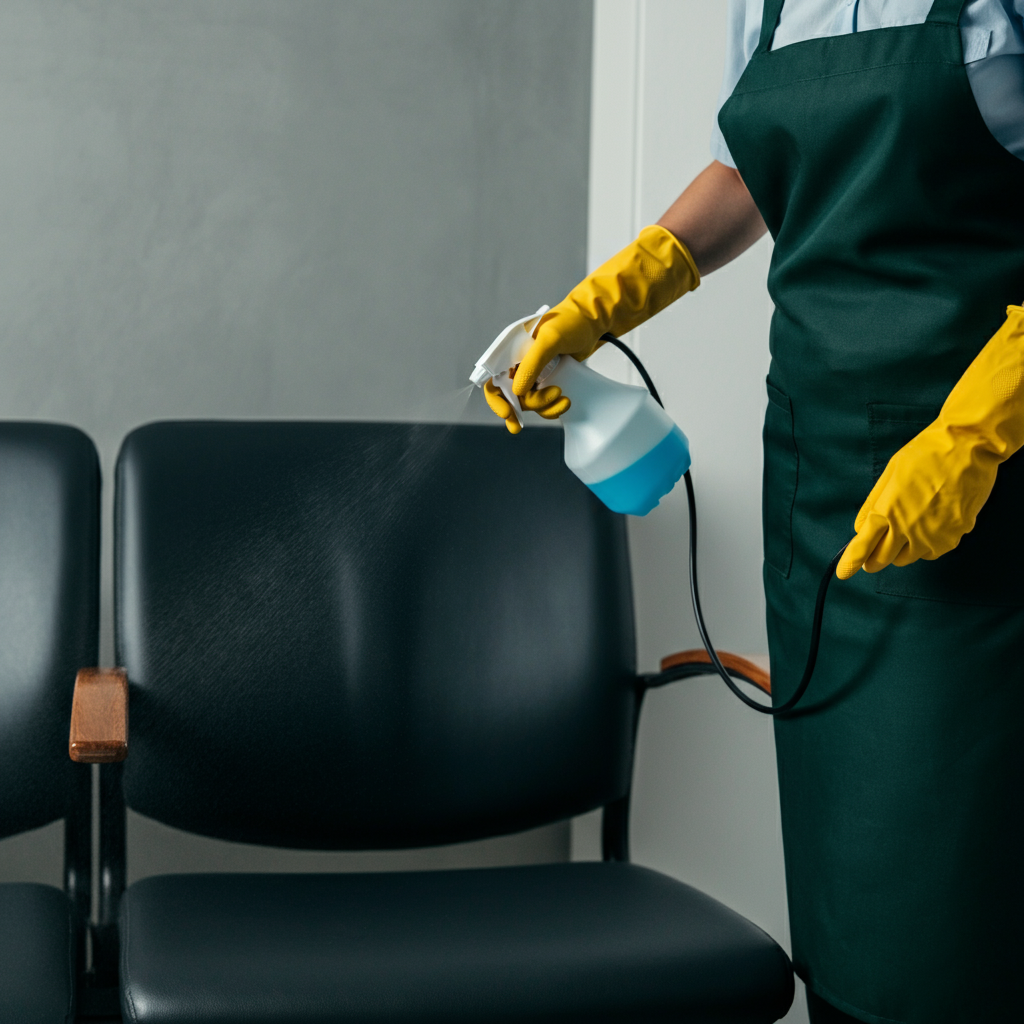
Step 5: Clean and Disinfect Seating Areas
Waiting room chairs require special attention as they are heavily used. Spray each chair thoroughly with disinfectant, paying attention to the seat, back, armrests, and any crevices where germs can accumulate. Allow the disinfectant to dwell for the appropriate amount of time, as specified on the product label, before wiping down the chairs with a clean microfiber cloth. If chairs have fabric upholstery, consider using a disinfectant spray specifically designed for fabrics to prevent damage. Regularly inspect chairs for stains or damage and address them promptly.
Step 6: Clean and Disinfect Tables and Flat Surfaces
Tables and other flat surfaces in the waiting room should be cleared of any items before cleaning. Use a hospital-grade disinfectant spray to thoroughly wet the entire surface, ensuring complete coverage. Allow the disinfectant to dwell for the recommended contact time before wiping the surface down with a clean microfiber cloth. Replace any items that were removed from the table, ensuring they are also clean. Regularly check tables for spills or stains and address them immediately.
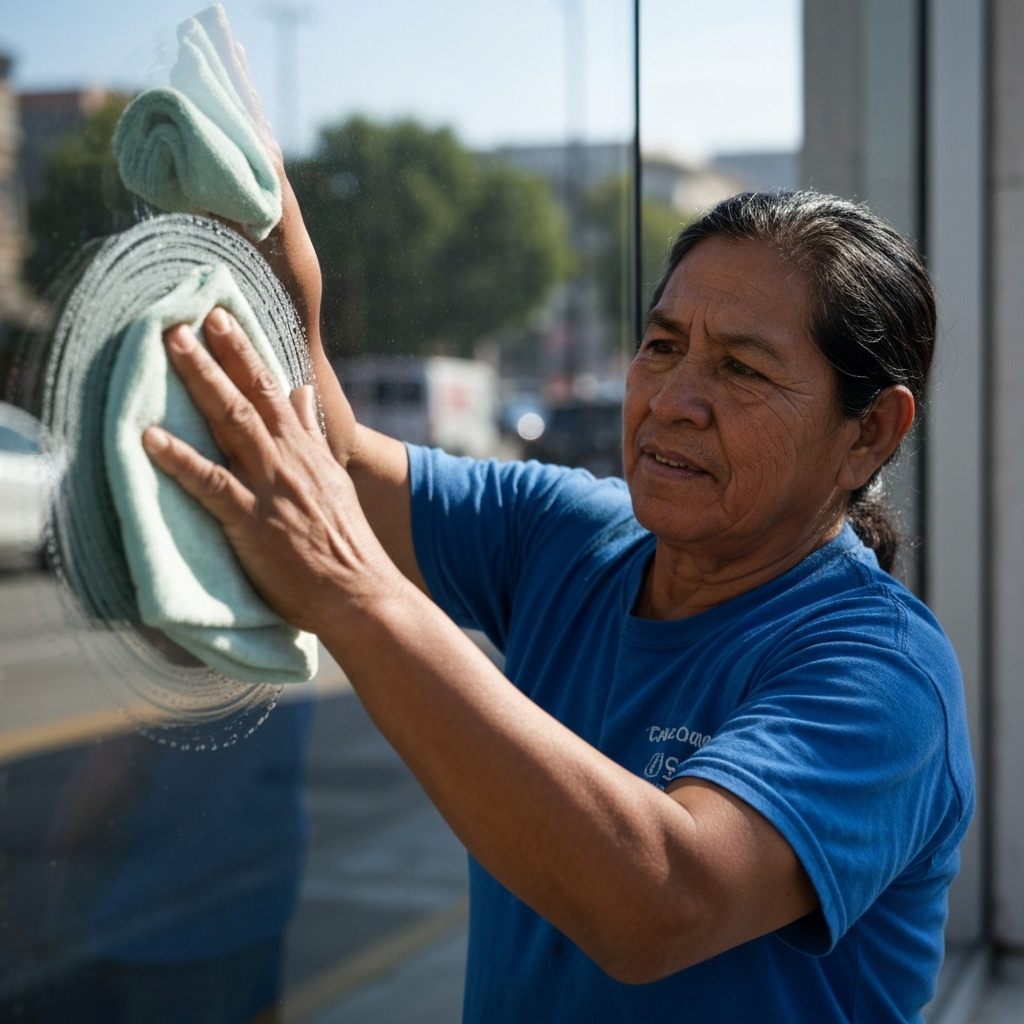
Step 7: Clean Glass Surfaces
Glass surfaces, such as windows and partitions, contribute to the overall appearance of the waiting room. Use a dedicated glass cleaner and a clean microfiber cloth to remove smudges, fingerprints, and other marks. Spray the glass cleaner evenly over the surface and wipe it down using a circular motion to avoid streaks. For large windows, consider using a squeegee to achieve a streak-free finish. Regularly cleaning glass surfaces enhances natural light and improves the overall ambiance of the waiting room.
Step 8: Clean the Reception or Registration Area
The reception or registration area is a high-traffic zone that requires meticulous cleaning. Start by removing any items from the counter, such as pens, paperwork, and personal belongings. Use disinfectant wipes to thoroughly clean the counter surface, paying attention to edges and corners. Wipe down the signature pad, pens, and any other items that are frequently touched by patients and staff. Pay special attention to shared devices like keyboards and computer mice. Allow surfaces to air dry before replacing items.

Step 9: Empty and Replace Trash Bins
Regularly empty and replace trash bin liners to prevent the accumulation of waste and unpleasant odors. Wear gloves when handling trash bags to minimize the risk of contamination. Carefully remove the old trash bag, seal it securely, and dispose of it in accordance with hospital waste management protocols. Replace the trash bag with a fresh one, ensuring that it is properly secured to the bin. Consider using trash bins with lids to contain odors and prevent the spread of germs. Clean the trash bin itself regularly with disinfectant.
Step 10: Check and Replenish Supplies
Check the water cooler or dispenser and replenish it with a fresh bottle of water if needed. Ensure that disposable cups are readily available and properly stocked. Check hand sanitizer dispensers and refill them if they are running low. Regularly replenishing these supplies ensures that patients and visitors have access to essential hygiene resources. Keeping these areas stocked demonstrates a commitment to patient comfort and convenience.
Step 11: Add Air Freshener (Optional)
Consider using a subtle air freshener to enhance the overall ambiance of the waiting room. Choose a scent that is neutral and non-offensive, as strong fragrances can be irritating to some patients. Apply the air freshener sparingly, avoiding over-spraying. Consider using an odor neutralizer rather than a fragrance to eliminate unpleasant odors at their source. Ensure adequate ventilation to prevent the buildup of air freshener chemicals.
Tools or Materials Required
- Hospital-grade disinfectant spray and wipes
- Glass cleaner
- Microfiber cloths
- Heavy-duty trash bags
- Disposable gloves
- Face mask (N95 respirator recommended)
- Hand sanitizer
- Cleaning cart
- Air freshener (optional)
- Mop and bucket (for floor cleaning)
Safety Considerations
- Always wear appropriate PPE, including gloves and a face mask, to protect yourself from germs and chemicals.
- Read and follow the instructions on all cleaning product labels.
- Avoid mixing different cleaning products, as this can create hazardous fumes.
- Ensure adequate ventilation when using cleaning products.
- Wash your hands thoroughly with soap and water after cleaning.
- Follow hospital-specific infection control protocols.
- Never spray disinfectant directly on electronic equipment. Instead, spray a cloth and then wipe the equipment down.
Common Mistakes to Avoid
- Not allowing disinfectant to dwell for the recommended contact time.
- Using dirty cloths to wipe surfaces.
- Neglecting high-touch areas.
- Over-spraying air freshener.
- Not wearing appropriate PPE.
- Skipping regular cleaning and disinfection.
Pro Tips
- Create a cleaning schedule and stick to it.
- Use a checklist to ensure that all areas are cleaned thoroughly.
- Involve staff in maintaining cleanliness by encouraging them to wipe down surfaces after each use.
- Regularly inspect the waiting room for cleanliness and address any issues promptly.
- Train cleaning staff on proper cleaning techniques and infection control protocols.
FAQ Section
- How often should a hospital waiting room be cleaned?
- A hospital waiting room should be cleaned and disinfected at least twice daily, with more frequent cleaning of high-touch surfaces during peak hours.
- What type of disinfectant should be used?
- Use a hospital-grade disinfectant that is effective against a broad range of pathogens. Follow the hospital's approved product list.
- How can I prevent the spread of germs in the waiting room?
- Encourage patients and visitors to practice good hand hygiene by providing hand sanitizer. Regularly clean and disinfect high-touch surfaces, and ensure adequate ventilation.
- What should I do if there is a spill in the waiting room?
- Clean up spills immediately using appropriate cleaning products and disinfect the affected area. Follow hospital protocols for handling hazardous spills.
Conclusion
Cleaning a hospital waiting room is a crucial task that requires diligence, attention to detail, and adherence to proper protocols. By following the steps outlined in this guide, you can create a safe, clean, and welcoming environment for patients and visitors. Remember that consistent cleaning and disinfection are essential for preventing the spread of infection and promoting a positive patient experience. Prioritizing cleanliness in the waiting room demonstrates a commitment to patient care and contributes to a healthy and safe healthcare environment.