Wrapping wire with tape is a fundamental skill in various crafts, electrical work, and even gardening. It provides insulation, protection, and a cleaner aesthetic. Whether you're securing electrical connections, reinforcing floral arrangements, or creating decorative wire art, mastering the art of tape wrapping is invaluable. This guide provides a step-by-step approach to achieving professional results every time.
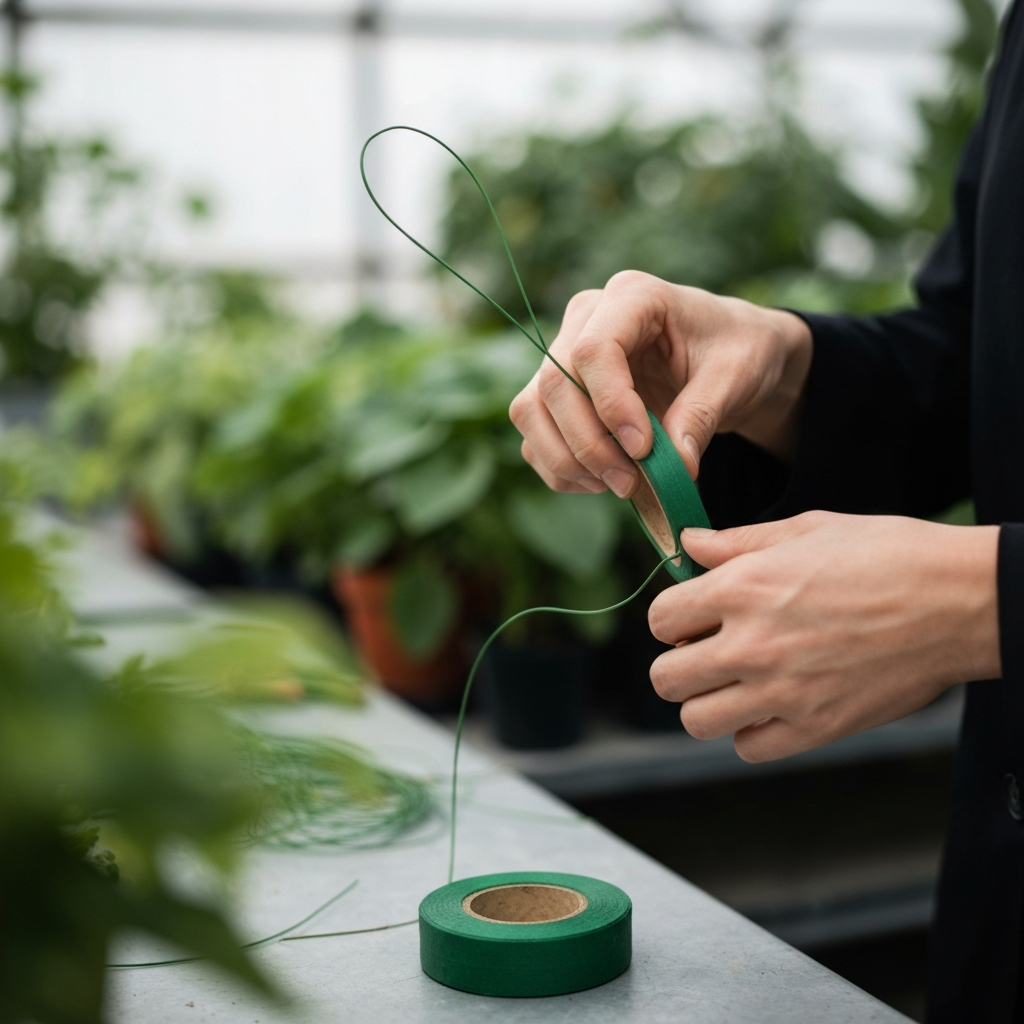
The key to a successful wire wrap lies in choosing the right tape for the job and applying it with precision. Different tapes offer varying degrees of adhesion, elasticity, and resistance to environmental factors. Electrical tape, for instance, is designed for insulating electrical wires, while floral tape is better suited for delicate flower stems. Understanding these nuances will ensure your wrap is both functional and visually appealing.
This comprehensive guide will walk you through the process, from selecting the appropriate materials to executing a clean and durable wrap. We'll cover essential techniques, address common pitfalls, and share pro tips to elevate your wire wrapping skills. Get ready to transform your projects with a professional touch!
Step 1: Gather Your Materials
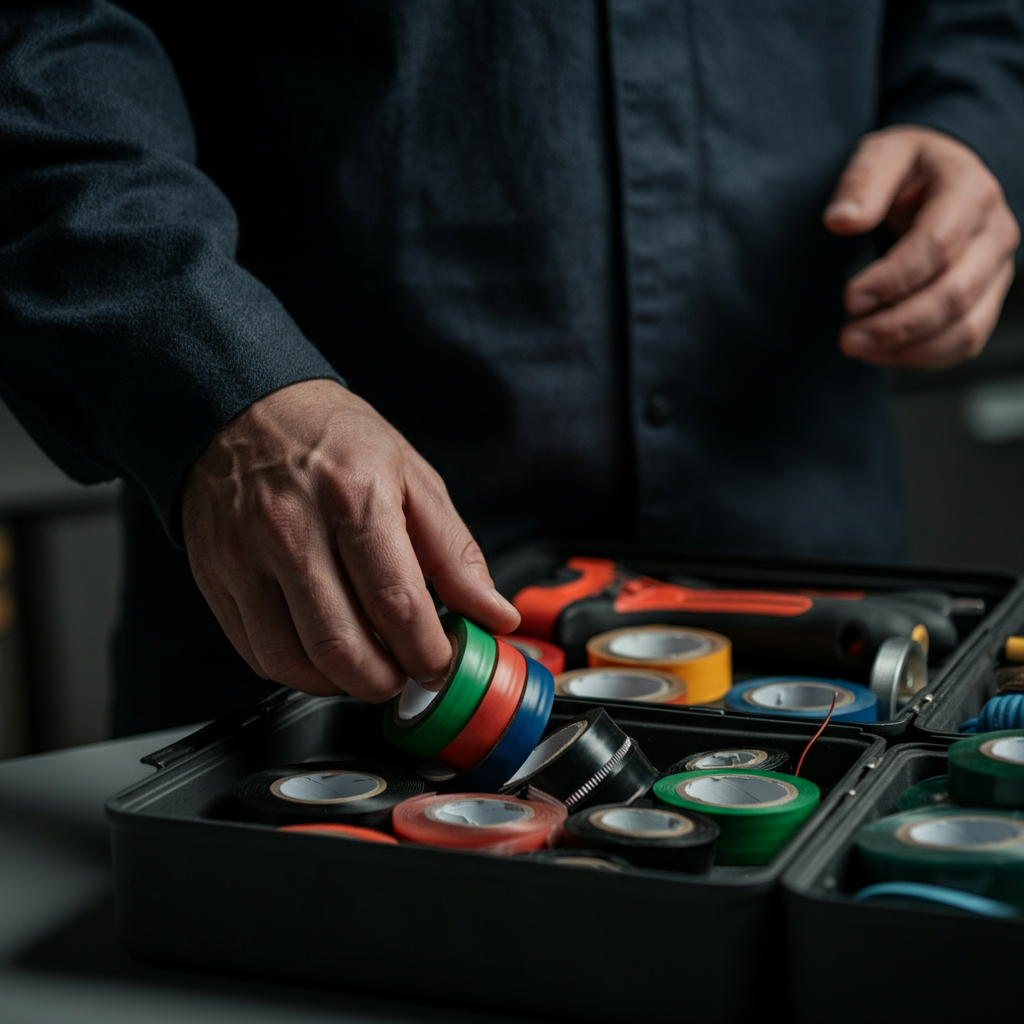
Selecting the Right Tape and Wire
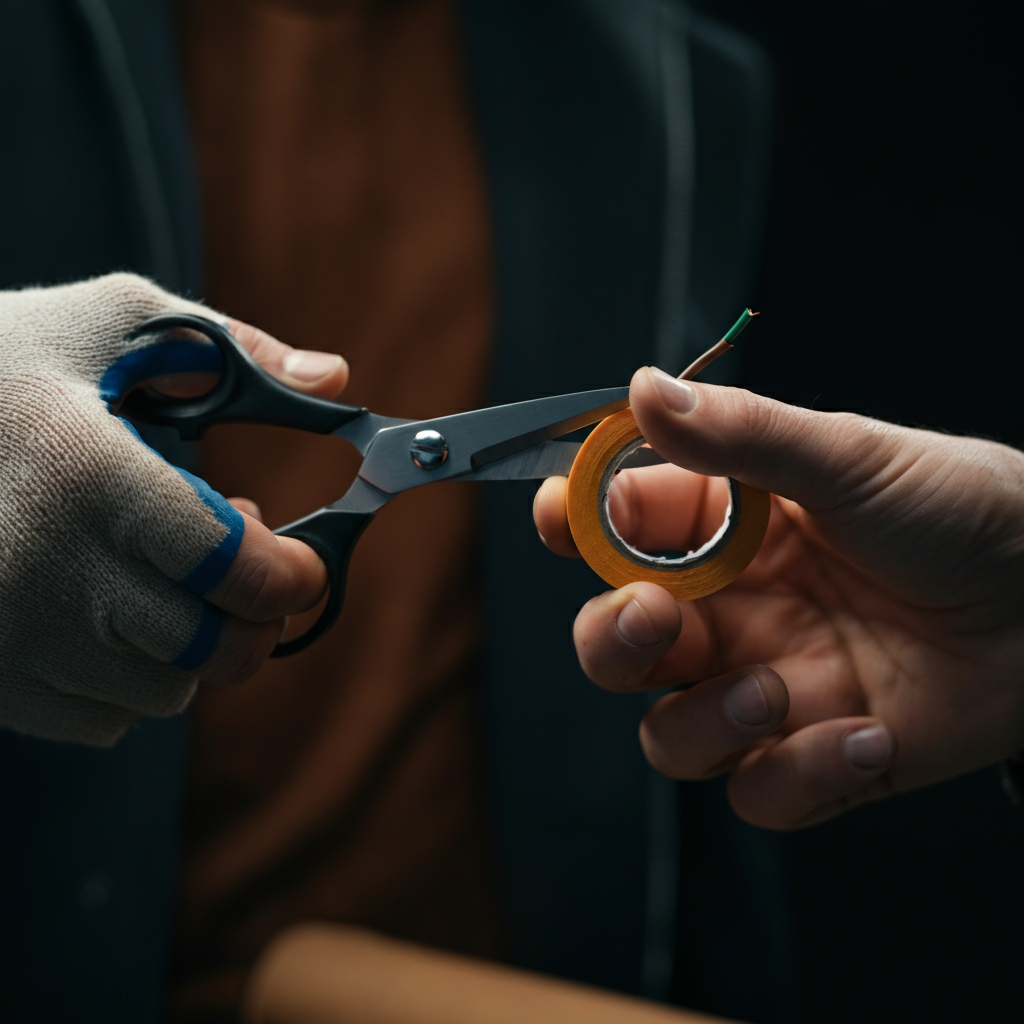
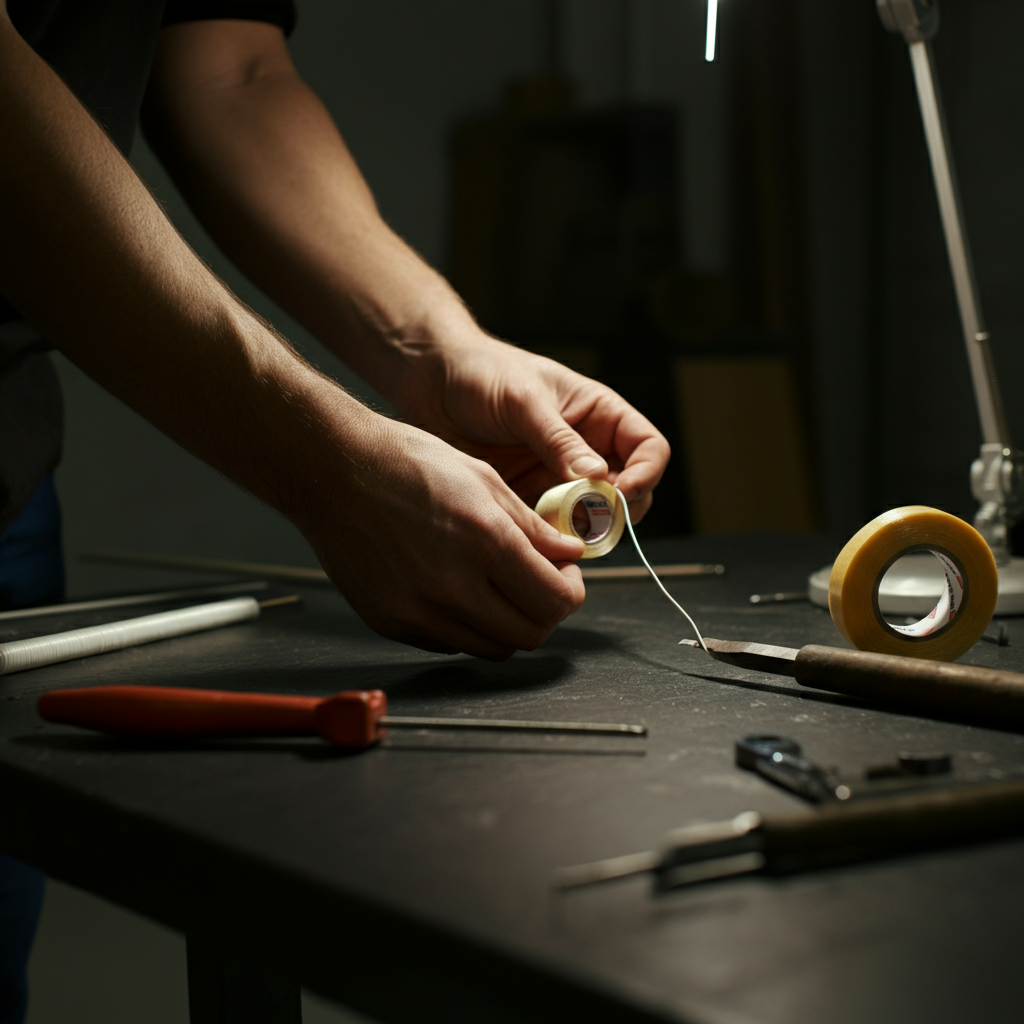
Before you begin, ensure you have the appropriate tape for your specific application. For electrical work, use UL-listed electrical tape. For floral arrangements, floral tape is ideal due to its slight tackiness and ability to stretch. For general crafting, consider vinyl or masking tape, depending on the desired finish. The wire itself should be clean and free of any corrosion or damage. Consider the gauge (thickness) of the wire as well – thinner wires require more delicate handling. Having sharp scissors or a utility knife handy will also aid in creating a clean finish.
Step 2: Prepare the Wire
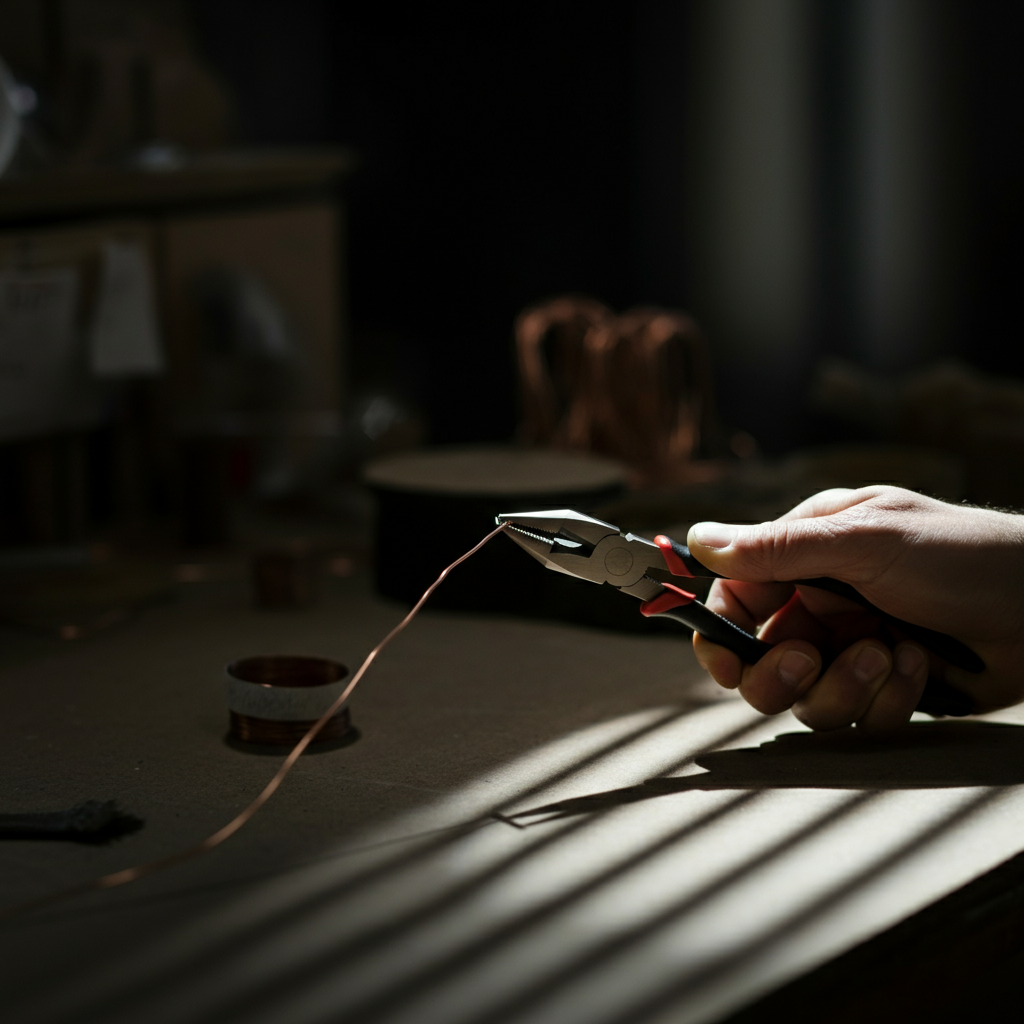
Cleaning and Straightening the Wire
Begin by cleaning the wire with a clean cloth to remove any dust, dirt, or grease. This ensures proper adhesion of the tape. If the wire is bent or kinked, gently straighten it. A straight wire will allow for a more even and professional-looking wrap. For electrical applications, ensure the power is OFF before handling any wires. Using pliers with a rubber grip can help with straightening without damaging the wire's insulation.
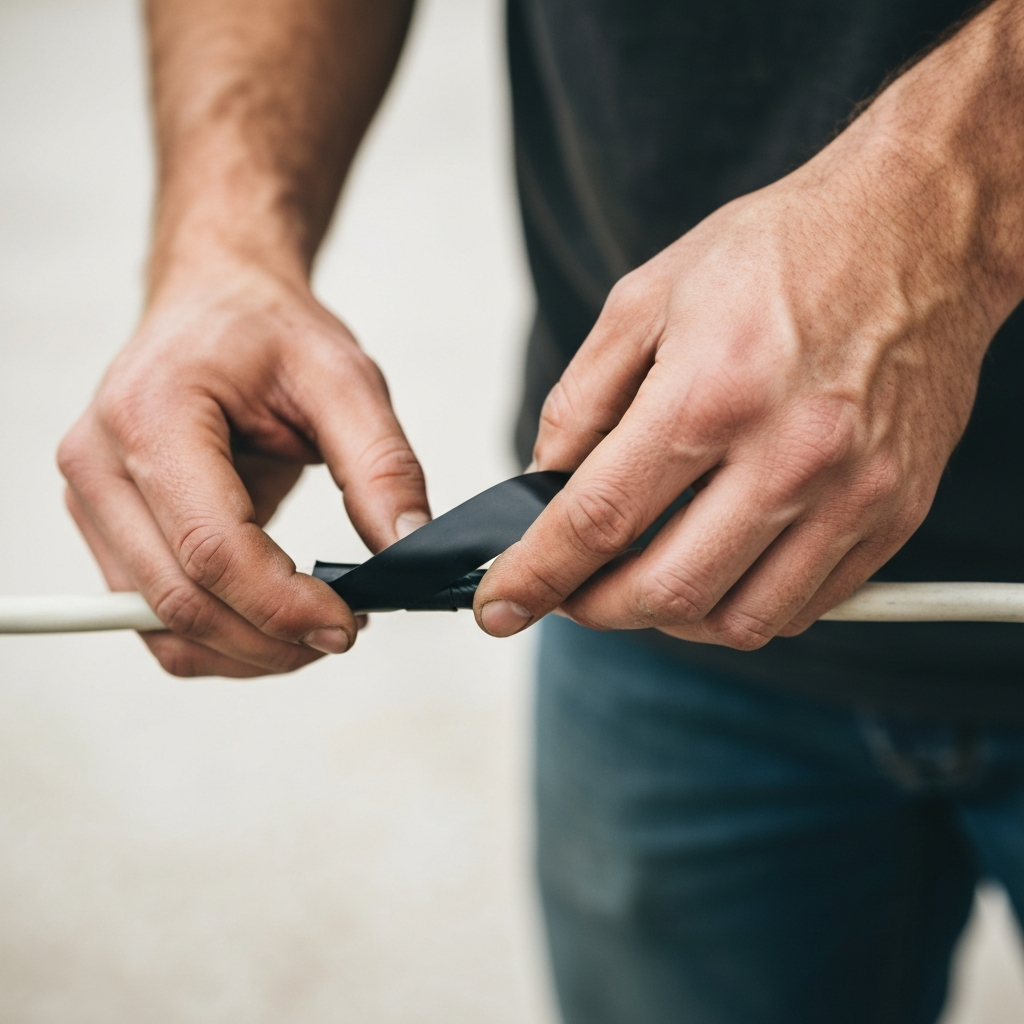
Step 3: Initiate the Wrap
Securing the Tape's Starting Point
Start the wrapping process by positioning the end of the tape at a slight angle (approximately 45 degrees) against the wire. Apply firm pressure to secure the initial grip. Overlap the tape slightly as you begin wrapping, ensuring that each layer covers a portion of the previous one. A secure starting point is crucial for a durable and long-lasting wrap. Some tapes require a "stretch" during application; refer to the tape's instructions for best practice.
Step 4: Continue Wrapping with Overlap
Maintaining Consistent Tension and Overlap
Continue wrapping the tape along the wire, maintaining a consistent tension and overlap. Aim for about a 50% overlap to ensure complete coverage and a secure bond. Keep the tape taut as you wrap to prevent air pockets and wrinkles. Inconsistent tension can lead to a weak and unprofessional-looking wrap. Rotate the wire as you wrap to maintain even pressure and prevent bunching. For longer wires, consider using a winding tool to speed up the process and maintain consistency.
Step 5: Finishing the Wrap
Securing the Ending and Trimming Excess Tape
When you reach the end of the desired wrapping length, overlap the tape a few more times to create a secure seal. Press the tape firmly against the wire to ensure it adheres properly. Use scissors or a utility knife to carefully trim any excess tape. Avoid pulling the tape too tightly when trimming, as this can cause it to unravel. A clean and precise cut is essential for a professional finish.
Step 6: Inspection and Reinforcement (If Needed)
Checking for Weak Spots and Adding Extra Layers
Thoroughly inspect the wrapped wire for any weak spots, air pockets, or areas where the tape is not adhering properly. If you find any such areas, apply an additional layer of tape to reinforce them. Press firmly to ensure a solid bond. Taking the time to inspect and reinforce weak spots will significantly extend the lifespan of your wrap. For high-stress applications, consider applying a final layer of clear tape for added protection.
Tools or Materials Required
- Appropriate Tape (Electrical, Floral, Vinyl, etc.)
- Wire (Clean and Straight)
- Scissors or Utility Knife
- Clean Cloth
- Pliers (Optional, for straightening)
Common Mistakes to Avoid
- Using the wrong type of tape for the application.
- Not cleaning the wire before wrapping.
- Applying the tape with inconsistent tension.
- Not overlapping the tape sufficiently.
- Leaving air pockets or weak spots in the wrap.
- Rushing the process and sacrificing quality.
Safety Considerations
- For electrical work, always ensure the power is OFF before handling any wires.
- Use insulated tools when working with electrical wires.
- Wear safety glasses to protect your eyes from debris.
- Be careful when using sharp tools like scissors or utility knives.
- Work in a well-ventilated area, especially when using tapes with strong adhesives.
Conclusion
Mastering the art of wrapping wire with tape requires attention to detail, the right materials, and a consistent technique. By following the steps outlined in this guide, you can achieve professional results that enhance the functionality and aesthetics of your projects. Remember to prioritize safety, choose the appropriate tape for the job, and take your time to ensure a secure and durable wrap. With practice, you'll be wrapping wires like a pro in no time!