The "thirst trap" – a strategically crafted image designed to capture attention and admiration online – is more than just a selfie. It's a deliberate form of self-expression, a subtle art of showcasing your best self through posing, lighting, and a dash of confidence. While the term itself might seem playful, mastering the art of the thirst trap requires understanding fundamental photography principles and a keen awareness of how your body language translates on camera.
This guide isn’t about promoting unrealistic beauty standards or encouraging superficiality. Instead, it's about empowering you to use photography as a tool to feel confident, express yourself authentically, and connect with others on your own terms. The key is to strike a balance between genuine self-assurance and thoughtful composition. Think of it as curating a visually appealing snapshot of your personality and style.
Whether you're looking to subtly enhance your profile or simply experiment with different poses, this guide will equip you with the knowledge and techniques to create captivating images that reflect your unique essence. Let's dive into the world of posing and discover how to create truly stunning and authentic thirst traps.
Step 1: Find Your Light
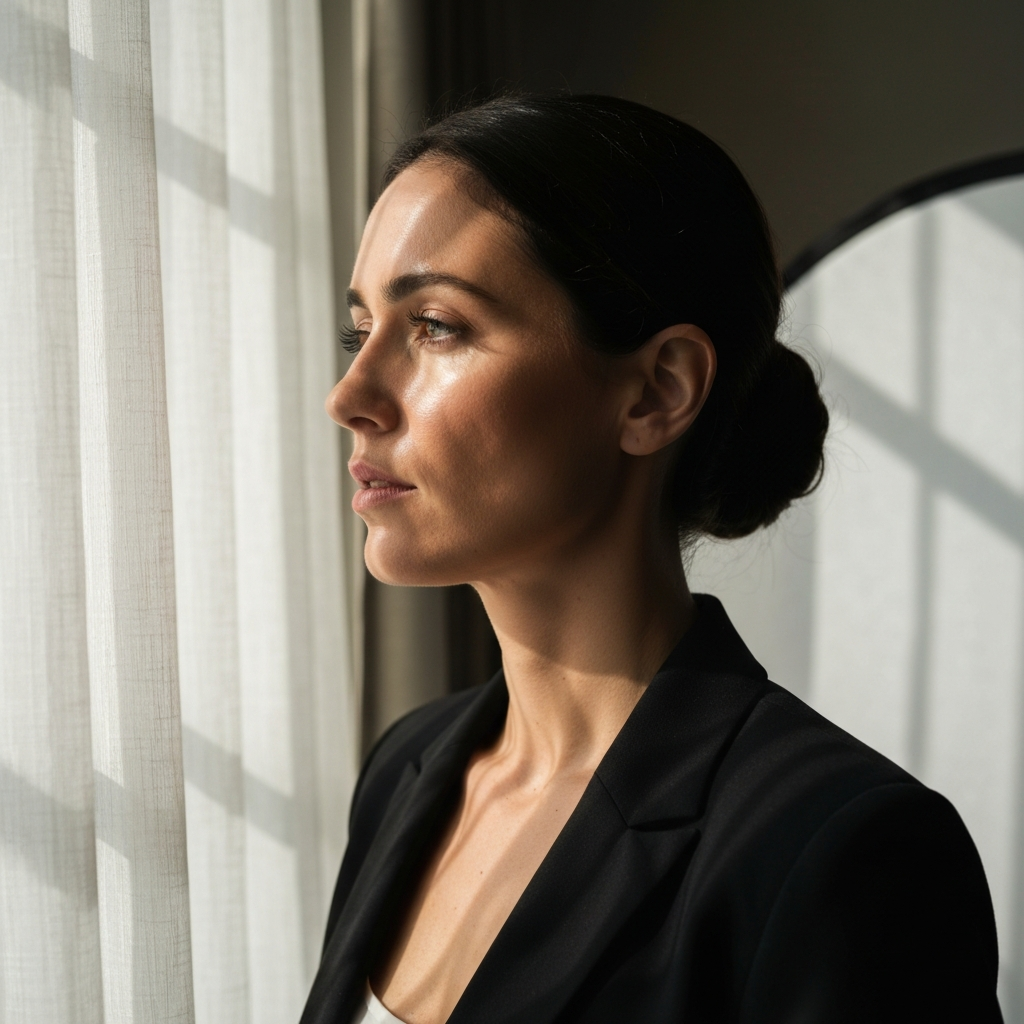
Lighting is arguably the most crucial element in any photograph, and it's especially important for creating a flattering and eye-catching image. Avoid harsh direct light, which can create unflattering shadows and accentuate imperfections. Instead, seek out soft, diffused light, such as that found near a window on a cloudy day or during the "golden hour" – the hour after sunrise or before sunset. Experiment with different angles to see how the light plays on your features and highlights your best assets. A reflector can also be useful for bouncing light and filling in shadows.
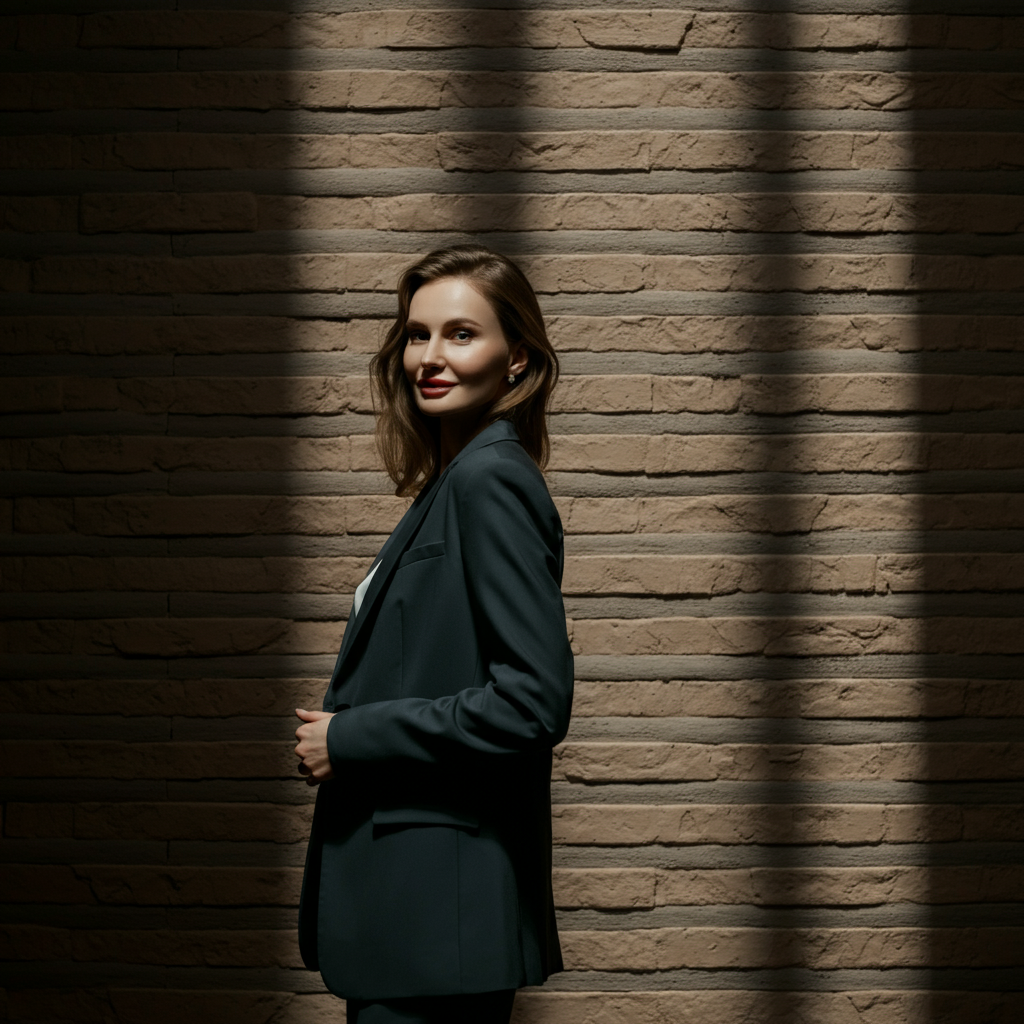
Step 2: Master the Over-the-Shoulder Glance
This classic pose is a surefire way to add a touch of intrigue and allure to your photos. Position yourself with your back or side facing the camera, and then subtly turn your head to look over your shoulder. The key is to maintain a relaxed posture and avoid straining your neck. Experiment with different facial expressions – a slight smirk, a thoughtful gaze, or a playful pout – to convey the desired mood. Pay attention to your shoulders; a slight arch in your back can accentuate your curves.
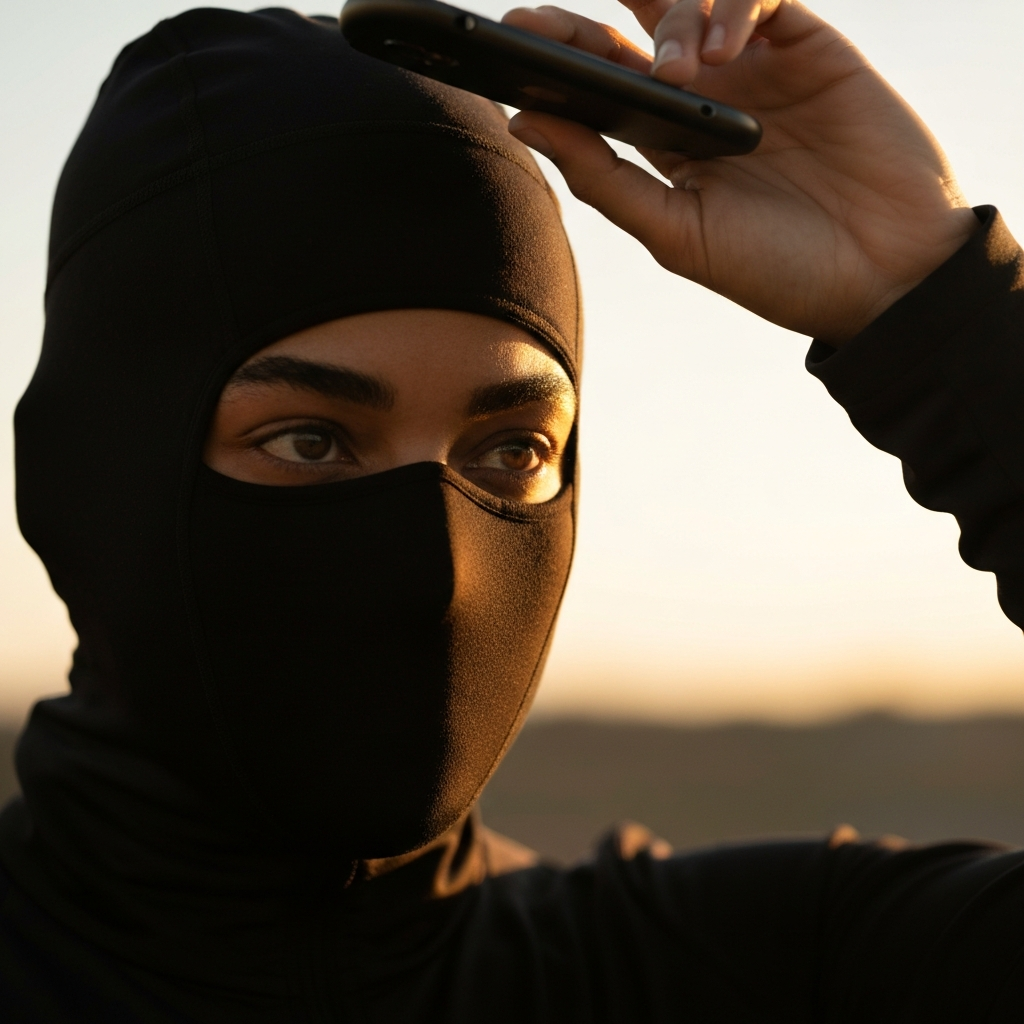
Step 3: The Elevated Selfie Angle
Selfies can be powerful tools for self-expression, and the angle at which you hold the camera can dramatically impact the final result. Holding the camera slightly above eye level and angling your chin down can create a more flattering and defined jawline. Avoid holding the camera too high, which can distort your features and make your forehead appear larger. Experiment with tilting your head slightly to one side to add visual interest and create a more dynamic composition.
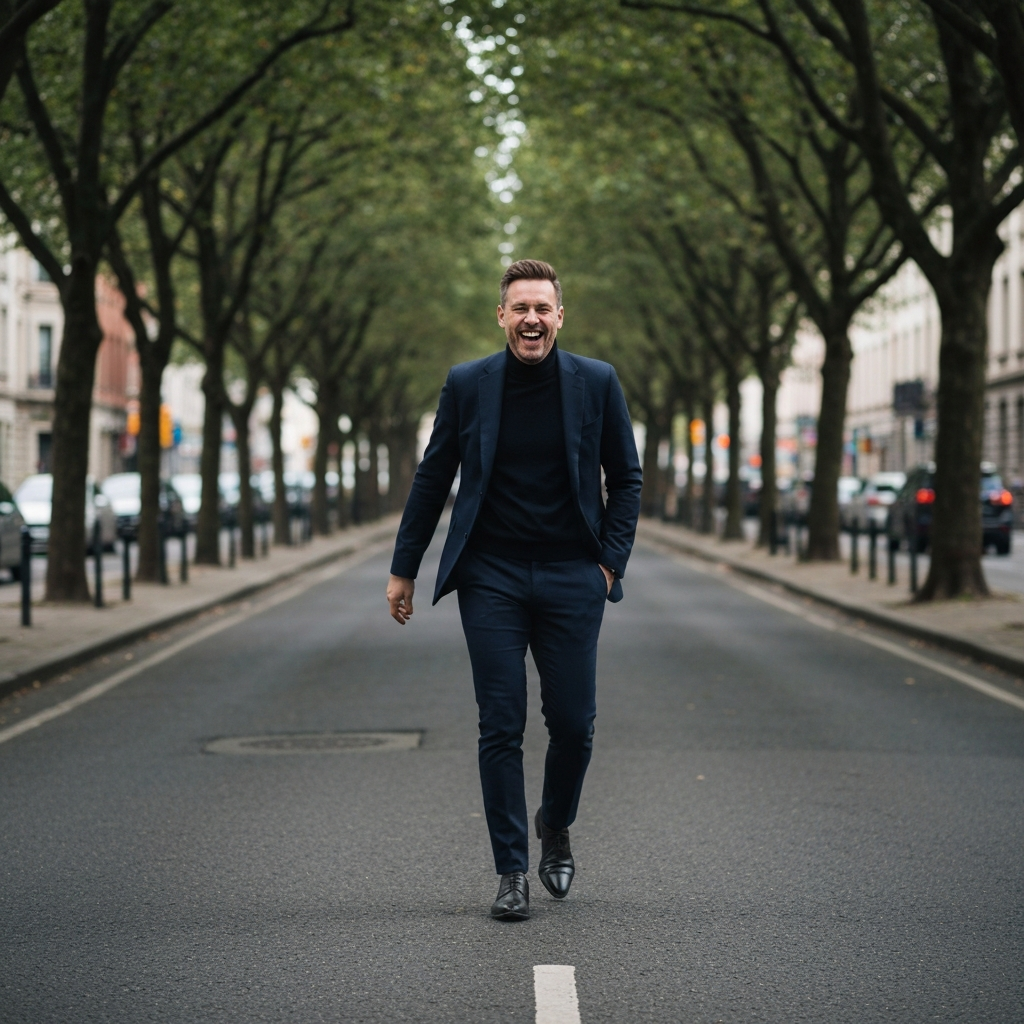
Step 4: The "Plandid" - Planned Candid
The “plandid,” or planned candid, aims for a natural, unposed look while still maintaining a sense of aesthetic intention. The trick is to engage in a natural activity – laughing, flipping your hair, or walking – while someone captures the moment. The key to a successful plandid is to be genuinely engaged in the action and avoid looking directly at the camera the entire time. Vary the speed of your movements and capture multiple shots to increase your chances of getting the perfect, effortlessly cool image.
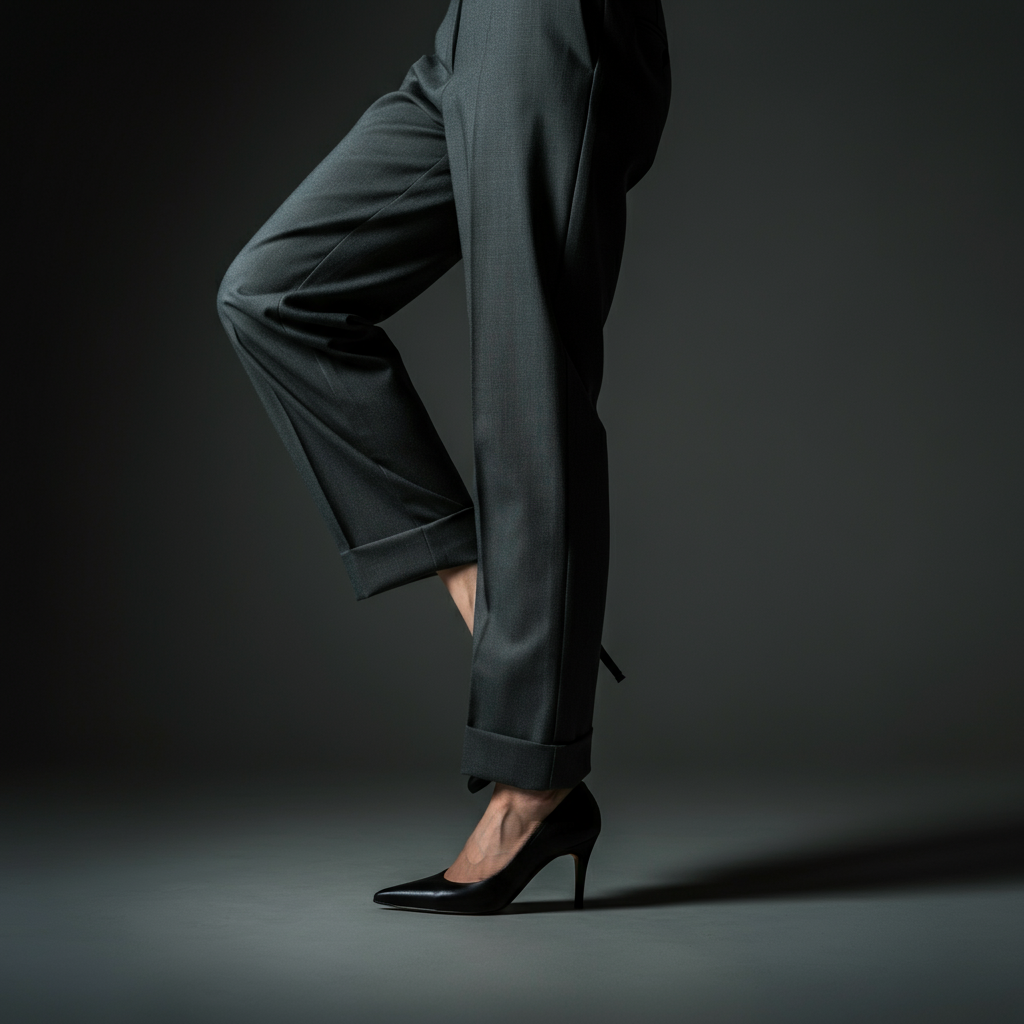
Step 5: Leg-Lengthening Techniques
Want to make your legs appear longer and leaner? One simple trick is to place one foot slightly in front of the other when posing. This creates the illusion of length and adds visual interest to your lower body. Another effective technique is to point your toes slightly, which elongates your legs and adds a touch of elegance. Experiment with different stances and find what feels most natural and flattering for your body type.
Common Mistakes to Avoid
- Harsh Lighting: As mentioned before, avoid direct sunlight or unflattering artificial light.
- Unnatural Poses: The best poses are those that feel natural and comfortable. Avoid forcing yourself into positions that feel awkward or strained.
- Over-Editing: While editing can enhance your photos, avoid overdoing it to the point where you no longer look like yourself.
- Cluttered Backgrounds: A busy or distracting background can detract from the main subject – you!
Pro Tips
- Practice in Front of a Mirror: Experiment with different poses and angles to see what works best for your body type and features.
- Use Props Strategically: A well-chosen prop can add visual interest and personality to your photos.
- Pay Attention to Your Wardrobe: Choose clothing that makes you feel confident and comfortable.
- Consider the Composition: Use the rule of thirds to create a more balanced and visually appealing image.
FAQ Section
- What is the "rule of thirds"?
- The rule of thirds is a compositional guideline that suggests dividing an image into nine equal parts with two horizontal and two vertical lines. Placing key elements of your photo along these lines or at their intersections can create a more balanced and visually appealing composition.
- How important is editing?
- Editing can enhance your photos, but it's important to use it sparingly. Focus on correcting minor imperfections and enhancing the overall lighting and color balance.
- What if I don't feel confident posing?
- Confidence comes with practice! Start by experimenting with different poses in front of a mirror and gradually build your comfort level. Focus on feeling good in your own skin and projecting that confidence through your body language.
Conclusion
Mastering the art of thirst trap poses is all about understanding your body, finding your light, and expressing yourself authentically. By experimenting with different angles, poses, and lighting techniques, you can create captivating images that reflect your unique personality and style. Remember, the most important thing is to feel confident and comfortable in your own skin. So go out there, embrace your inner confidence, and start creating stunning images that capture the essence of you!