The reversible bucket hat is a fantastic project for beginner and intermediate sewers alike. It's a simple yet satisfying project that yields a stylish and practical accessory. Not only is it a great way to use up scrap fabric, but it also allows for endless customization with different colors and patterns. The beauty of a reversible hat lies in its versatility – you get two hats in one!
This guide will walk you through each step, from choosing your fabrics to adding the finishing touches. We’ll break down the process into manageable steps, offering tips and tricks along the way to ensure your success. Whether you’re looking for a fun weekend project or a unique handmade gift, this guide will help you create a bucket hat you'll be proud to wear.
Get ready to unleash your creativity and learn a new skill. Let’s get started on this rewarding sewing adventure!
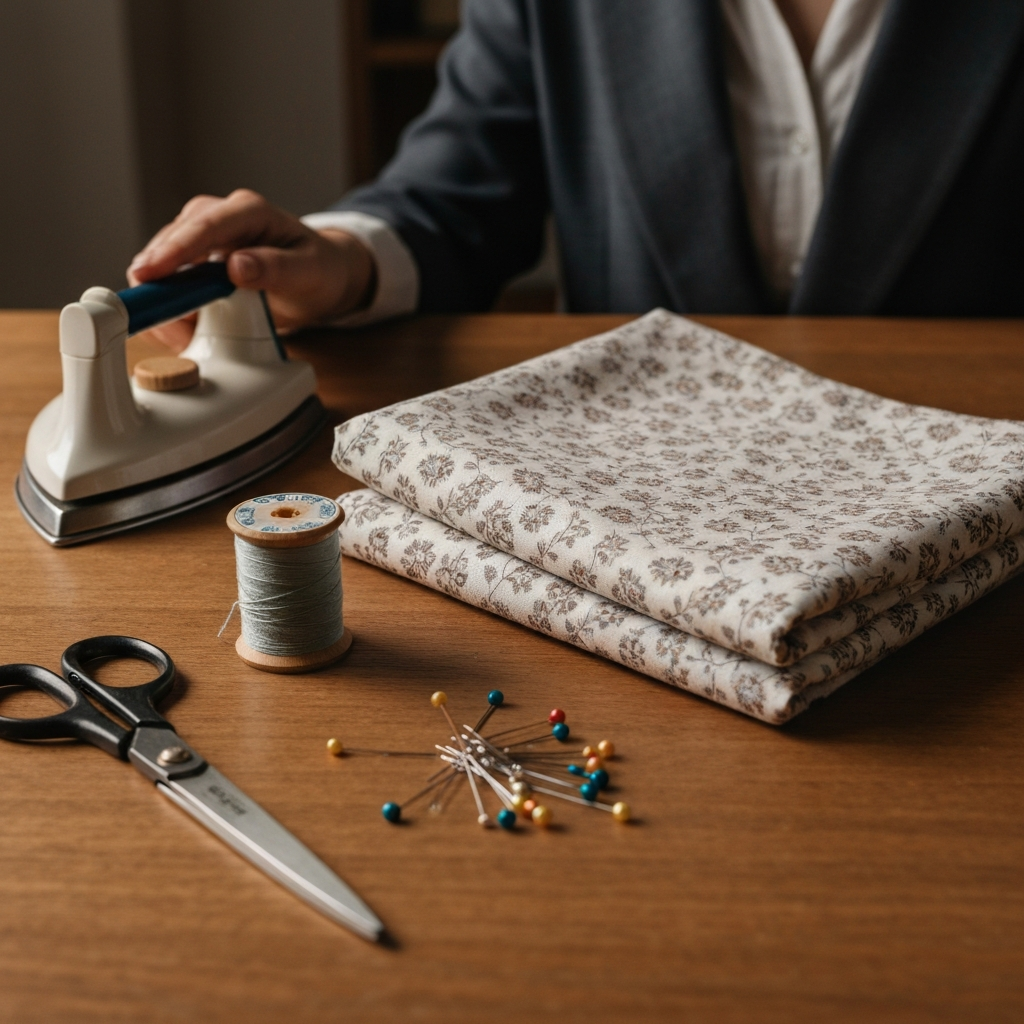
Tools or Materials Required
- Two different patterned fabrics (cotton recommended)
- Fusible interfacing (optional, for a sturdier hat)
- Matching thread
- Sewing machine
- Bucket hat template (printable templates are readily available online)
- Fabric scissors
- Pins
- Iron and ironing board (if using fusible interfacing)
- Measuring tape or ruler
- Seam ripper (just in case!)
Step 1: Gather Your Fabrics and Supplies
Before you even think about threading a needle, gather all of your materials. Cotton fabric is a popular choice for bucket hats due to its breathability and ease of sewing. Choose two different fabric patterns that you love – this is where you can really let your personal style shine. If you want a hat with more structure, fusible interfacing is your friend. Make sure you have matching thread, sharp fabric scissors, pins, and a reliable sewing machine ready to go.
Step 2: Find and Prepare Your Template
A good template is essential for a well-shaped bucket hat. Search online for free, printable bucket hat templates. Ensure the template includes three pieces: the top, the side, and the brim. Once you’ve found a template you like, print it out and carefully cut out each piece along the lines. Double-check that the dimensions of the finished hat will fit the intended wearer's head before proceeding.
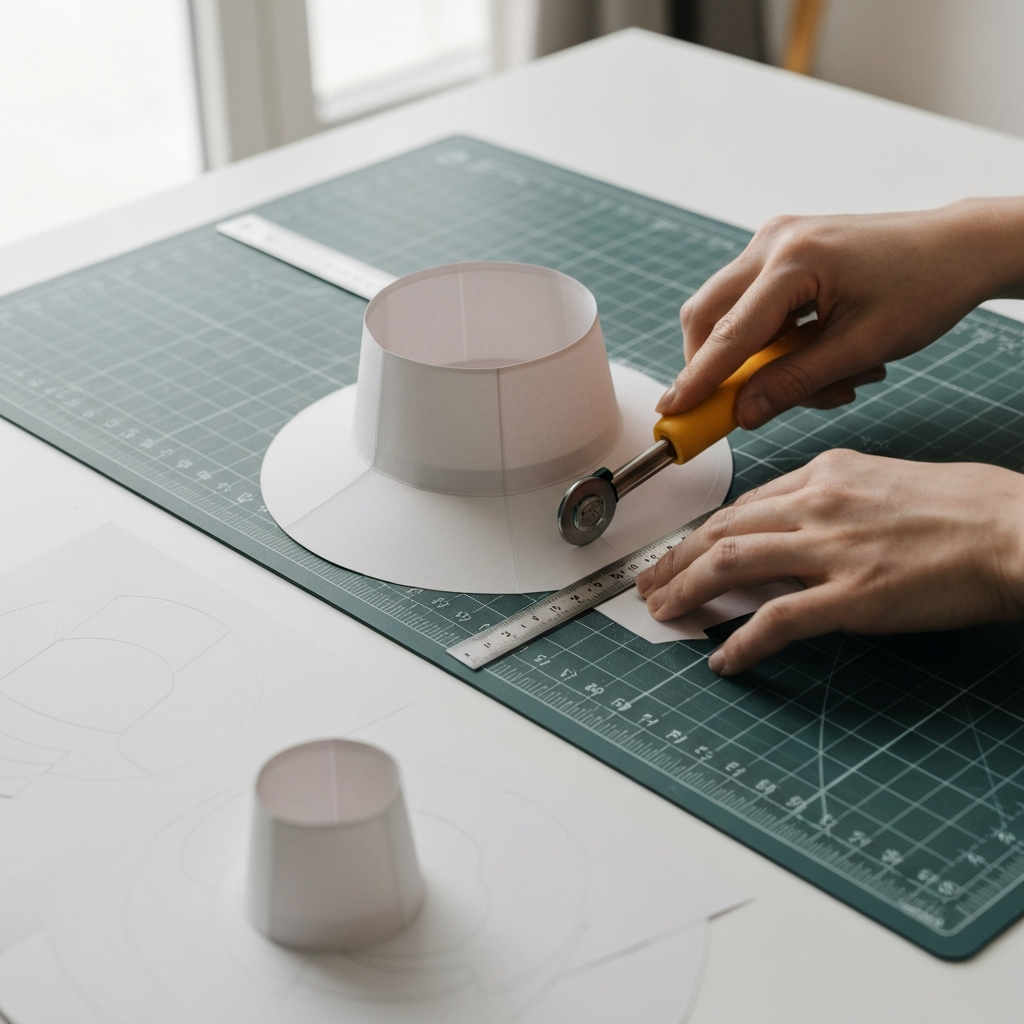
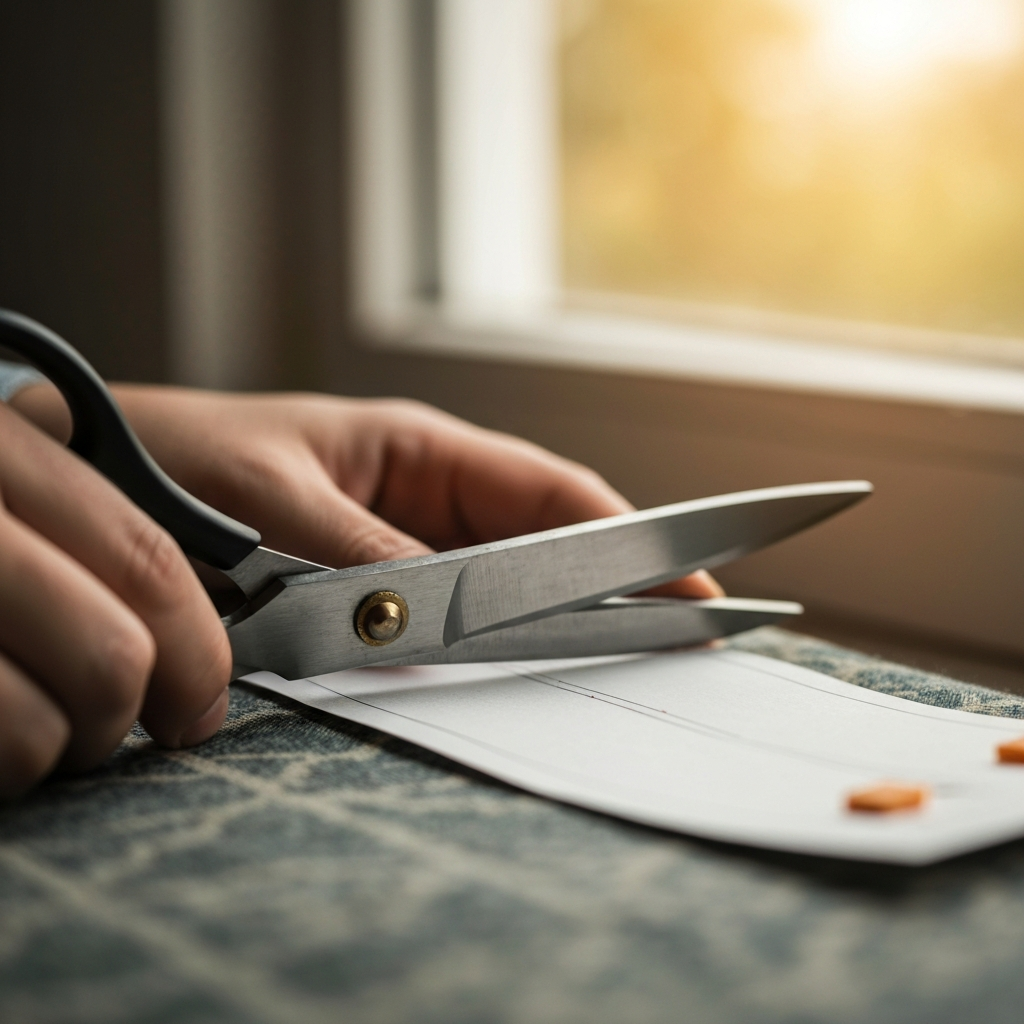
Step 3: Cut Out Fabric Pieces
Now comes the fun part: cutting out your fabric. Pin the paper template pieces onto your chosen fabrics. Make sure you’re using sharp fabric scissors for clean, accurate cuts. Cut out one set of hat pieces from each fabric. If you're using fusible interfacing, also cut out the corresponding pieces from the interfacing.
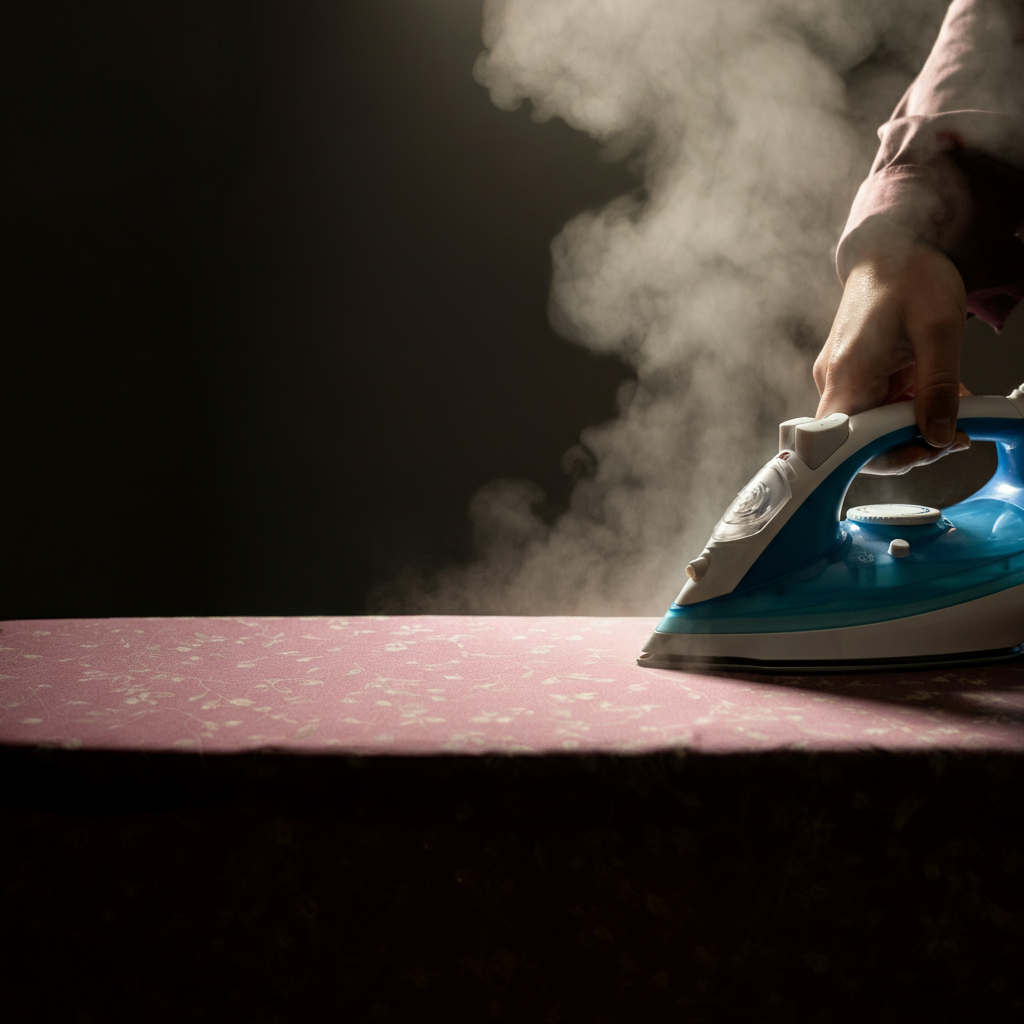
Step 4: Apply Fusible Interfacing (Optional)
If you opted for a sturdier hat, now's the time to apply the fusible interfacing. Place the glue side (the rough side) of the interfacing onto the wrong side of your fabric pieces. Using an iron set to the appropriate temperature, fuse the interfacing to the fabric by pressing and holding the iron over each section for several seconds. Be sure to follow the manufacturer's instructions for your specific interfacing. This will add structure and prevent the hat from being too floppy.
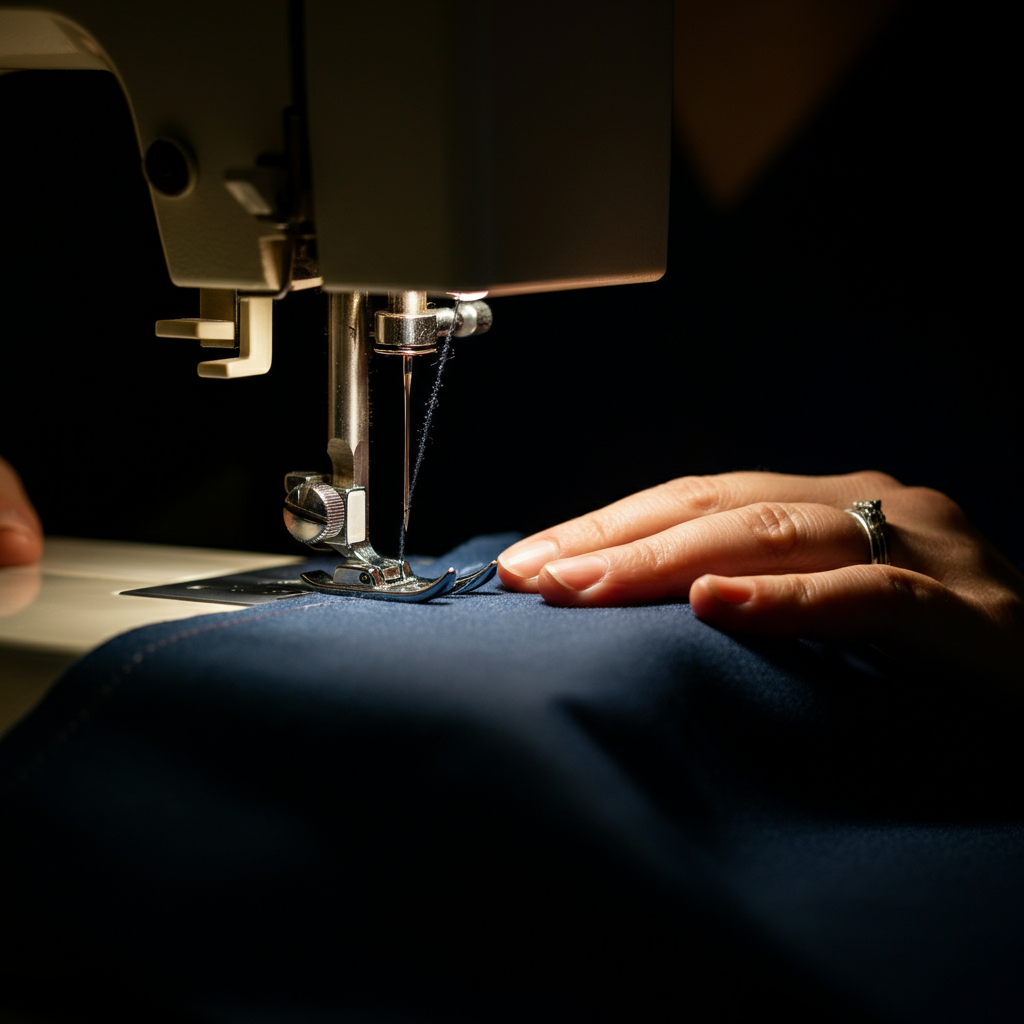
Step 5: Sew the Side Pieces Together
Take two of the side pieces (one from each fabric will be sewn separately later). With the right sides of the fabric facing each other, sew the short ends together with a 1/2 inch (1.25 cm) seam allowance. This will form a ring. Repeat for the other set of side pieces. Backstitch at the beginning and end of each seam to secure the stitches.
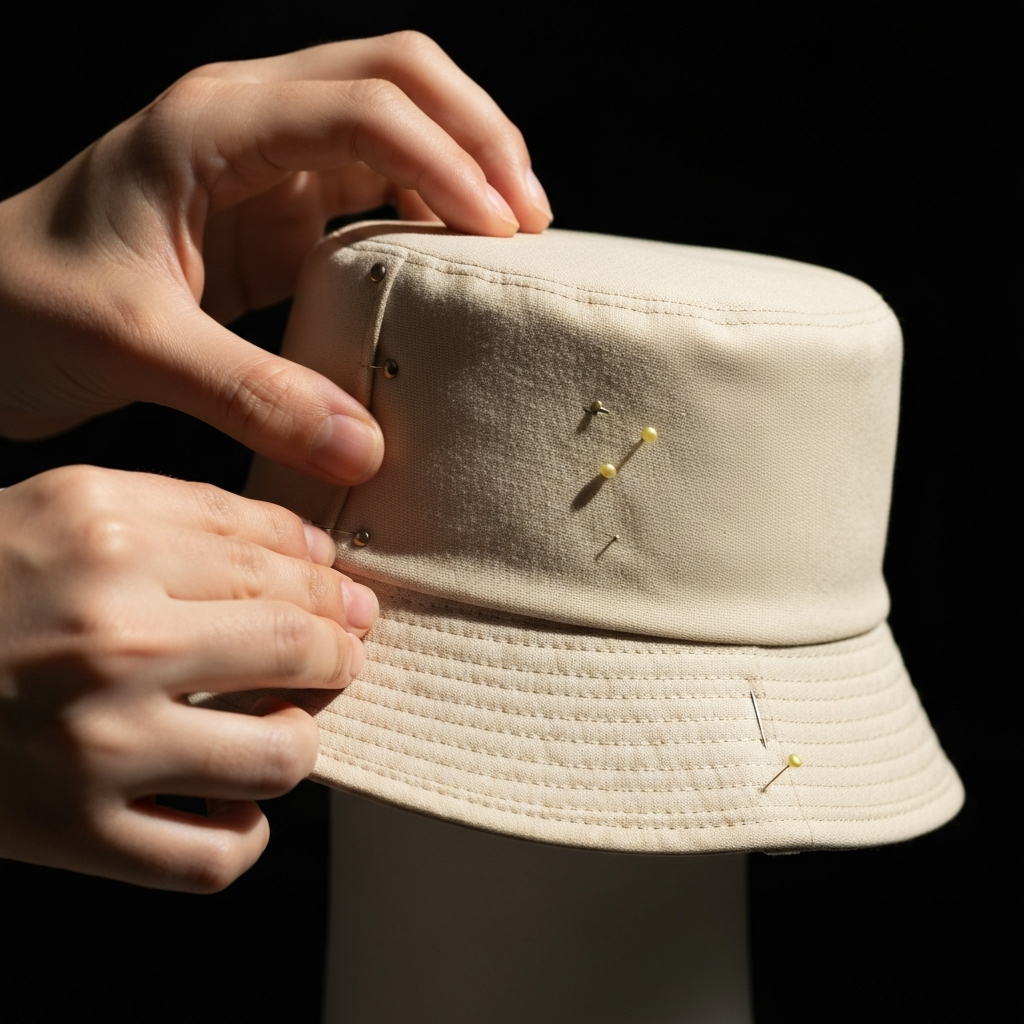
Step 6: Attach the Top Piece
With the side ring still inside out, pin the top piece to the upper edge of the ring, right sides together. Distribute the fabric evenly and pin securely. Sew around the edge with a 1/2 inch (1.25 cm) seam allowance. Take your time and sew slowly, especially around the curves, to prevent puckering. Clip curves to reduce bulk.
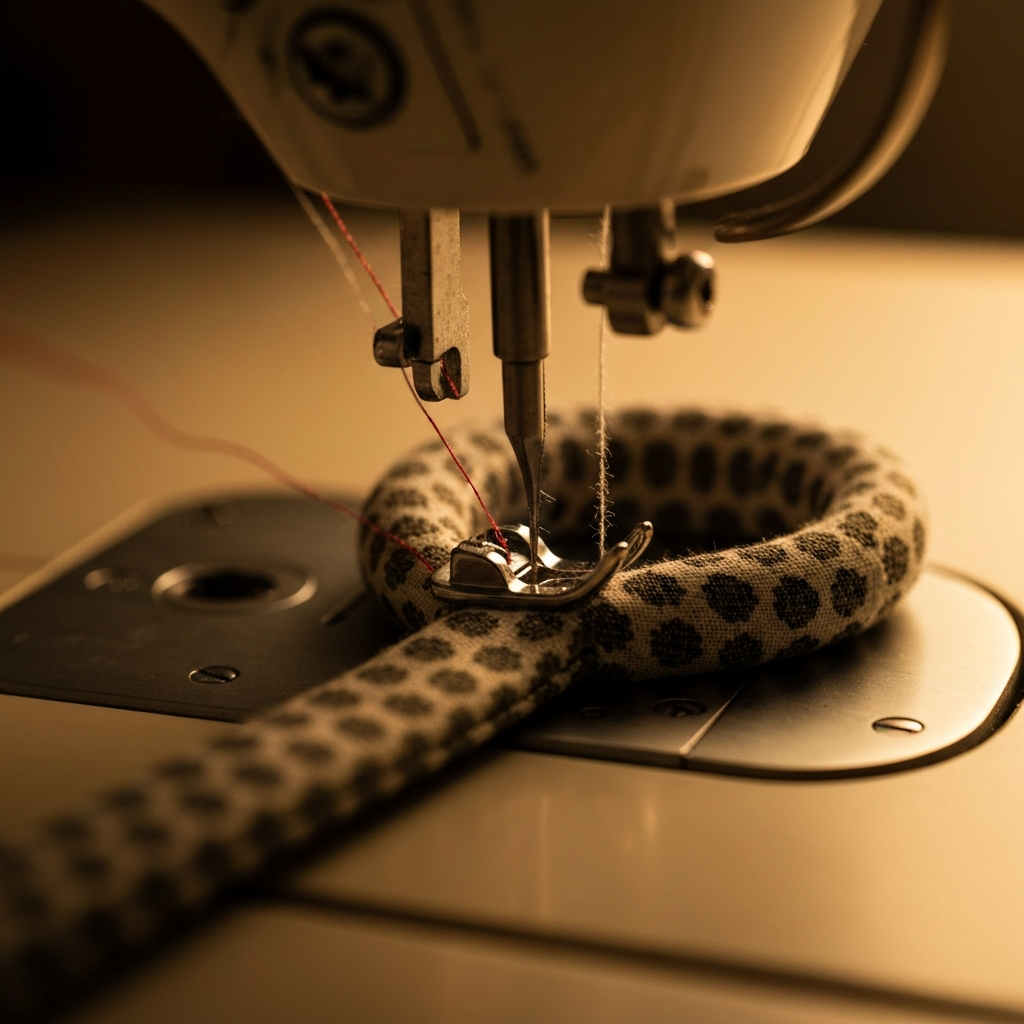
Step 7: Sew the Brim Pieces Together
Just like the side pieces, take your two brim pieces for each fabric and sew the short ends together, right sides together, using a 1/2 inch (1.25 cm) seam allowance to create a ring. You'll have two brim rings when you're finished.
Step 8: Attach the Brim to the Hat Body
Now, attach the brim to the hat body. With right sides together, pin the outer edge of the brim ring to the bottom edge of the hat body. Distribute the fabric evenly and pin securely. Sew around the edge with a 1/2 inch (1.25 cm) seam allowance. Again, take your time sewing around the curves for a smooth finish. You now have two separate bucket hats (one for each fabric).
Step 9: Assemble the Reversible Hat
Place one hat inside the other, with right sides facing each other. Align the outer edges of the brims and pin them together. Sew around the entire brim with a 1/2 inch (1.25 cm) seam allowance, leaving a 2-3 inch (5-7.5 cm) opening for turning. This opening is crucial for turning the hat right side out.
Step 10: Turn and Finish the Hat
Carefully turn the hat right side out through the opening you left in the brim. Once turned, gently push out the seams for a crisp edge. Fold the raw edges of the opening inward and press with an iron. Topstitch around the entire brim, close to the edge, to close the opening and give the brim a polished look. Topstitching also adds extra stability to the brim.
Common Mistakes to Avoid
- Cutting inaccurate pattern pieces: This will result in a misshapen hat. Double-check your measurements and cut carefully.
- Skipping the interfacing: If you want a sturdier hat, don't skip the interfacing!
- Sewing too quickly around curves: This can lead to puckering and uneven seams. Slow down and take your time.
- Forgetting to leave an opening for turning: You won't be able to turn the hat right side out if you don't leave an opening!
Safety Considerations
- Always use sharp fabric scissors for clean cuts to avoid injury.
- Be careful when using the iron to avoid burns.
- Keep fingers away from the sewing machine needle while sewing.
Pro Tips
- Use contrasting thread for topstitching to add a decorative touch.
- Experiment with different fabric combinations to create unique and personalized hats.
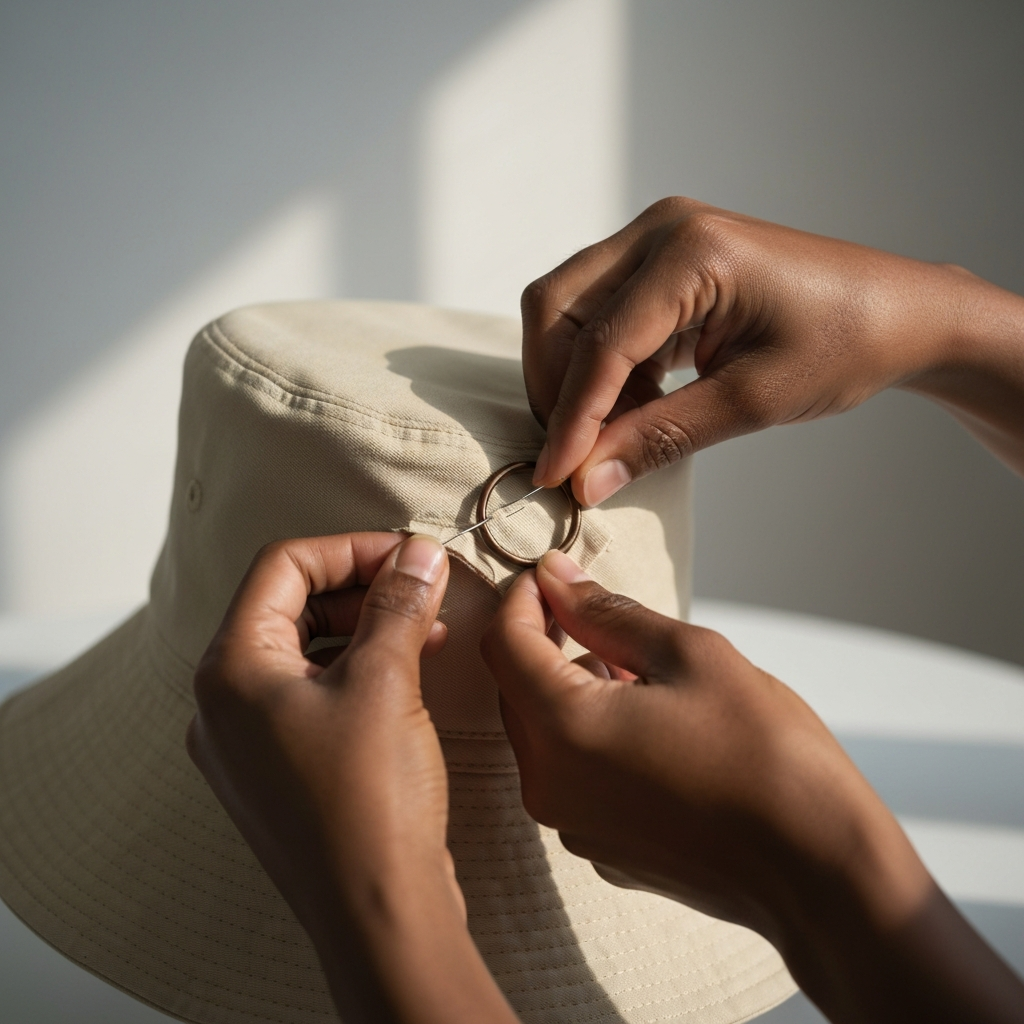
- Add embellishments like embroidery or patches to further customize your hat.
FAQ Section
Q: What if I don't have fusible interfacing?
A: You can still make a bucket hat without interfacing, but it will be less structured. Choose a heavier-weight fabric for more stability.
Q: Can I use different types of fabric?
A: Yes! Experiment with different fabrics like denim, linen, or even waterproof materials for a rain hat. Just keep in mind that some fabrics may be more difficult to sew than others.
Q: How do I determine the right size for the hat?
A: Measure the circumference of the wearer's head and choose a template that corresponds to that measurement. You can also add or subtract a small amount to the seam allowance to adjust the size slightly.
Conclusion
Congratulations! You've successfully sewn your very own reversible bucket hat. This project not only enhances your sewing skills but also provides you with a fashionable and functional accessory. The key takeaways are accurate cutting, careful sewing, and attention to detail. So, grab your fabrics and get ready to create a whole collection of unique and stylish reversible bucket hats!