The Uniden HomePatrol scanner is a powerful tool for monitoring radio communications. While its primary function is scanning and receiving transmissions, it also offers a valuable recording feature. Knowing how to effectively record sessions can be crucial for later analysis, documentation, or even legal purposes. This guide will walk you through the process of recording audio transmissions on your Uniden HomePatrol, providing step-by-step instructions and helpful tips.
Recording sessions on your HomePatrol isn't just about pressing a button; it's about understanding the nuances of the device and how it captures audio. We'll delve into the specifics, ensuring you capture the audio you need, when you need it. From initiating the recording to accessing and managing your saved files, this guide provides a comprehensive overview of the recording process.
Whether you're a seasoned scanner enthusiast or a newcomer to the world of radio monitoring, this guide will provide you with the knowledge and skills necessary to record sessions effectively and efficiently using your Uniden HomePatrol. Let's get started!
Step 1: Power Up Your Device
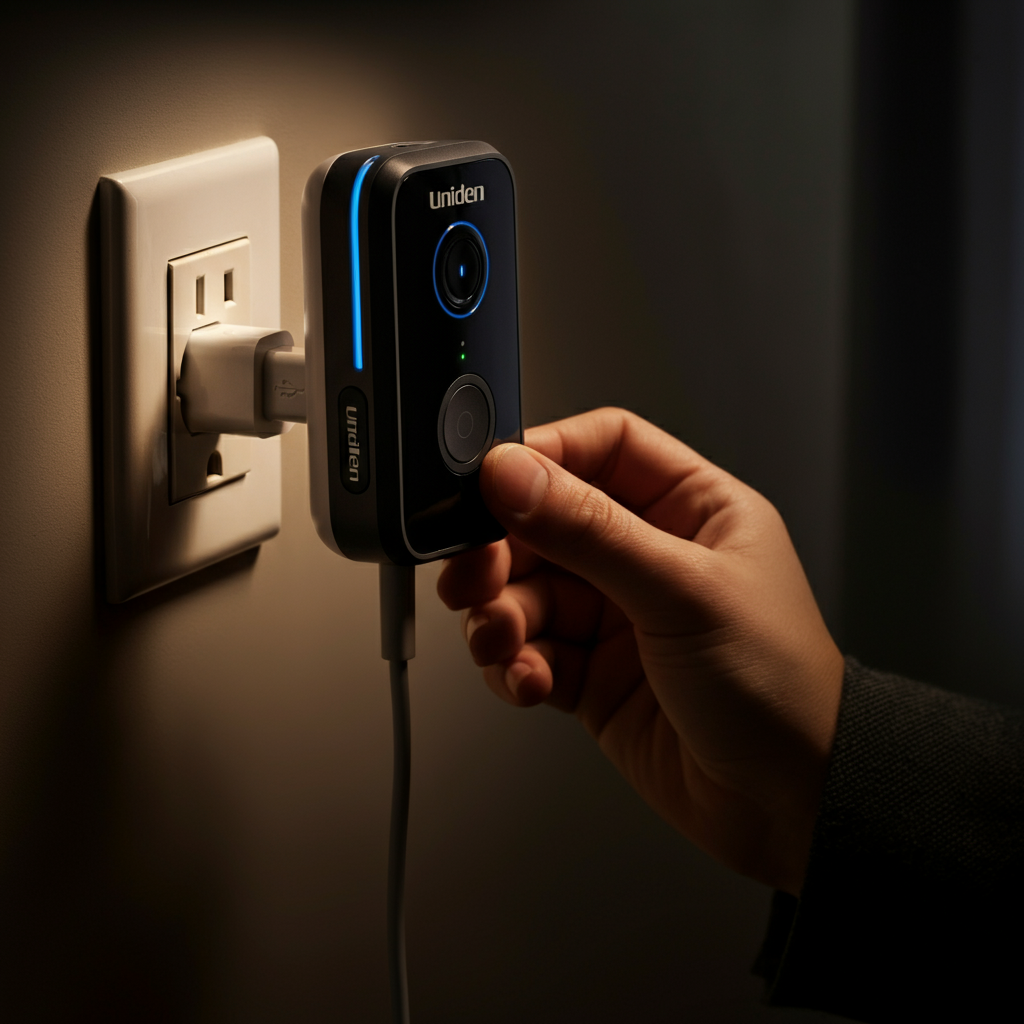
Connect to External Power
The Uniden HomePatrol requires an external power source to record transmissions. The device will not allow you to initiate a recording session if it's running solely on battery power. Locate the USB port on your HomePatrol and connect it to either a computer using the provided USB cable or to a wall outlet using a USB power adapter (power brick). Ensure the connection is secure and the device indicates it's receiving power. This is a crucial step that many users overlook, so double-check your connection!
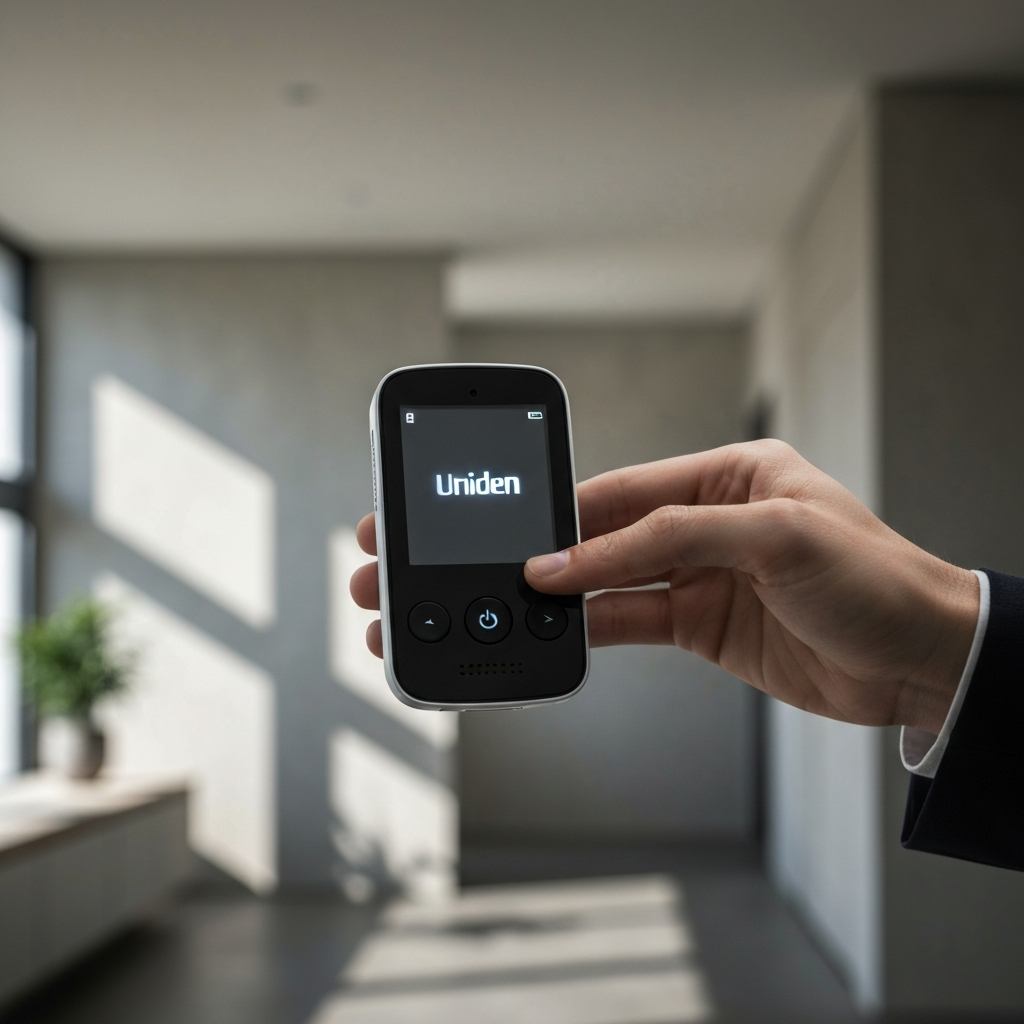
Step 2: Turn On the Device
Initiate the Scanner
With the device connected to a power source, it's time to turn it on. Locate the power button on your HomePatrol, typically found on the side or top of the device. Press and hold the power button until the Uniden splash screen appears on the display. This indicates that the device is booting up. Be patient; the device may take a few moments to fully initialize. Make sure to fully power on before attemping to start a recording.
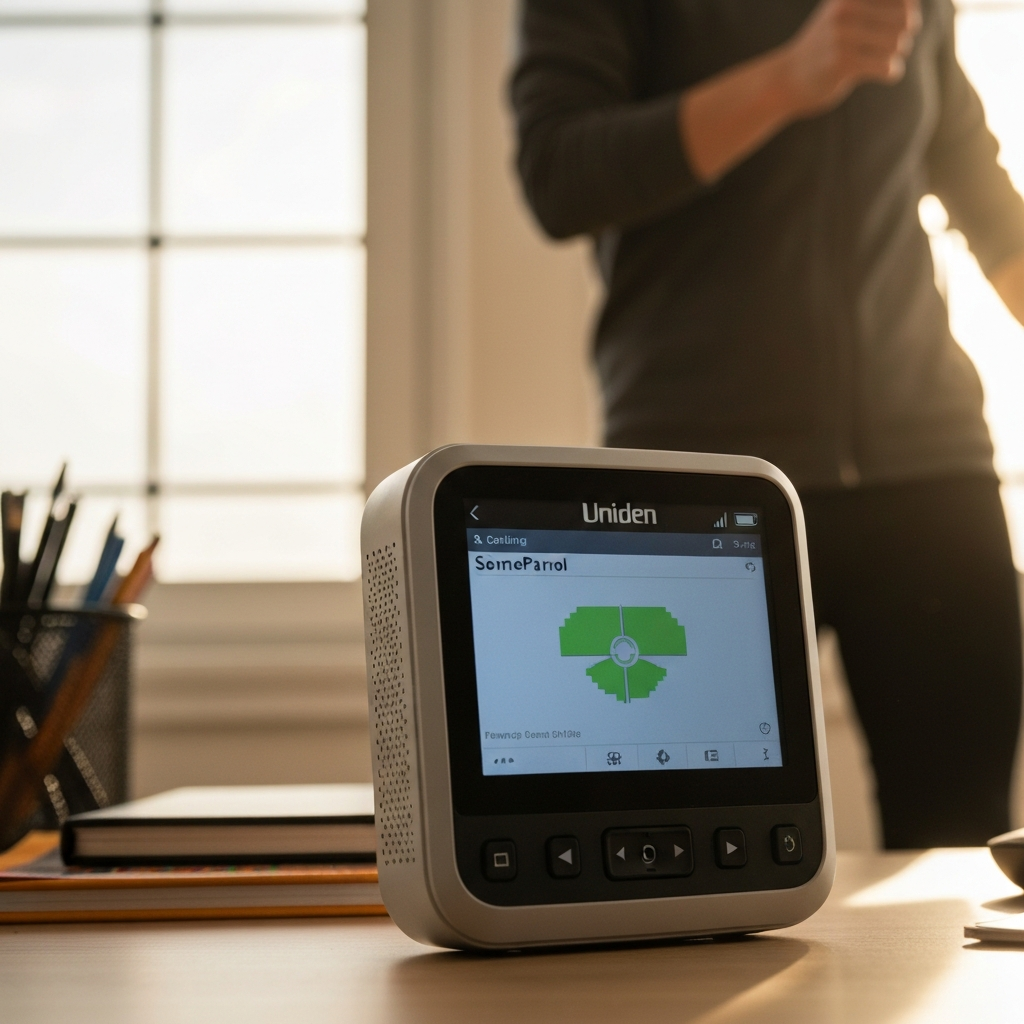
Step 3: Allow the Device to Start Listening
Scanner Initialization
Once the HomePatrol has booted up, allow it to enter its normal operating mode and begin scanning for transmissions. This ensures that the device is properly receiving audio signals before you initiate a recording session. Let the scanner scan for a few moments before beginning recording. This allows you to capture recent transmissions, ensuring you don't miss anything important at the start of your recording.
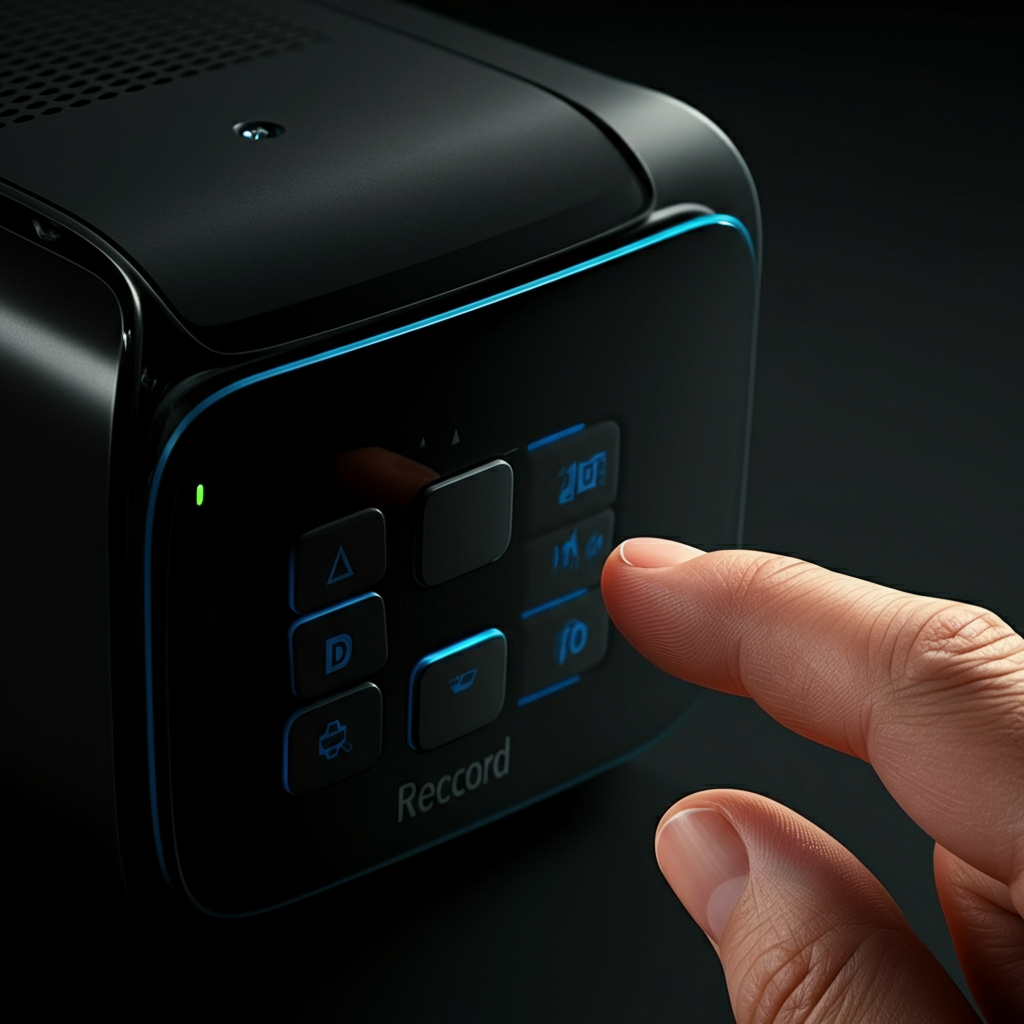
Step 4: Start Recording
Initiate the Recording Process
When you're ready to begin recording, locate the "Record" button on the bottom of your HomePatrol device. This button may be represented by a microphone icon or the word "Record" itself. Tap the button to initiate the recording process. The device will then display a dialog box confirming your intention to record.
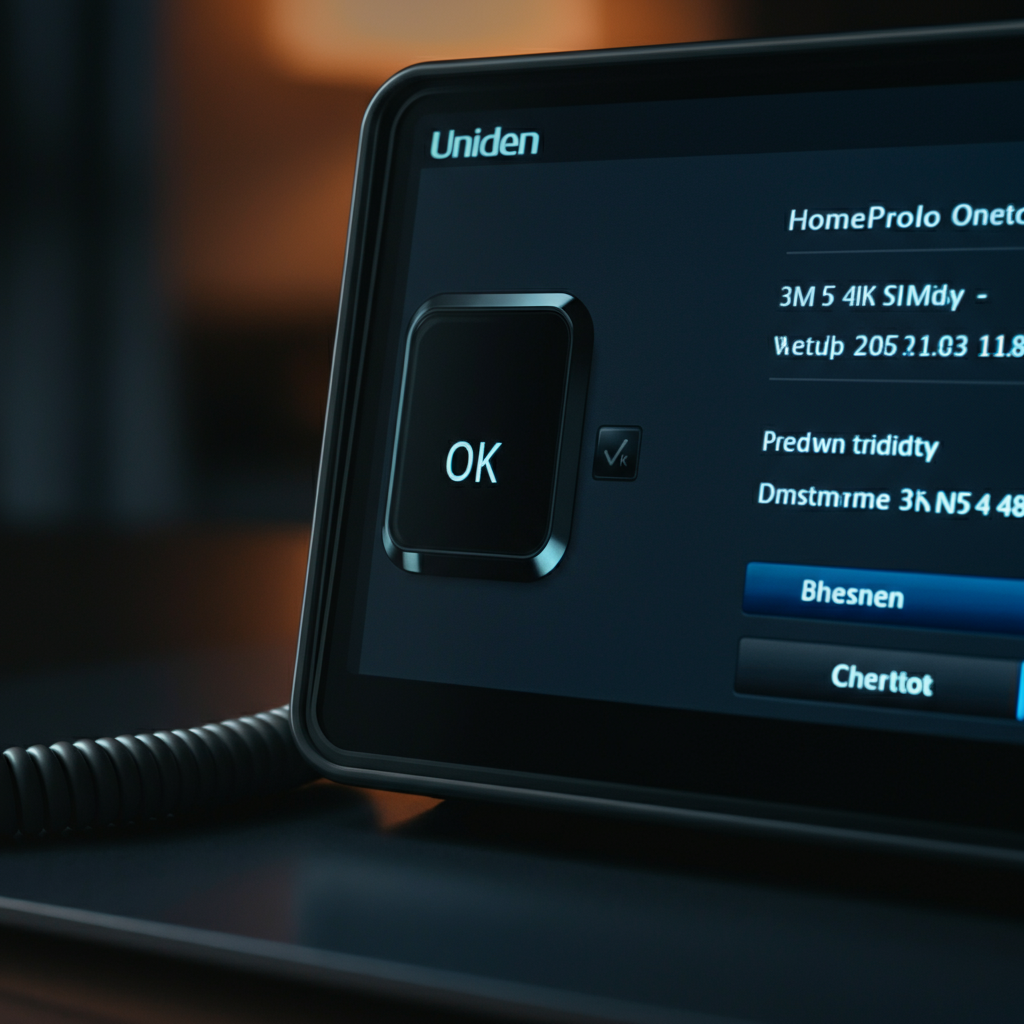
Step 5: Confirm Recording Start
Approve the Recording Prompt
After tapping the "Record" button, a dialog box will appear asking if you want to begin recording. To confirm, tap the "OK" button within the dialog box. If you do not tap any of the buttons, the recording will not commence. The device will record from the last audio transmission that was received just before you pressed the Record button, so be aware of this slight delay. This prompt ensures you don't accidentally start recording unintentionally.
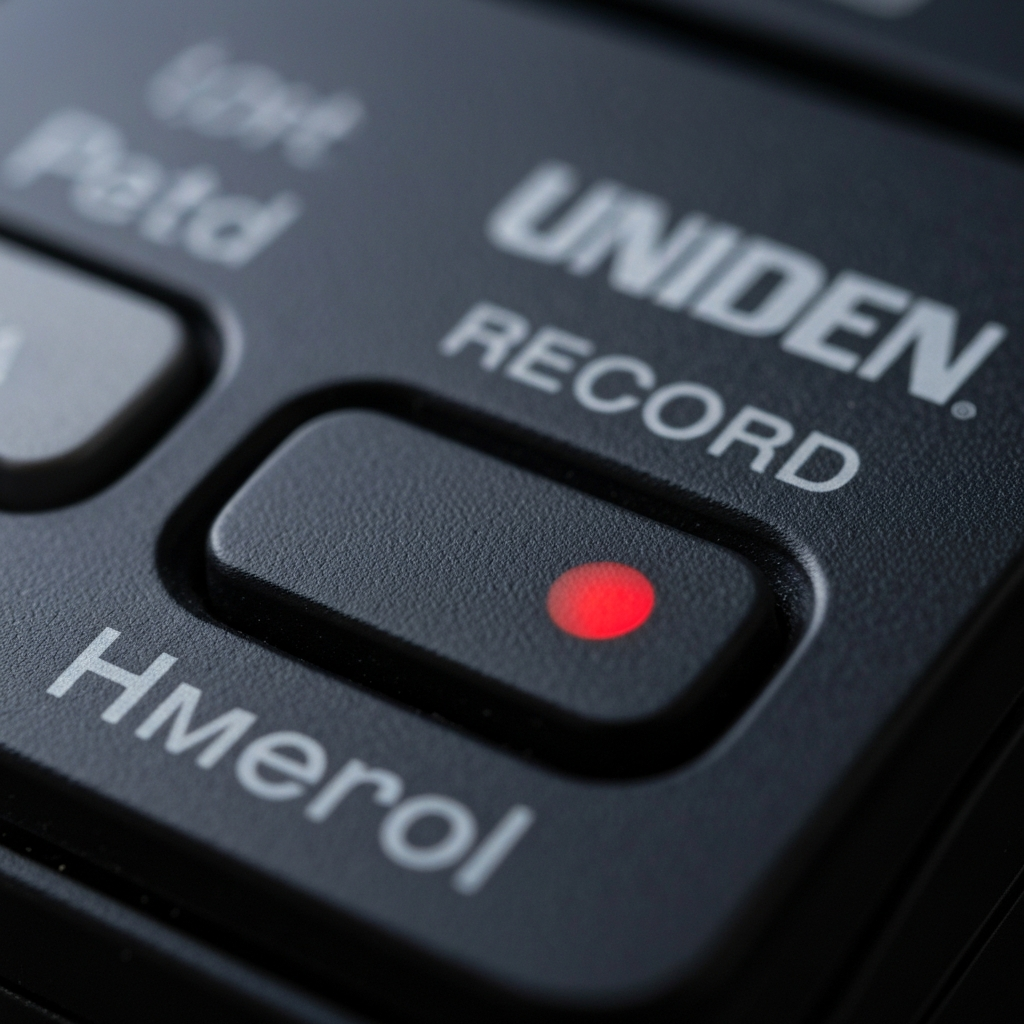
Step 6: Stop Recording
Terminate the Recording Session
When you're finished recording, tap the "Record" button again. This time, the button will likely be indicated with a red dot to signify that a recording is in progress. Tapping the button will stop the recording. Be aware that the HomePatrol does not have a pause button, so you cannot selectively record specific transmissions. Everything within the recording session will be saved into the file.
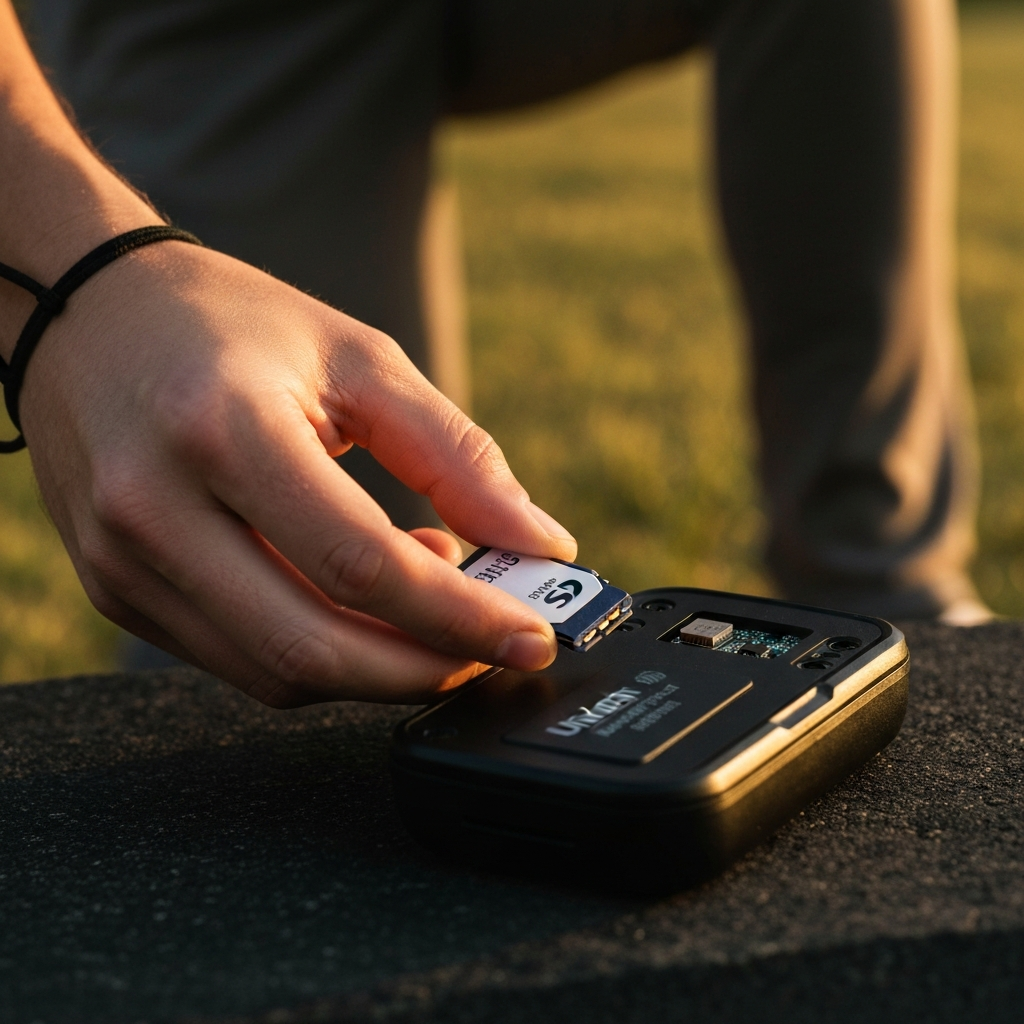
Step 7: Save the Recording
Finalize and Store the Audio File
Once you stop the recording, a dialog box will appear asking if you want to save the transmission as a file on your device. Tap the "OK" button to confirm. The file will be saved to the SD card located inside the battery case. Files are saved using the date in YYYY-MM-DD_hh:mm:ss format, making them easy to identify and organize. Remember that while recording, you won't be able to hold onto certain stations or block channels. You must stop the recording to perform those actions.
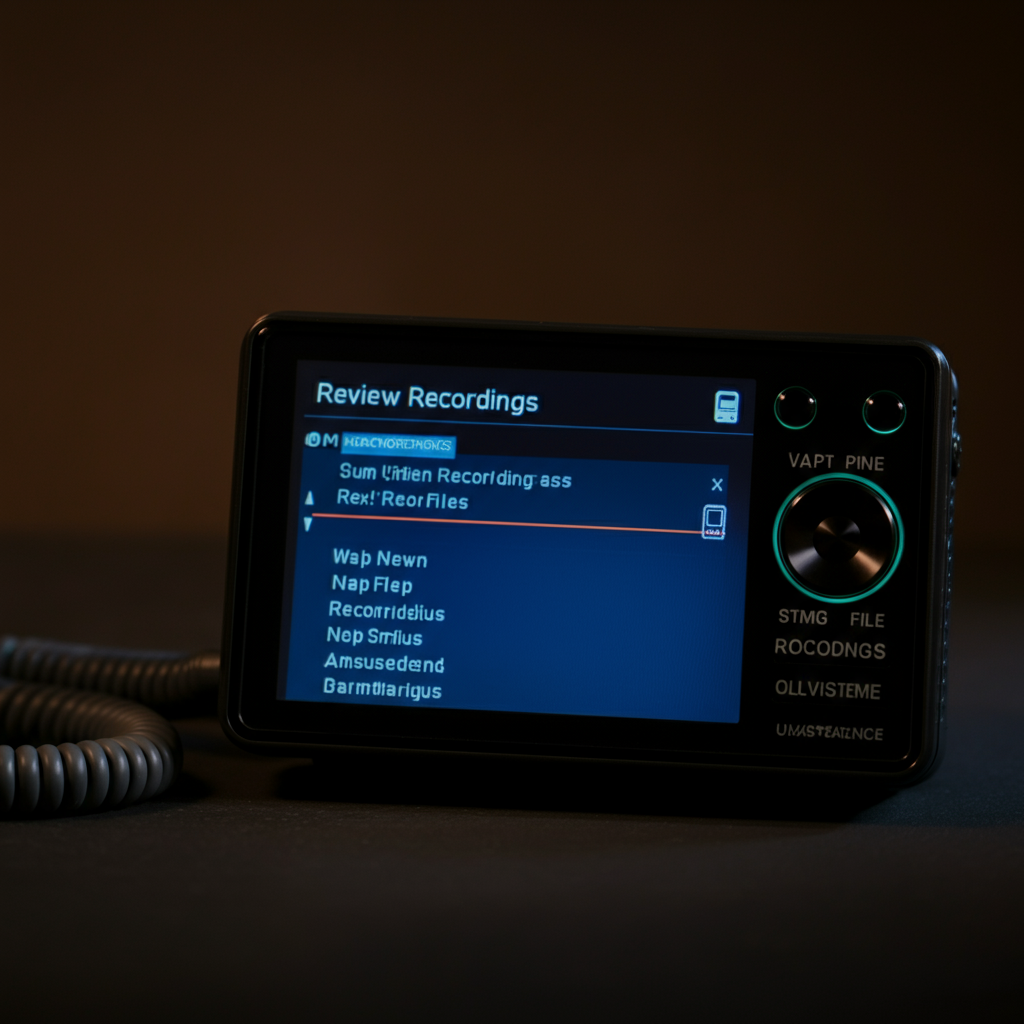
Step 8: Review Your Recording
Playback and Evaluation
To access your recordings, navigate to the Advanced Menu on your HomePatrol. The path is typically: Menu > Advanced Menu > (down arrow) > Replay Options > Review Recordings. From there, you can select the recording you wish to review by tapping on it. Keep in mind that after playing back a recording, you might miss "in progress" items that occur later. This is due to the scanner being occupied with playback rather than actively scanning.
Tools or Materials Required
- Uniden HomePatrol scanner
- USB cable (provided with the device)
- USB power adapter (optional, for wall outlet charging)
Common Mistakes to Avoid
- Forgetting to connect the device to external power before recording.
- Not confirming the recording start prompt.
- Failing to review recordings promptly, potentially missing new transmissions.
- Attempting to place blocks on channels while actively recording.
Pro Tips
- Regularly back up the contents of your SD card to your computer to prevent data loss.
- Label your recordings with descriptive names after transferring them to your computer for easier organization.
- Experiment with different scanner settings to optimize audio quality and recording duration.
FAQ Section
- Q: Can I record for an extended period of time?
- A: Yes, as long as the device is connected to external power and the SD card has sufficient storage space.
- Q: Where are the recordings stored?
- A: Recordings are stored on the SD card located inside the battery case.
- Q: Can I transfer recordings to my computer?
- A: Yes, you can connect the HomePatrol to your computer via USB and access the SD card as a removable drive, or remove the SD card and use an SD card reader.
- Q: Why won't my device let me record?
- A: Ensure that the device is connected to an external power source. Recording is disabled when running on battery power.
In conclusion, recording sessions on your Uniden HomePatrol is a straightforward process once you understand the necessary steps and considerations. By following this guide, you'll be able to capture important transmissions, analyze them later, and effectively manage your recordings. Remember to always connect to external power, confirm recording prompts, and back up your data regularly. With these tips in mind, you can maximize the recording capabilities of your HomePatrol and enhance your scanning experience.