QR codes have become ubiquitous, bridging the gap between the physical and digital worlds. From marketing materials to restaurant menus, they offer a quick and convenient way to access information. However, a blurry or distorted QR code can render this technology useless. The frustration of an unscannable QR code is something we've all likely experienced.
The causes of a blurry QR code are varied, ranging from low image resolution and poor printing quality to damage caused by environmental factors. Fortunately, there are several techniques you can employ to salvage a blurry QR code or, if necessary, create a new, crystal-clear one. This guide will walk you through these methods, providing practical steps and expert advice to ensure your QR codes are always scannable.
Whether you're dealing with an existing blurry QR code or creating new ones, understanding the factors that contribute to image clarity is crucial. Let's dive into the methods you can use to fix or avoid this common problem.
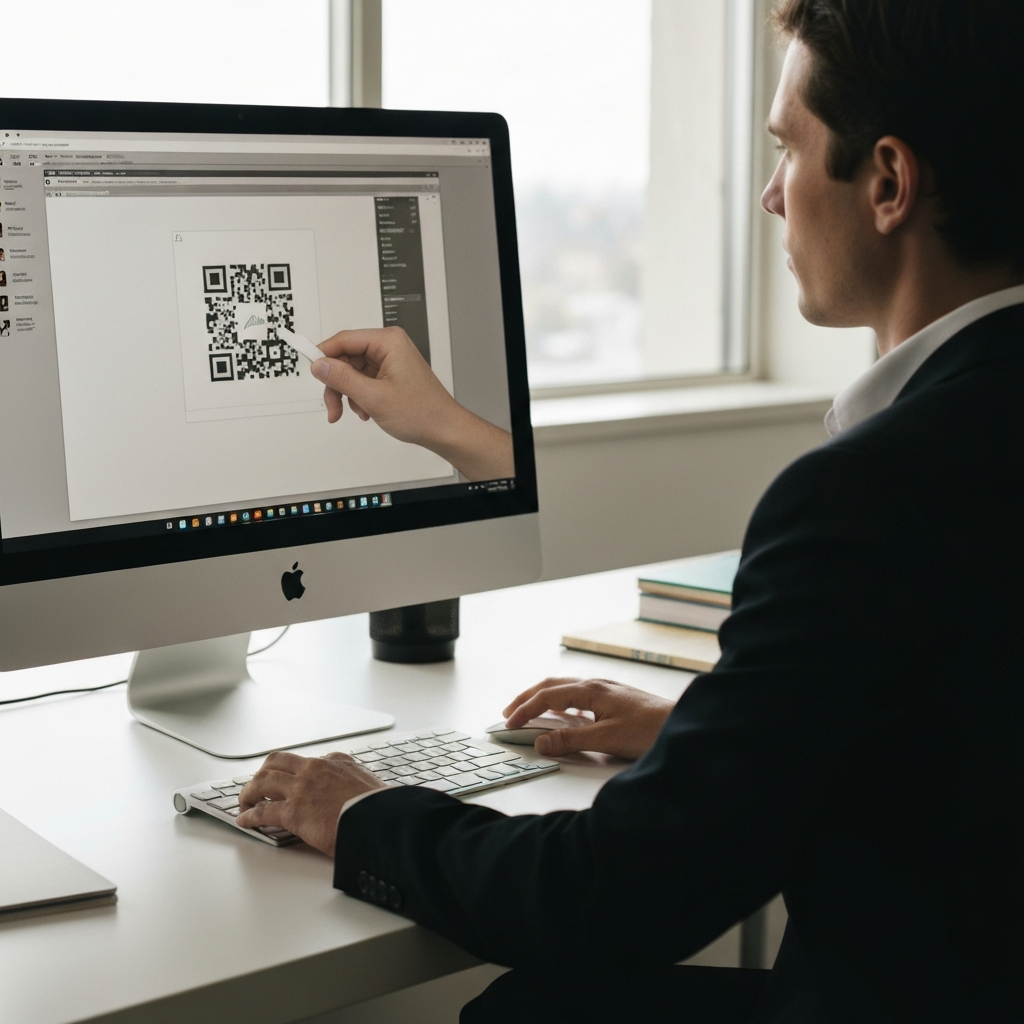
Step 1: Utilize Online Image Sharpening Tools
Several online tools offer quick and easy solutions for unblurring images, including QR codes. These tools often utilize algorithms to enhance image clarity, making them a valuable first step in fixing a blurry QR code. Remember to consider the privacy implications of uploading images to online tools. Some reputable options include HitPaw, Canva's Sharpen Image tool, Fotor, and QR Code Sharpener. Each platform offers a slightly different interface and sharpening algorithm, so experimenting with a few different tools may yield the best results.
Step 2: Employ Photo-Editing Software with Sharpening Features
If online tools don't provide satisfactory results, consider using dedicated photo-editing software. Programs like Photoshop (paid) and GIMP (free) offer more advanced sharpening tools and filters, allowing for greater control over the unblurring process. The "Unsharp Mask" filter, common in many photo editors, can be particularly effective for sharpening edges and enhancing details. Be careful not to over-sharpen, as this can introduce unwanted artifacts and noise into the image. Experiment with different sharpening techniques and settings to find the optimal balance for your specific QR code.

Step 3: Upscale the Image Resolution
A low-resolution QR code can appear blurry, especially when printed or displayed on larger screens. Upscaling the image, or increasing its resolution, can help improve its clarity. While upscaling can improve the appearance, it won't magically create detail that wasn't originally there. Use online tools like iLoveIMG or Smart Image Upscaler to increase the resolution of your QR code. Be aware that upscaling can sometimes introduce pixelation or other artifacts, so it's essential to strike a balance between resolution and image quality.
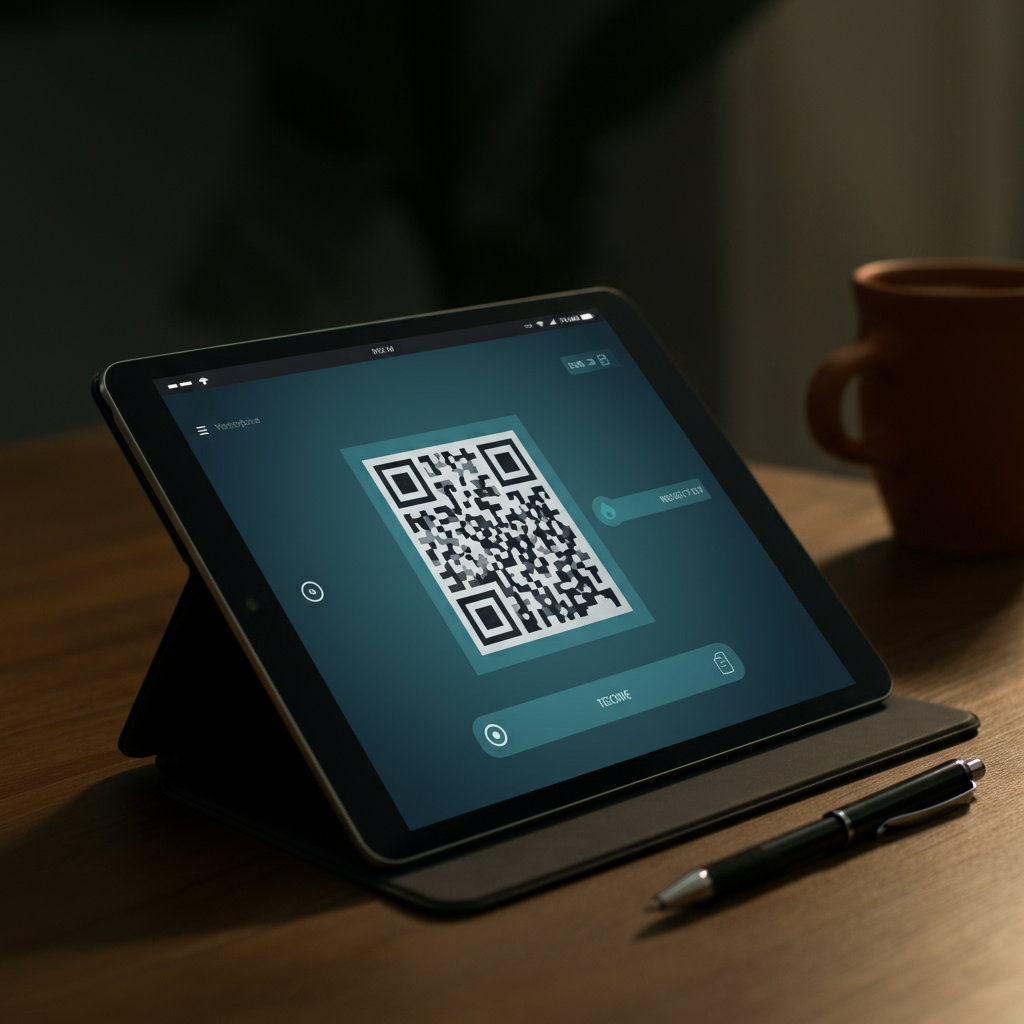
Step 4: Ensure Optimal Contrast Between Foreground and Background
The readability of a QR code relies heavily on a clear contrast between the foreground (the black modules) and the background. Inverted colors (light foreground on a dark background) are generally not recommended and can often render the QR code unscannable. A dark foreground on a light background provides the best contrast for scanners. Avoid using colors that are too similar, such as gray on white, as this can make it difficult for cameras to distinguish the QR code.

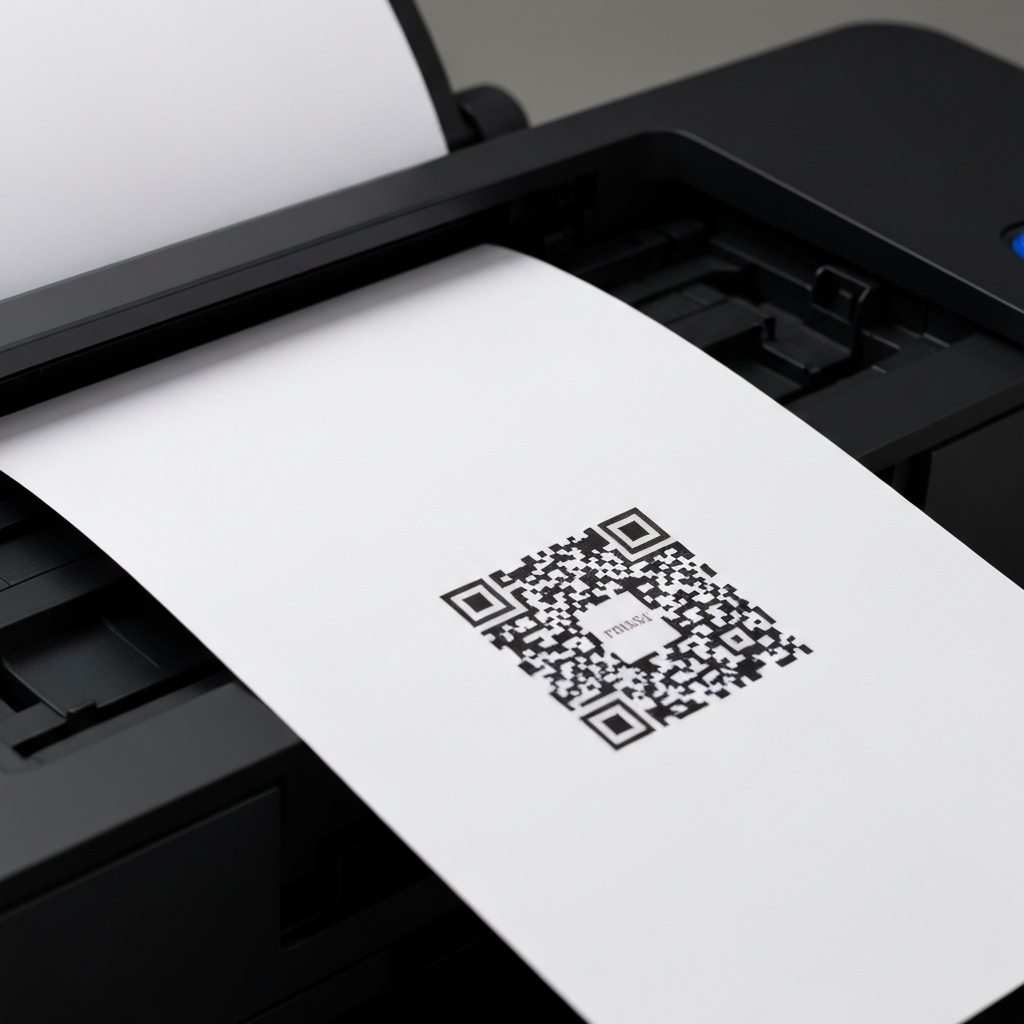
Step 5: Optimize Printer Settings for QR Code Printing
If you're printing QR codes, it's crucial to optimize your printer settings to ensure the best possible print quality. Select the highest quality print settings available on your printer. Also, make sure you are using appropriate paper for the task. Heavily textured or patterned paper can interfere with the scanning process. Laser printers often produce better results for QR codes compared to inkjet printers, especially when printing in large quantities. If using a laser printer, adjust the print speed settings to optimize color saturation and avoid undersaturation or fading.
Common Mistakes to Avoid
- Over-sharpening: Sharpening an image too much can introduce unwanted artifacts and noise.
- Insufficient Contrast: Poor contrast between the foreground and background can make the QR code difficult to scan.
- Low Resolution: Using a low-resolution image will result in a blurry QR code, especially when printed or displayed on larger screens.
- Using textured paper: This can cause uneven printing and make the code difficult to scan.
- Ignoring printer settings: Not optimizing printer settings can lead to poor print quality and blurry QR codes.
Pro Tips
- Regularly clean your phone or tablet camera lens. A dirty lens can contribute to blurry scans.
- Test your QR code with multiple devices and QR code reader apps to ensure compatibility.
- When generating QR codes, choose a format like SVG or EPS for scalability without loss of quality.
Conclusion
Dealing with blurry QR codes can be frustrating, but by following the steps outlined in this guide, you can effectively fix existing codes or create new ones that are sharp and easily scannable. Remember to consider factors like image resolution, contrast, and printer settings to ensure optimal results. By implementing these techniques, you can ensure that your QR codes serve their intended purpose: providing quick and seamless access to information.