Weighted blankets have gained immense popularity for their calming and therapeutic effects. Often used to ease anxiety, improve sleep, and provide comfort to individuals with sensory processing disorders or autism, a weighted blanket offers a gentle, constant pressure that mimics the feeling of being hugged or held. Rather than purchasing a pre-made blanket, crafting your own allows for complete customization regarding size, fabric, weight distribution, and overall aesthetic.
This guide provides a detailed, step-by-step approach to creating a high-quality weighted blanket tailored to your specific needs. We'll cover everything from calculating the appropriate weight and selecting suitable materials to the actual sewing process and finishing touches. Whether you're a seasoned seamstress or a beginner with basic sewing skills, this project is manageable with a bit of patience and attention to detail. Get ready to create a cozy and comforting companion that will enhance your relaxation and well-being.
Let’s embark on this rewarding DIY project and construct a personalized weighted blanket that caters perfectly to your unique preferences and requirements.
Step 1: Determining the Correct Weight and Size
The effectiveness of a weighted blanket hinges on its weight being appropriate for the user. A general rule of thumb is that the blanket should weigh approximately 10% of the user's body weight. However, you may adjust slightly based on personal preference. For children, it's especially crucial to err on the side of caution and avoid making the blanket too heavy. As for size, consider the blanket's intended use. A lap blanket will be smaller than one designed for full body coverage on a bed.

Step 2: Selecting Your Fabric
Choosing the right fabric is essential for both comfort and durability. Opt for soft, breathable materials like cotton, flannel, fleece, or even a combination of textures. Consider the season and the user's preferences when making your selection. Lightweight cotton is ideal for warmer months, while flannel or fleece provides extra warmth during colder seasons. Remember to pre-wash your fabric to prevent shrinkage after the blanket is completed. Purchase enough fabric to create two equally sized pieces that are the dimensions you decided on, plus an extra inch on each side for seam allowance.
Step 3: Gathering Your Supplies
Before you start sewing, ensure you have all the necessary materials at hand. In addition to your chosen fabric, you'll need poly pellets (the most common and washable filling), a sewing machine, thread that matches your fabric, scissors, pins, a measuring tape or ruler, and chalk or a fabric marker. Investing in high-quality thread and needles will prevent frustration during the sewing process. A seam ripper is also useful for correcting any mistakes.

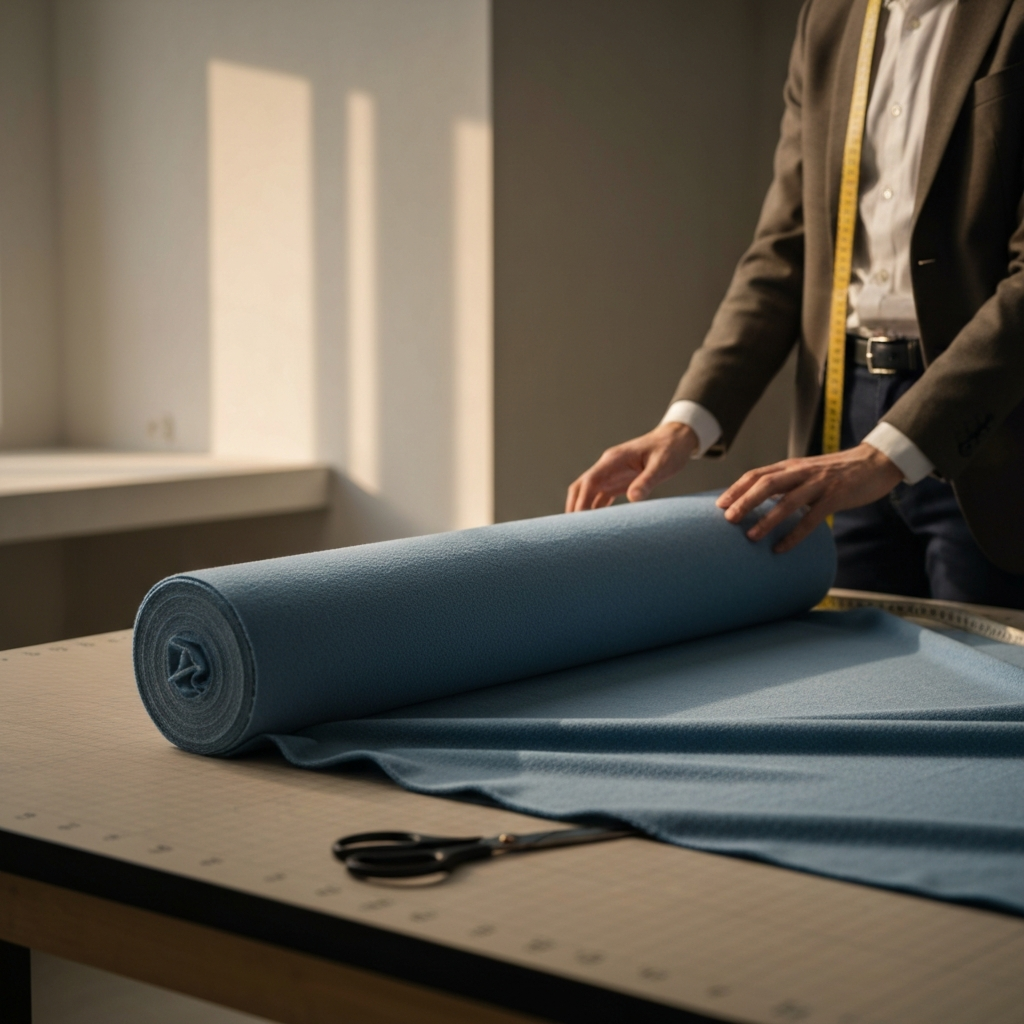
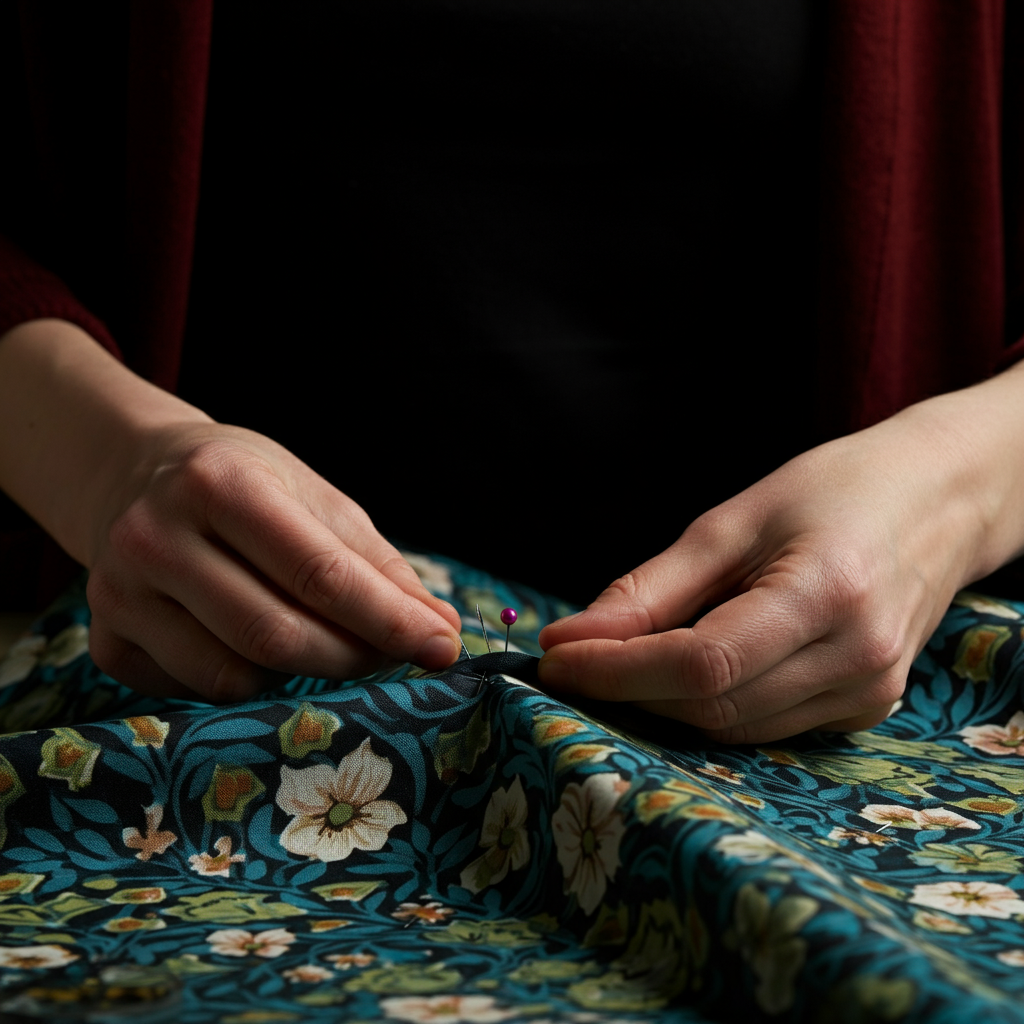
Step 4: Cutting the Fabric and Preparing the Pieces
Lay your fabric flat on a cutting surface and use your measuring tape or ruler and chalk or fabric marker to mark out the desired dimensions of your blanket, including the extra inch for seam allowance on all sides. Carefully cut out two identical pieces of fabric. Precise cutting ensures a neat and professional finish. Pin the two pieces of fabric together, right sides facing each other, along three of the four sides. Leave one side open for adding the poly pellets.
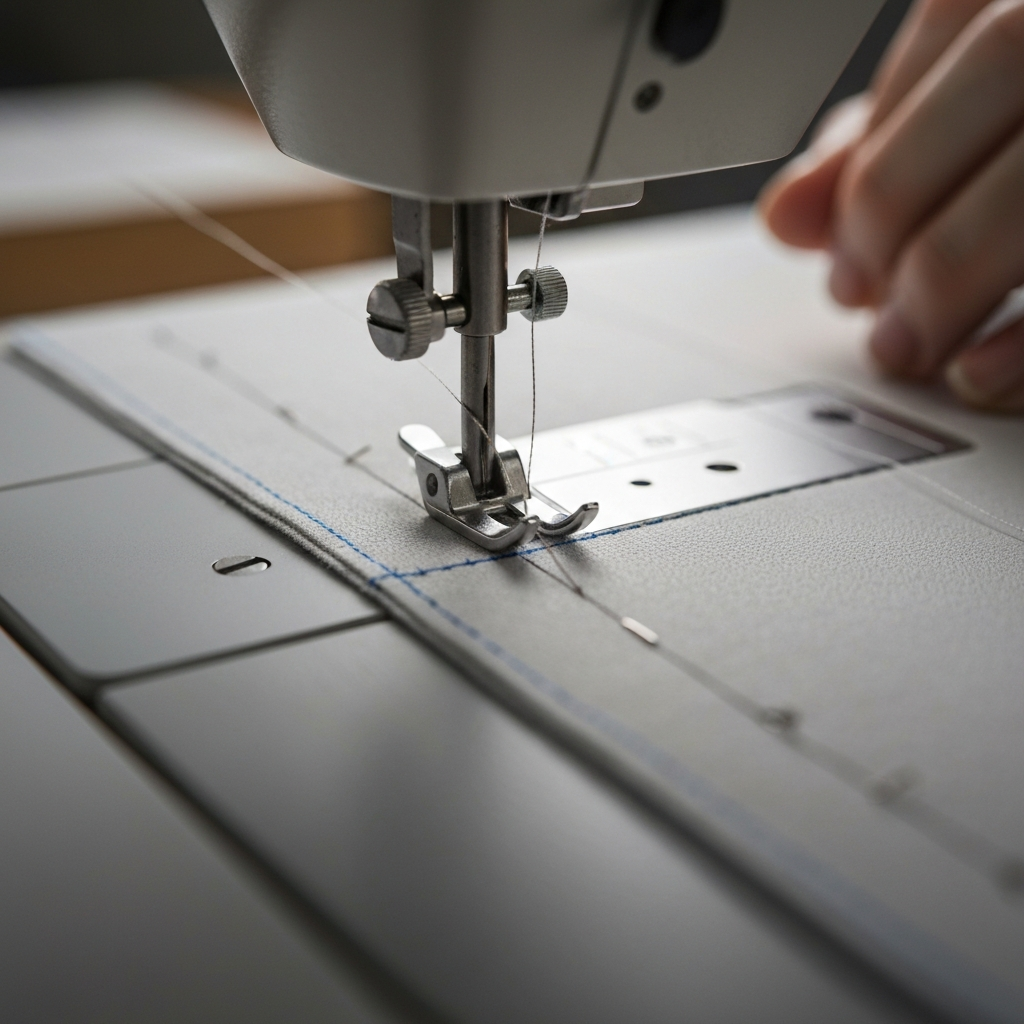
Step 5: Sewing the Perimeter Seams
Using your sewing machine, sew along the three pinned sides of the fabric, creating a seam allowance of approximately ½ inch. Backstitch at the beginning and end of each seam to secure the stitches and prevent unraveling. Remove the pins as you sew. Once you've sewn the three sides, turn the blanket right-side out, using a point turner or blunt tool to push out the corners and create crisp edges. Iron the seams flat for a professional look.
Step 6: Creating the Channels
Now, you need to create channels or pockets within the blanket to hold the poly pellets and distribute the weight evenly. Using your ruler or measuring tape and chalk or fabric marker, mark lines across the blanket to create a grid of evenly spaced squares or rectangles. A common size for these squares is 4x4 inches or 5x5 inches, but the size depends on the size of the blanket itself. The smaller the squares, the better the weight distribution will be. Begin marking from the open edge of the blanket and then from an adjacent edge. Accuracy is key to achieving a balanced and comfortable weighted blanket.

Step 7: Calculating Pellet Distribution
Before sewing the channels, it's crucial to calculate how many pellets to add to each square to achieve the desired total weight. Start by figuring out the total number of squares or rectangles in your blanket's grid. Next, divide the total weight of pellets needed (as calculated in Step 1) by the number of squares. This will give you the amount of pellets to add to each individual square. This step ensures even weight distribution. Using a digital kitchen scale can make this process more precise.

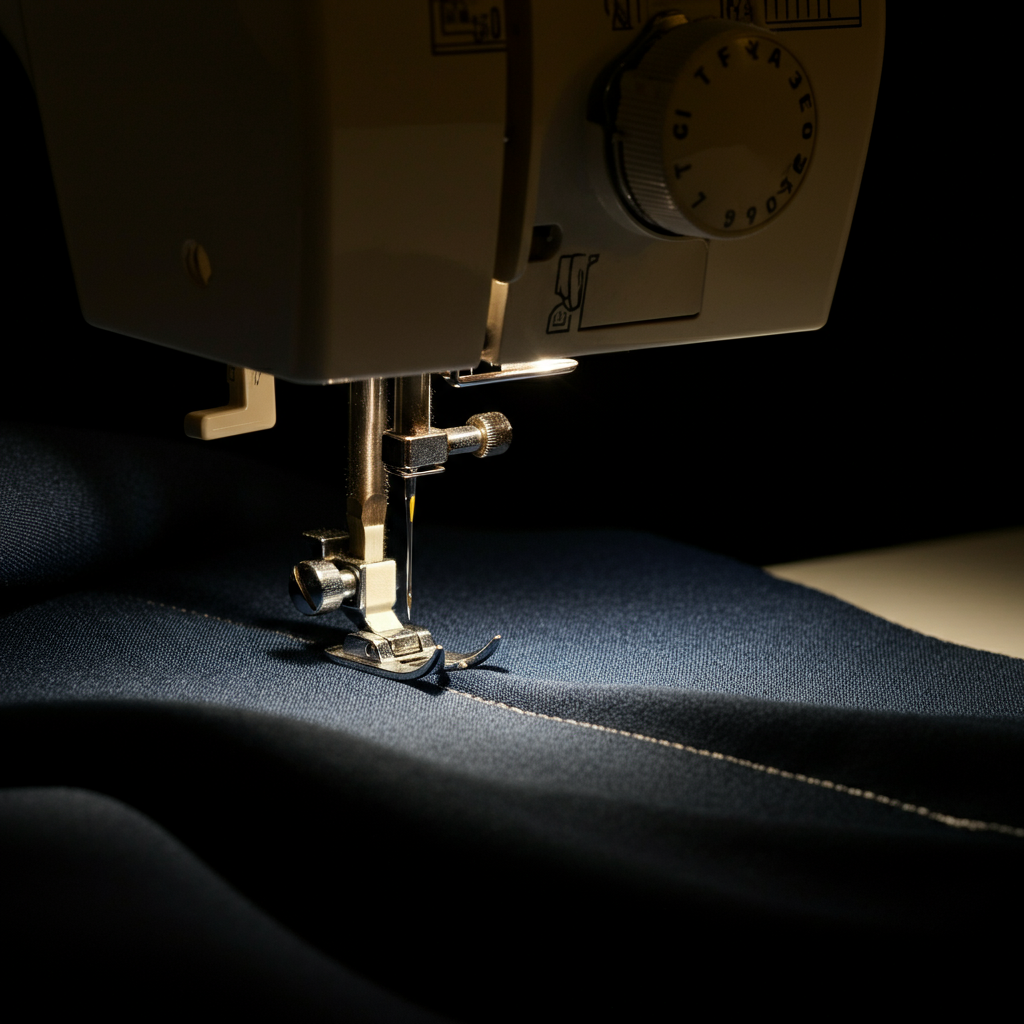
Step 8: Sewing the Vertical Channels
Sew along the lines you marked running down from the open edge of the blanket to create the vertical channels. Sew all of the lines you marked that go in the same direction before moving on to the next step. This will ensure that the opening of the columns will be along the open edge of the blanket so you can pour the poly pellets into the columns.Ensure your stitches are secure at the beginning and end of each line.
Step 9: Filling the Channels with Poly Pellets
Carefully pour the calculated amount of poly pellets into each of the open channels. Use a funnel or a small cup to make this process easier and prevent spills. Ensure all the pellets are at the bottom of the columns before sewing horizontally.
Step 10: Sewing the Horizontal Channels and Closing the Blanket
Once all the channels are filled with poly pellets, carefully sew along the horizontal lines you marked, closing each channel and securing the pellets in place. Shake the blanket to ensure the pellets stay at the bottom of the columns before sewing. Repeat this process until all horizontal lines are sewn and all squares are completely filled. Finally, fold over the open edge of the blanket, creating a clean, finished seam, and sew it closed.
Step 11: Adding a Border (Optional)
For an extra touch of comfort and style, consider adding a soft border around the edges of your weighted blanket. Choose a satiny or soft fabric for extra softness. Cut fabric strips to your desired border size and attach them using your sewing machine or a hand-sewing needle, wrapping it around the edges of the blanket. This can provide a luxurious feel and enhance the blanket's overall aesthetic.
Tools or Materials Required
- Fabric (cotton, flannel, fleece, etc.)
- Poly pellets
- Sewing machine
- Thread
- Scissors
- Pins
- Measuring tape or ruler
- Chalk or fabric marker
- Digital kitchen scale (optional)
- Iron
Common Mistakes to Avoid
- Using an incorrect weight calculation.
- Uneven distribution of poly pellets.
- Choosing fabric that is not durable or comfortable.
- Skipping the pre-washing step, leading to shrinkage after completion.
Safety Considerations
- Never use a weighted blanket on infants or young children without consulting a pediatrician. Weighted blankets are not recommended for babies as they could pose a suffocation risk.
- Ensure the user can easily remove the blanket if needed.
- Monitor the user for any signs of discomfort or overheating.
Pro Tips
- Experiment with different fabrics and textures to find the perfect combination for your comfort.
- Consider using a duvet cover for easy cleaning and maintenance.
- For added durability, reinforce the seams with a double stitch.
FAQ Section
- What if I don't have a sewing machine?
- While a sewing machine makes the process faster and easier, you can hand-sew the entire blanket. However, it will be more time-consuming.
- Can I use rice or beans as a filling instead of poly pellets?
- While possible, rice and beans are not recommended as they can attract moisture and mold, and they are not machine washable. Poly pellets are a more hygienic and durable option.
- How do I clean my weighted blanket?
- Machine wash in cold water on a gentle cycle and tumble dry on low heat or hang to dry. Refer to the fabric care instructions for specific recommendations.
Conclusion
Creating your own weighted blanket is a rewarding and fulfilling project that allows for complete customization and control over materials and construction. By following these steps and considering the safety precautions, you can create a comforting and therapeutic tool that promotes relaxation and well-being. Remember, precision and attention to detail are key to achieving a high-quality finished product. Enjoy your cozy new weighted blanket!