Adjustable bracelets are a stylish and versatile accessory that can be customized to fit any wrist size. They're perfect for gifting, as you don't need to know the recipient's exact wrist measurement. Furthermore, making your own adjustable bracelets is a fun and rewarding craft project, allowing you to express your creativity and create unique pieces.
This comprehensive guide will walk you through several methods for creating adjustable bracelets, from simple barrel knots to more intricate macramé techniques. We'll cover the necessary materials, step-by-step instructions, and pro tips to ensure your bracelets are both beautiful and durable. Whether you're a beginner or an experienced crafter, you'll find valuable information to elevate your bracelet-making skills.
Get ready to unleash your inner artist and create stunning adjustable bracelets that you can wear with pride or give as thoughtful, personalized gifts. Let's dive in!
Tools or Materials Required
- Cord (Paracord, Satin Nylon Cord, Hemp Cord - approximately 1 meter or 37.4 inches)
- Beads (optional, with holes at least 2mm wide)
- Scissors
- Ruler or Measuring Tape
- Lighter (optional, for sealing cord ends)
- Tape (for securing cords during macramé)
- Hot Glue Gun (optional, for sealing macramé knots)
-
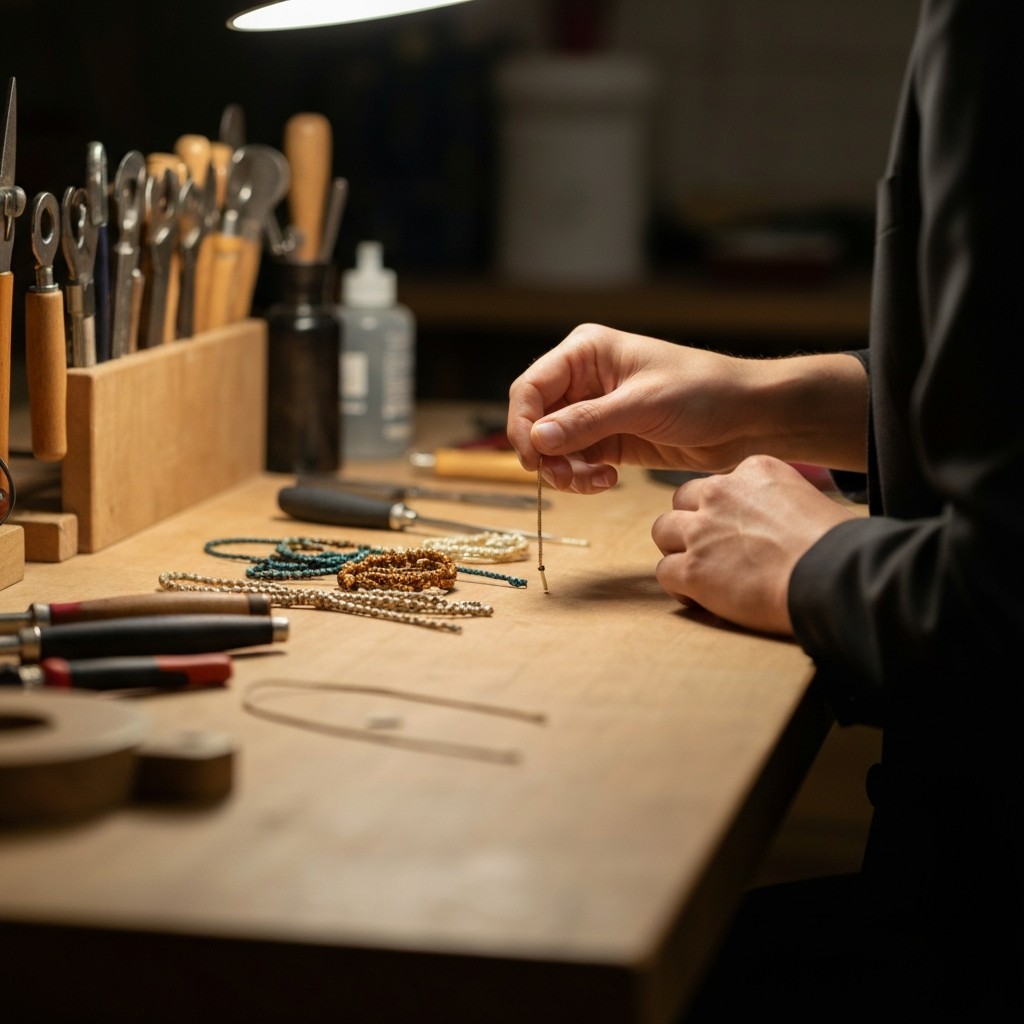
Prepare Your Materials
Before you begin, gather all the necessary materials. Choose a cord that is comfortable to wear and strong enough to withstand daily use. Paracord and satin nylon cord are popular choices due to their durability and availability in various colors. Ensure your beads have holes large enough to accommodate the cord. Cut a length of cord approximately 1 meter (37.4 inches) long. This should provide enough material for most wrist sizes and allow for adjustments.
-
Adjustable Bracelet with Single Barrel Knot
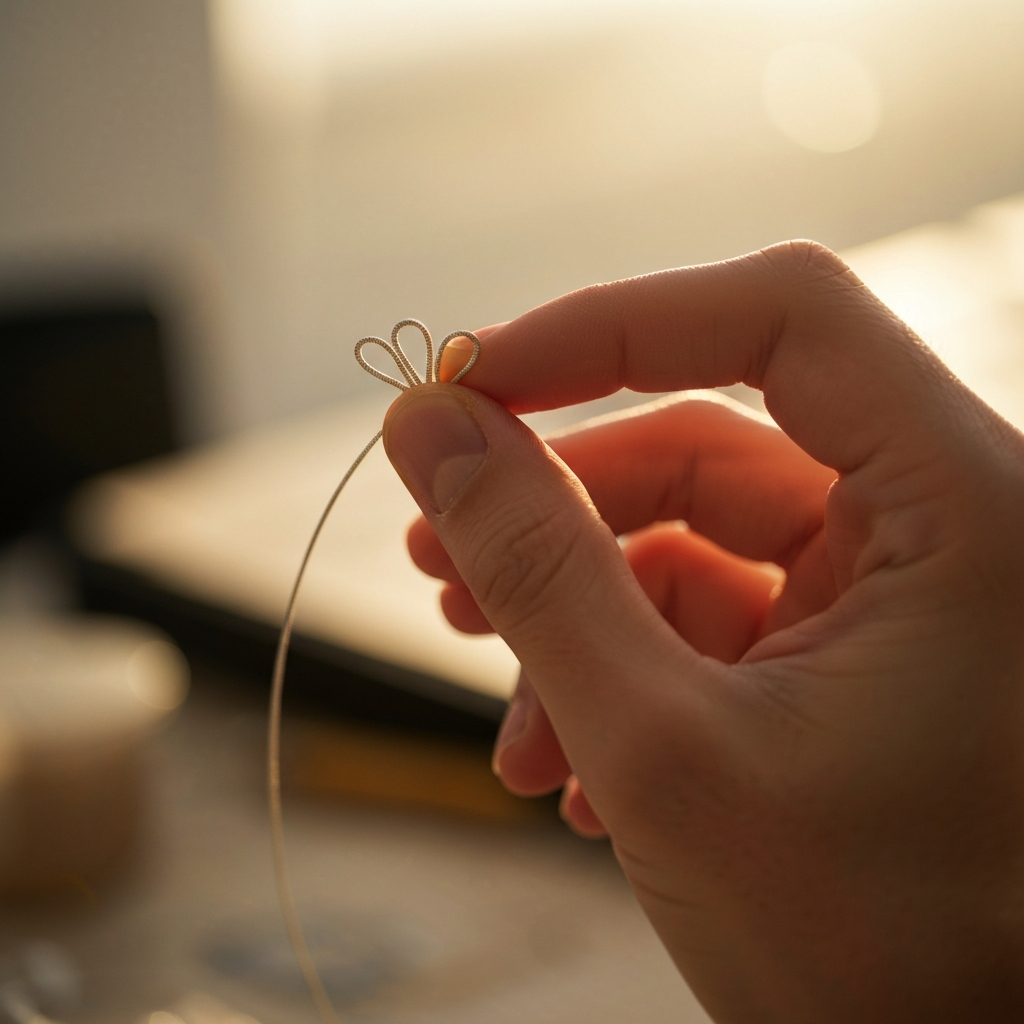
This method creates a simple and effective adjustable closure using a barrel knot. Begin by overlapping the ends of your cut cord, creating a loop. The loop should be slightly larger than your wrist size for comfortable wear. Position the longer side of the cord on top of the shorter side – this is crucial for creating a functional sliding knot.
-
Creating the Barrel Knot
Place your index finger where the cords overlap. Take the longer end of the cord and bring it down, behind, and inside the bracelet loop, forming a smaller loop around your finger. Repeat this process three more times, creating a total of three loops around your finger. This is the foundation of your adjustable knot. Make sure the loops are reasonably consistent in size to ensure a smooth sliding action later.
-
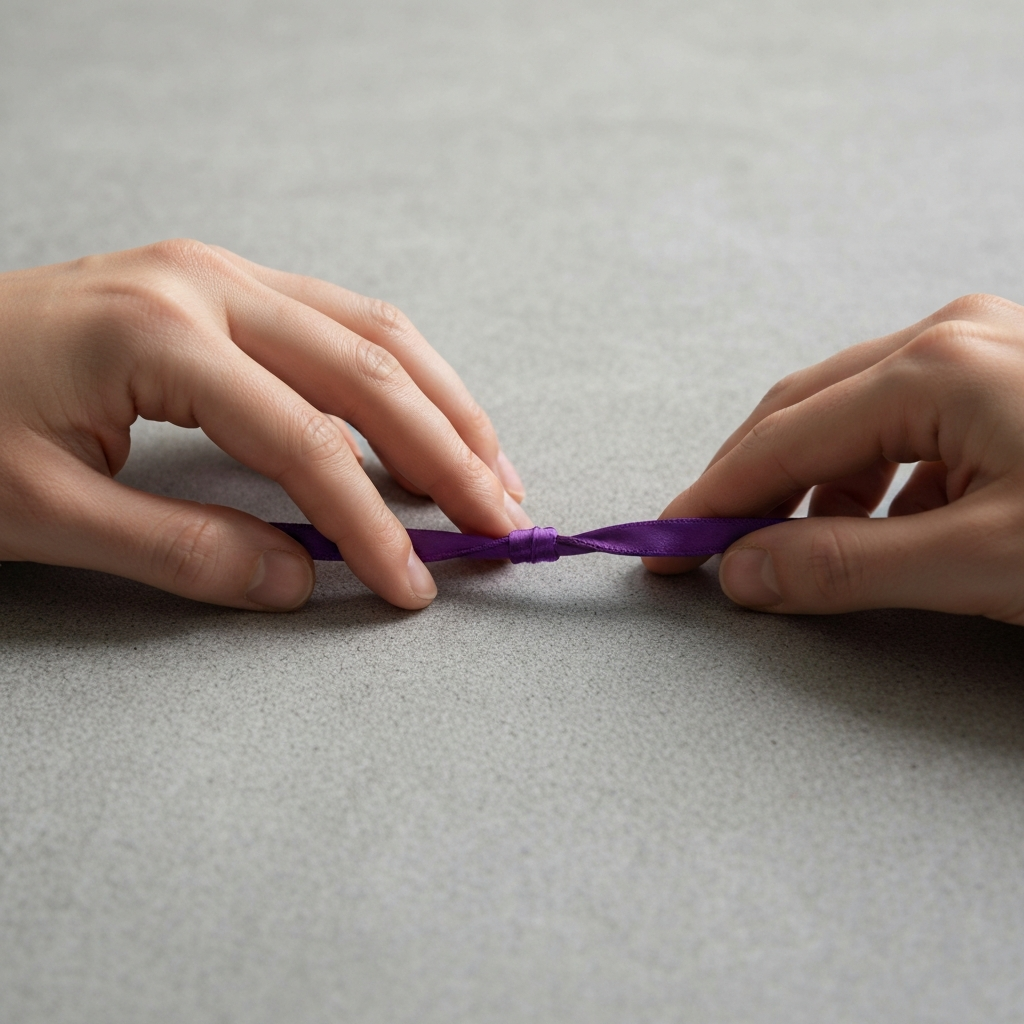
Tightening the Barrel Knot
Carefully slide the loops off your finger. Take the free end of the longer cord and thread it through all three loops you just created. Pull the end of the cord tightly, causing the loops to slide closer together and form a tight barrel knot. This knot is what will allow the bracelet to be adjusted. Test the knot by gently sliding it along the cords; it should move smoothly but firmly.
-
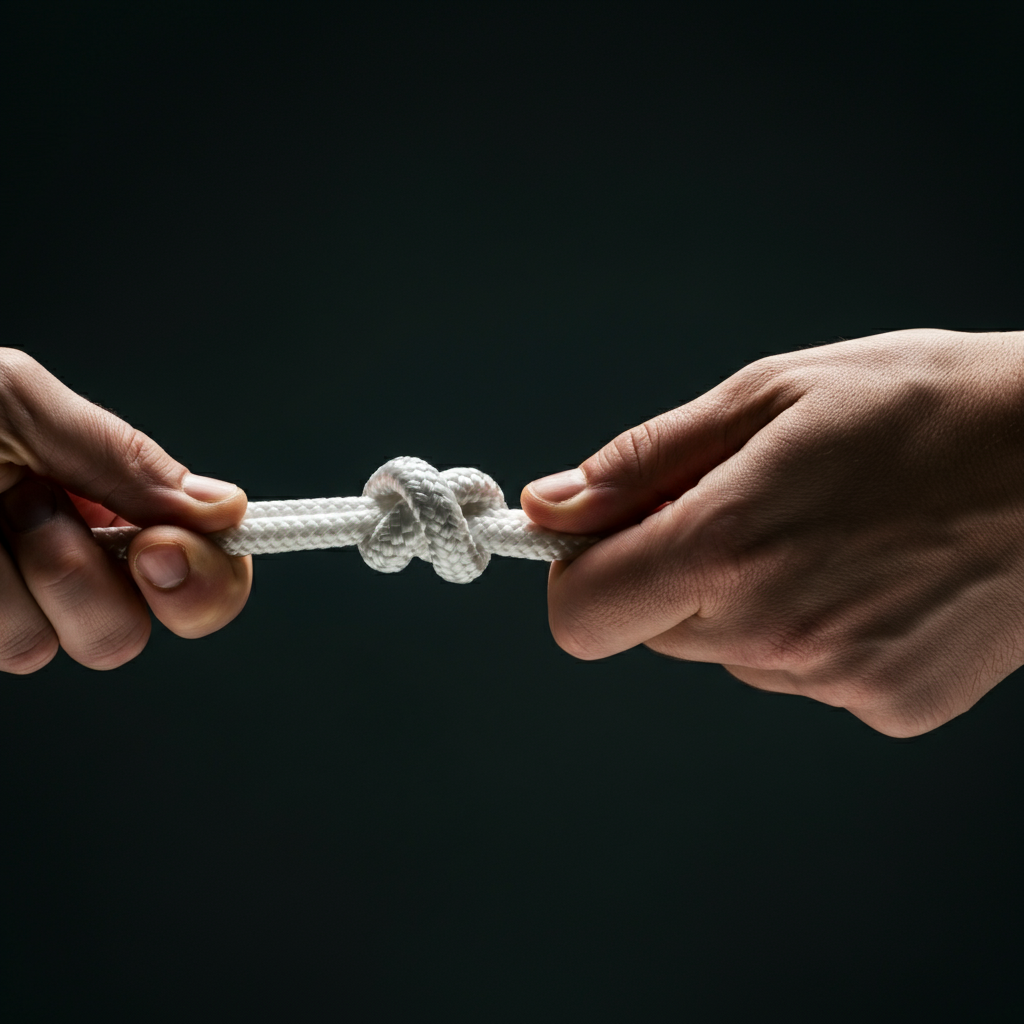
Securing the Cord Ends
To prevent the barrel knot from slipping off the ends of the cords, tie a simple overhand knot at each end. This is done by looping the end of the cord around itself and pulling the end through the loop. These knots act as stoppers, keeping the barrel knot in place. Consider the size of your beads – you might need larger knots to prevent them from sliding off.
-
Finishing Touches (Optional)
Optionally, use a lighter to gently singe the ends of the cord. This prevents the cord from unraveling and gives the bracelet a more finished look. Exercise extreme caution when using a lighter, and only do this in a well-ventilated area. An alternative is to use a small amount of clear nail polish or fabric glue to seal the ends. Trim any excess cord after sealing.
-
Adjustable Bracelet with Macramé Sliding Knot
This method uses a series of macramé square knots to create an adjustable closure. First, cut two cords: one that is 10 cm (3.9 inches) longer than your wrist size (this will be the bracelet cord) and another that is approximately 25 cm (9.8 inches) long (this will be the knotting cord). Lay the longer cord on a flat surface, overlapping the ends to create a loop. Secure the ends with tape to hold them in place.

-
Preparing for the Macramé Knot
Take the shorter cord (the knotting cord) and position it underneath the overlapped ends of the bracelet cord. Ensure that both sides of the knotting cord are even. Bring the left side of the knotting cord over the bracelet cords and then under the right side of the knotting cord, creating a loop. Then, bring the right side of the knotting cord under the bracelet cords and through the loop you created. Pull both ends of the knotting cord tightly to form a basic overhand knot.
-
Tying the Macramé Square Knots
Continue tying macramé square knots. To do this, cross the left side of the knotting cord over the bracelet cords and under the right side. Pull the right end of the knotting cord under the bracelet cords and through the loop. Tighten both ends. Repeat this process, but this time cross the right side of the knotting cord over the bracelet cords and under the left side. Pull the left end under and through the loop, and tighten. Alternate sides with each knot to create a true square knot pattern. Tie a total of 4 to 6 square knots for a secure and attractive closure.
-
Finishing the Macramé Closure
Once you've tied the desired number of square knots, tie an overhand knot to finish the closure. For extra security, apply a small amount of hot glue to the knot before trimming the ends of the knotting cord. This will prevent the knot from unraveling. Finally, tie knots at each end of the bracelet cords to prevent the sliding closure from slipping off. Trim any excess cord.
Common Mistakes to Avoid
- Using cord that is too thin or weak, causing the bracelet to break easily.
- Not tightening the knots sufficiently, resulting in a loose and ineffective closure.
- Cutting the cord too short, leaving insufficient material for adjustments.
- Forgetting to seal the ends of the cord, leading to unraveling.
- Using beads with holes that are too small for the cord.
Safety Considerations
- Use caution when using a lighter to seal cord ends. Work in a well-ventilated area and keep water nearby.
- Be mindful of sharp scissors when cutting the cord.
- If using hot glue, avoid touching the hot nozzle to prevent burns.
Pro Tips
- Experiment with different types of cord and beads to create unique and personalized bracelets.
- Use a bead board to plan your bead arrangement before stringing them onto the cord.
- Practice your knotting techniques on scrap cord before working on your final bracelet.
- Consider adding charms or other embellishments to your bracelets for extra flair.
- Use a small clamp to hold the bracelet ends steady while tying knots.
FAQ Section
- Q: What is the best type of cord to use for adjustable bracelets? A: Paracord and satin nylon cord are popular choices due to their durability and availability in various colors. Hemp cord is a good option for a more natural look.
- Q: How do I adjust the size of an adjustable bracelet? A: Simply slide the barrel knot or macramé closure along the cords to increase or decrease the size of the bracelet.
- Q: Can I use different types of knots for the adjustable closure? A: Yes, you can experiment with different knots to create your own unique adjustable closures.
- Q: How do I clean my adjustable bracelet? A: Gently wipe the bracelet with a damp cloth and mild soap. Avoid using harsh chemicals or abrasive cleaners.
Conclusion
Making adjustable bracelets is a fun and rewarding craft project that allows you to create personalized accessories. By following the steps outlined in this guide, you can create beautiful and durable bracelets that fit any wrist size. Remember to choose high-quality materials, practice your knotting techniques, and always prioritize safety. With a little creativity and patience, you'll be making stunning adjustable bracelets in no time!