Cheer bows are a quintessential part of the cheerleading uniform, adding a vibrant splash of color and personality. While store-bought bows are readily available, crafting your own allows for complete customization to match your team's colors, incorporate unique designs, and save money. This comprehensive guide will walk you through the process of creating professional-looking cheer bows, with or without glue, providing expert tips and tricks along the way.
Whether you're a seasoned crafter or a beginner looking for a fun and rewarding project, this guide will empower you to create stunning cheer bows that will elevate your team's spirit and style. From selecting the right materials to mastering the techniques, we'll cover every aspect of cheer bow making in detail. Get ready to unleash your creativity and design cheer bows that are as unique and spirited as your squad!
By following these step-by-step instructions and incorporating our expert advice, you'll be able to produce high-quality cheer bows that are durable, stylish, and perfectly tailored to your team's needs. So, gather your materials, clear your workspace, and let's get started on creating some unforgettable cheer bows!
Tools or Materials Required
- 3" wide grosgrain ribbon (26"-32" length)
- Narrow grosgrain ribbon (1/2" - 7/8" width)
- Elastic hair tie
- 4" cable tie (zip tie)
- Hot glue gun and glue sticks (optional)
- ¼" double-sided tape (optional)
- Scissors
- Lighter
- Measuring tape
- Washable fabric marker (optional)
- Spray starch or stiffening spray (optional)
- Iron (optional)
- Rhinestones, sequins, iron-on patches (optional)
Step 1: Prepare the Ribbon
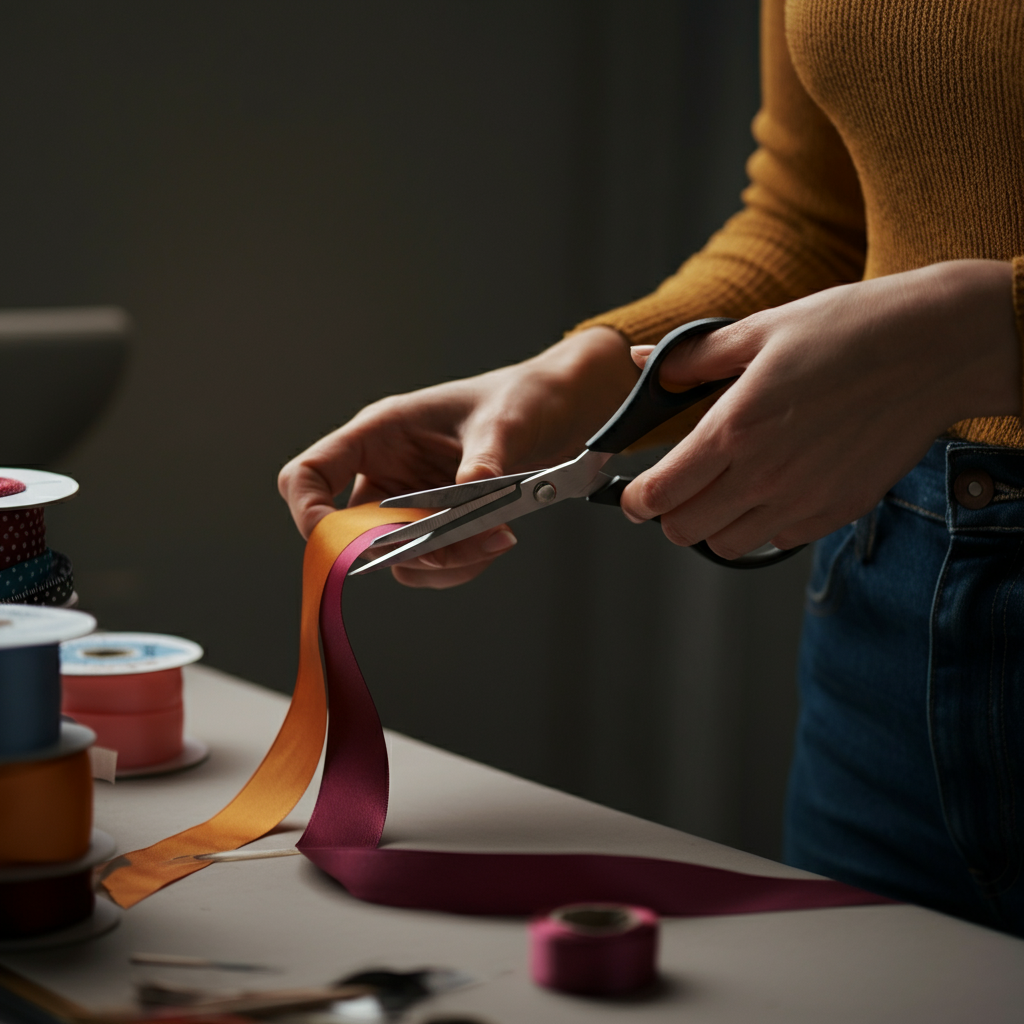
First, measure and cut your 3" wide grosgrain ribbon to your desired length. A length between 26" and 32" is typical, but you can adjust this depending on how large you want the bow to be. Use sharp scissors to ensure a clean, even cut. Once cut, gently seal the ends of the ribbon with a lighter to prevent fraying. This is a crucial step for ensuring the longevity of your bow.
Step 2: Form the Bow Shape
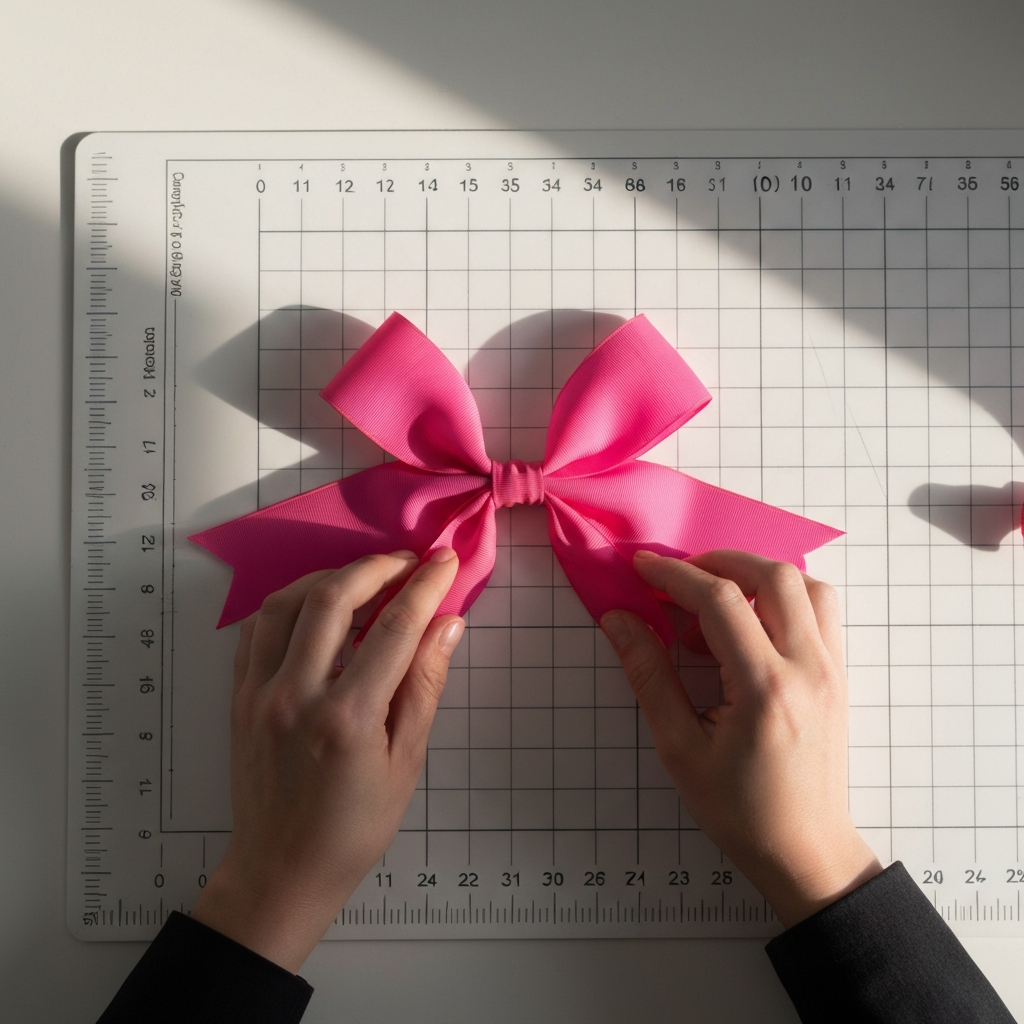
Lay the ribbon flat on your work surface. Find the midpoint of the ribbon by either measuring or folding it in half and lightly creasing. Next, fold the left end of the ribbon diagonally towards the right, creating a loop. Then, fold the right end diagonally, crossing it over the first loop. Adjust the loops to ensure they are even and symmetrical. This step is essential for achieving a balanced and professional-looking bow. Make sure the crossed section is centered as closely as possible to the midpoint you marked.
Step 3: Secure the Center
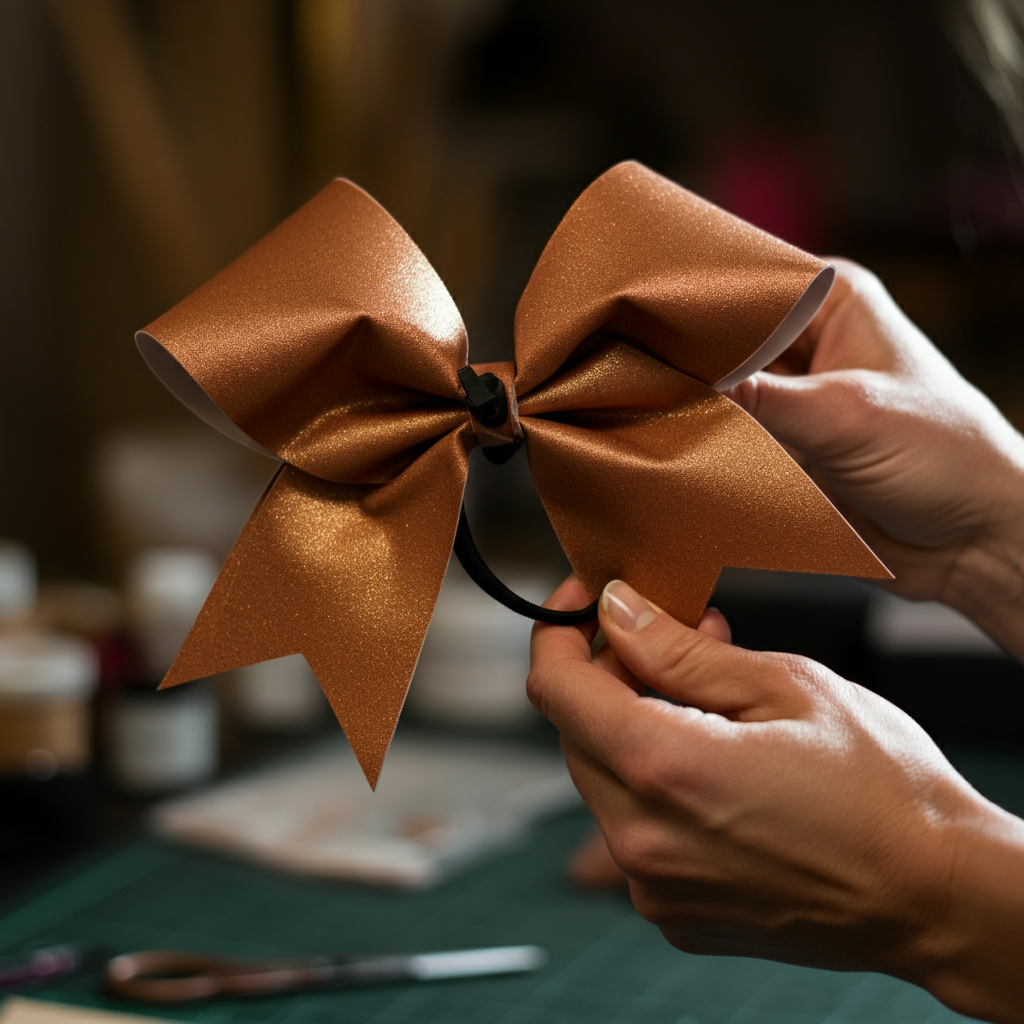
Carefully scrunch the middle of the ribbon where the loops cross, creating the bow's central knot. Try to create 3-4 small, neat folds as you bunch the ribbon together. This will result in a cleaner and more professional look. While holding the bunched section tightly, wrap a 4" cable tie (zip tie) around it. Slip an elastic hair tie through the zip tie loop. Pull the zip tie just tight enough to securely hold the bow shape, but not so tight that it distorts the loops.
Step 4: Finish the Center
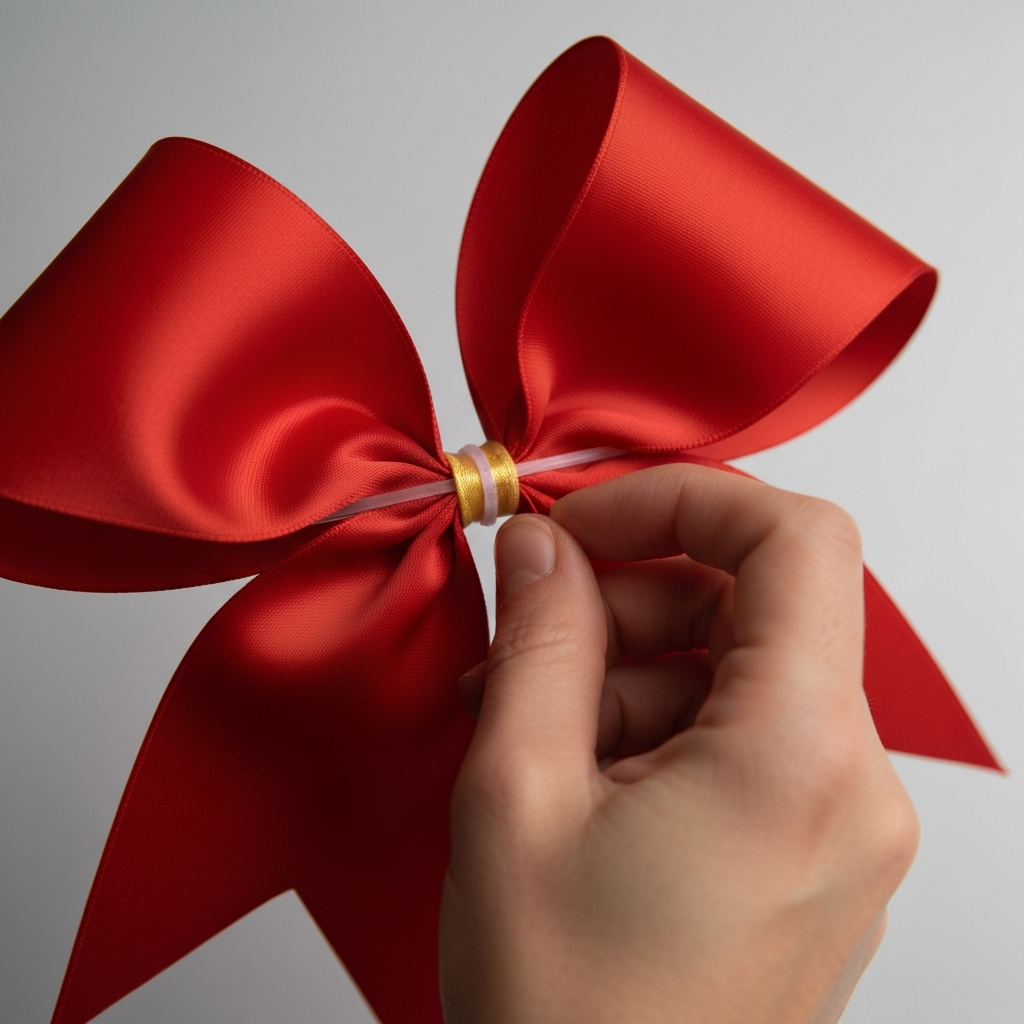
Once the zip tie is secured, carefully trim the excess tail of the zip tie flush with its fastener to avoid any sharp edges. Now, take your narrow grosgrain ribbon and a hot glue gun (or double-sided tape). Place a small dab of hot glue on the center back of the bow (or apply double-sided tape to the ribbon). Press one end of the narrow ribbon into the glue or tape and wrap it tightly around the center of the bow, concealing the zip tie. Secure the other end of the ribbon with glue or tape on the back of the bow. Ensure the narrow ribbon is pulled taut to create a neat and polished finish.
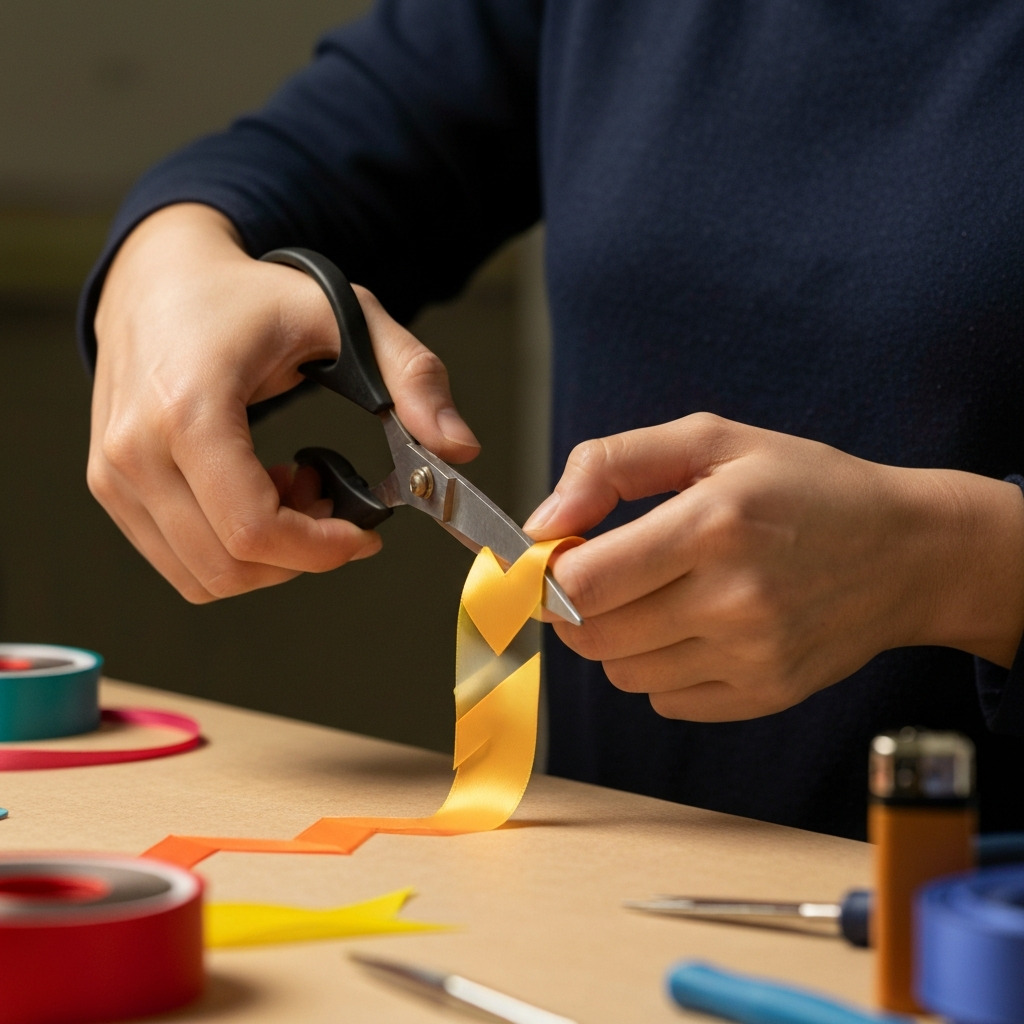
Step 5: Trim and Seal the Tails
Use your scissors to trim the ends of the bow's tails. You can cut them straight across, diagonally, or in a chevron (fishtail) shape. For a clean chevron cut, fold the end of the tail in half lengthwise and cut from the fold to the edge in a downward diagonal. After cutting, use a lighter to quickly seal the cut edges of the ribbon to prevent fraying. Be extremely careful when using the lighter; move the flame quickly and only touch the very edge of the ribbon to avoid melting it.
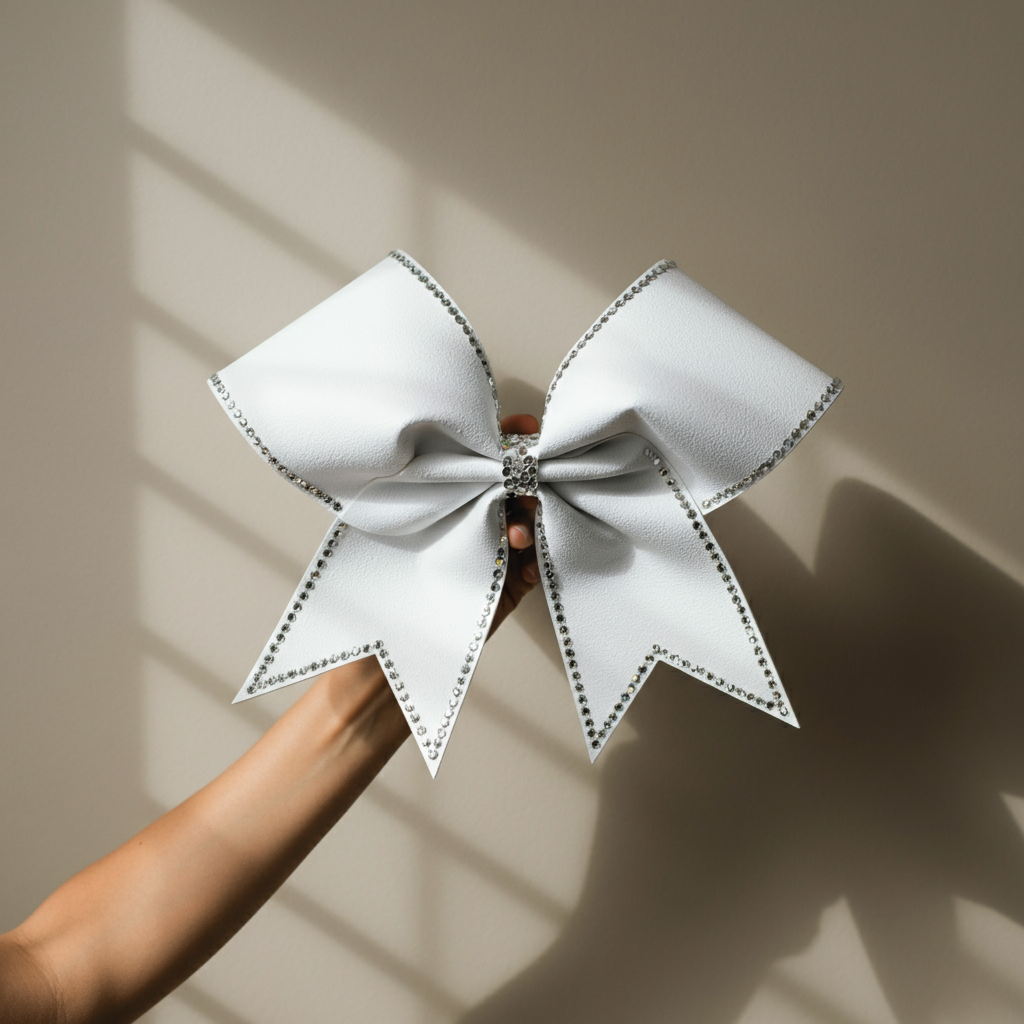
Step 6: Shape and Stiffen (Optional)
The bow's loops may have flattened during the creation process. To restore their shape, gently place your fingers inside each loop and fluff it out. For added stiffness and to help the bow maintain its shape, you can spray it with a stiffening agent such as spray starch, hairspray, or Aleen's Stiffen Quik. If using spray starch, it's recommended to spray and iron the ribbon before making the bow for best results.
Common Mistakes to Avoid
- Using dull scissors: This can lead to frayed edges and an unprofessional look.
- Overheating the ribbon with the lighter: This can melt the ribbon and ruin the bow.
- Pulling the zip tie too tight: This can distort the shape of the bow.
- Using too much hot glue: This can create a messy and bulky finish.
Safety Considerations
Always exercise caution when using a hot glue gun, as it can cause burns. Allow the glue to cool slightly before handling the bow. When sealing the ribbon edges with a lighter, work in a well-ventilated area and keep a safe distance between the flame and your skin. Many stiffening agents are flammable; ensure ribbon edges are sealed before applying.
Pro Tips
- Experiment with different ribbon colors and patterns to create unique designs.
- Add embellishments such as rhinestones, sequins, or glitter to enhance the bow's sparkle.
- Use ribbon with pre-printed designs like plaids, stripes, or polka dots.
- Attach iron-on images or letters to personalize your cheer bows.
- Layer several ribbons of different sizes and colors for a fuller, more dramatic effect.
FAQ Section
- What type of ribbon is best for cheer bows?
- Grosgrain ribbon is the most popular choice due to its durability and availability in a wide range of colors and widths.
- Can I make a cheer bow without glue?
- Yes, you can use double-sided tape to secure the narrow ribbon around the center of the bow instead of hot glue.
- How do I keep my cheer bow from falling apart?
- Ensure you use high-quality materials, properly seal the ribbon edges, and securely fasten the center with a zip tie and narrow ribbon.
- How do I attach the cheer bow to my hair?
- The elastic hair tie is used to attach the bow to a ponytail or bun.
Conclusion
Creating your own cheer bows is a fun, rewarding, and cost-effective way to add a personal touch to your team's look. By following the steps outlined in this guide and incorporating our expert tips, you can confidently craft high-quality, custom-designed cheer bows that will make your squad stand out. Remember to prioritize safety, experiment with different designs, and most importantly, have fun! With a little practice and creativity, you'll be creating professional-looking cheer bows in no time.