Achieving perfectly level prints with your Ender 5 Plus is crucial for successful 3D printing. A level bed ensures the first layer adheres properly, preventing warping, adhesion issues, and ultimately, failed prints. The Ender 5 Plus, with its larger print volume, requires meticulous leveling to account for potential inconsistencies across the build plate.
This guide provides a step-by-step approach to leveling your Ender 5 Plus, combining both manual and automatic bed leveling techniques to achieve optimal results. We'll cover everything from initial setup to fine-tuning, ensuring you get the most out of your 3D printer. Proper bed leveling is the foundation of successful 3D printing.
By following these steps, you'll be able to consistently produce high-quality prints with excellent adhesion and minimal warping. Don't rush the process – taking the time to level your bed accurately will save you time and frustration in the long run.
Step 1: Prepare the Printer
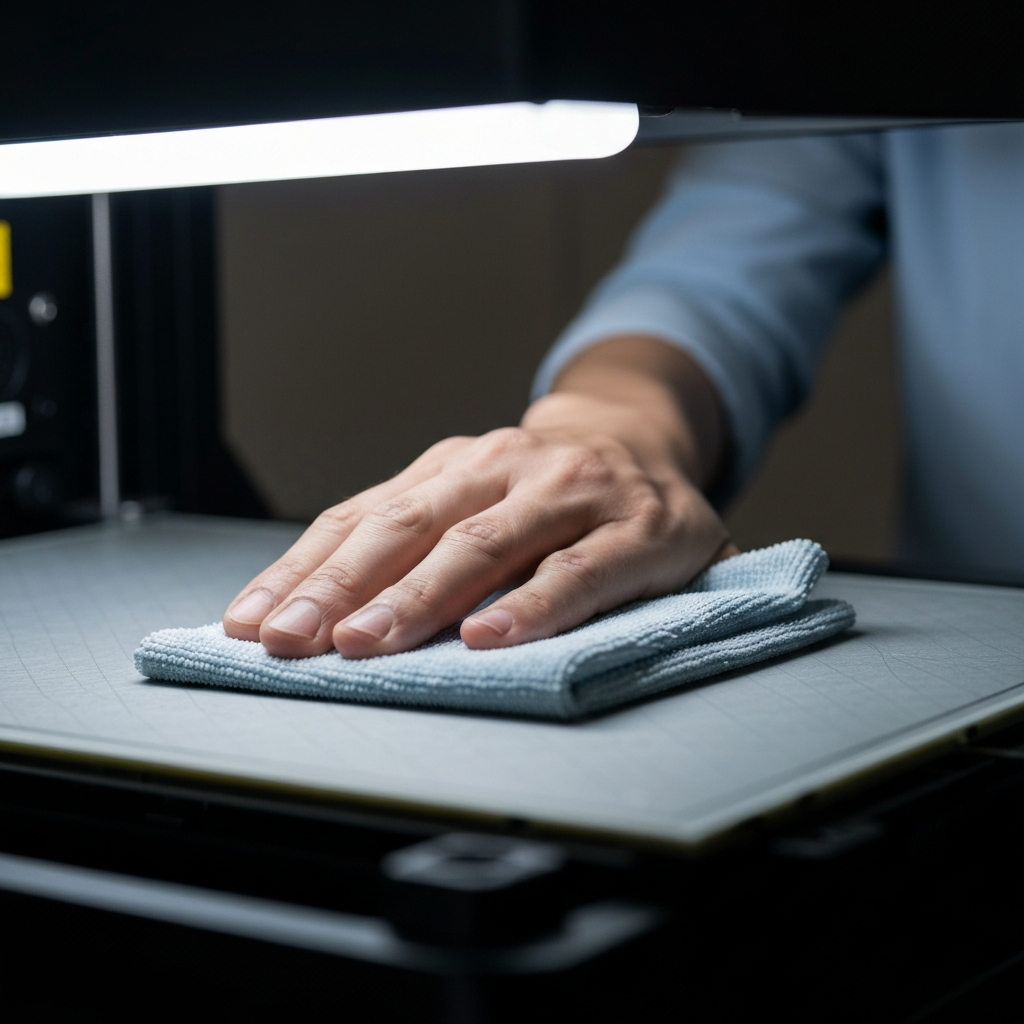
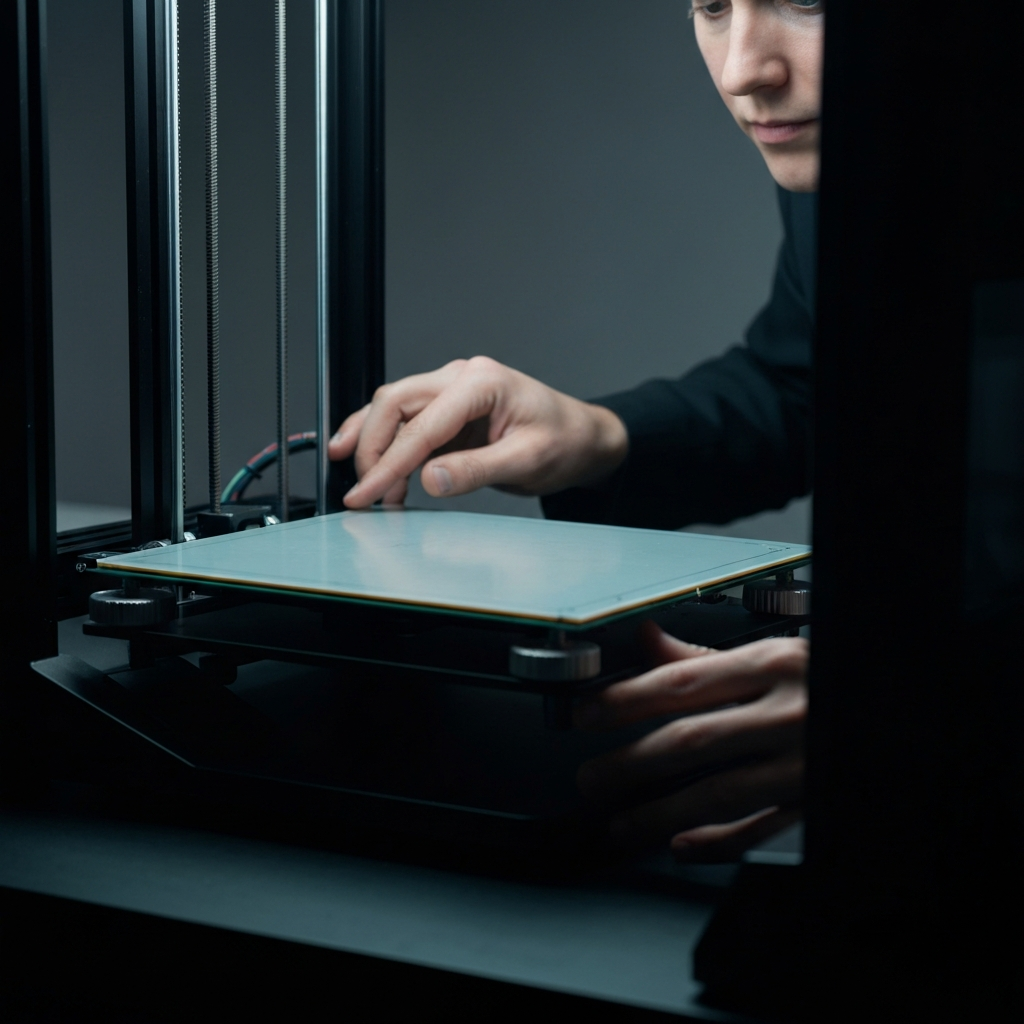
Before starting the leveling process, ensure your Ender 5 Plus is properly assembled and powered on. Clean the print bed with isopropyl alcohol to remove any residual oils or debris that might interfere with adhesion. This step is crucial for obtaining accurate measurements and ensuring the first layer adheres well.
Step 2: Auto-Home the Printer
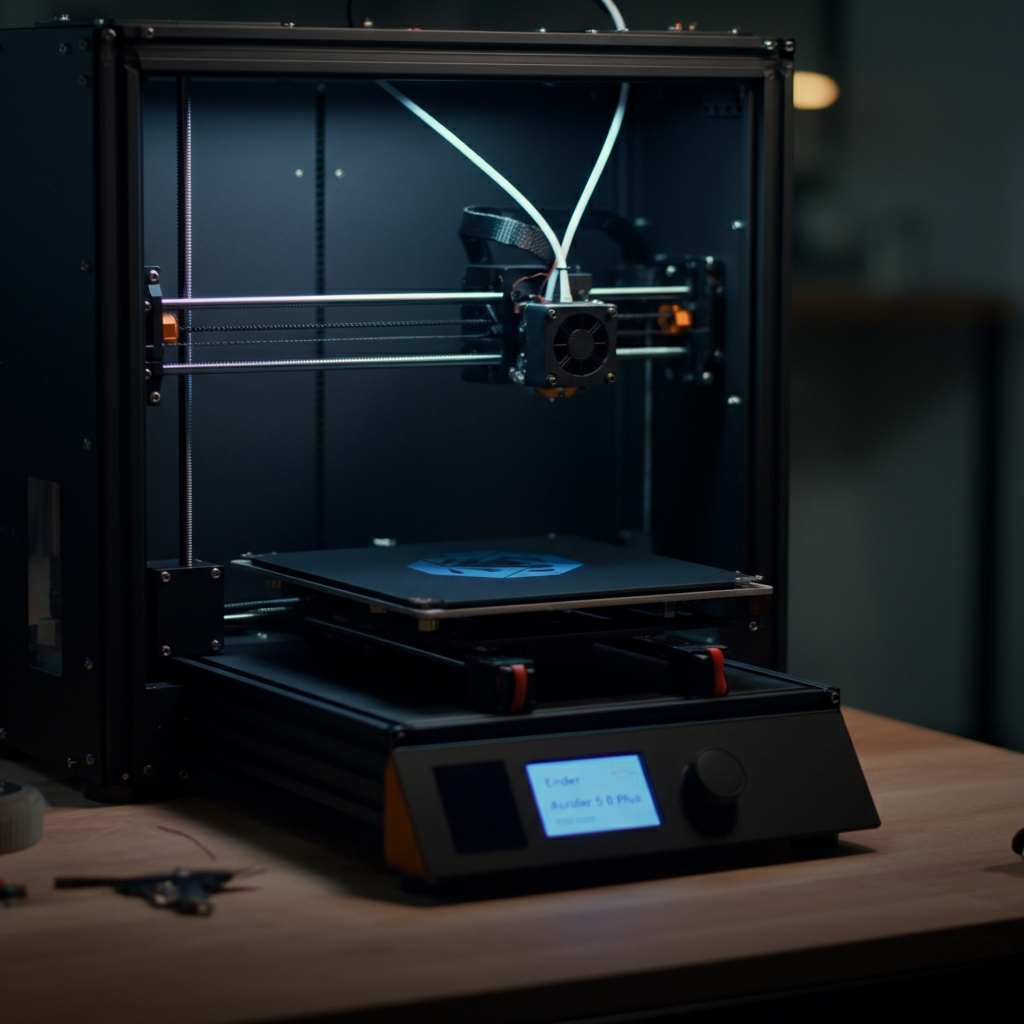
Navigate to the printer's control panel and select the "Auto-Home" function. This will move the nozzle to the designated home position, which is essential for establishing a reference point for leveling. Make sure there are no obstructions on the bed before initiating the Auto-Home process to avoid damage to the nozzle or bed. Observe the movement to ensure all axes are moving correctly and smoothly.
Step 3: Disable Steppers
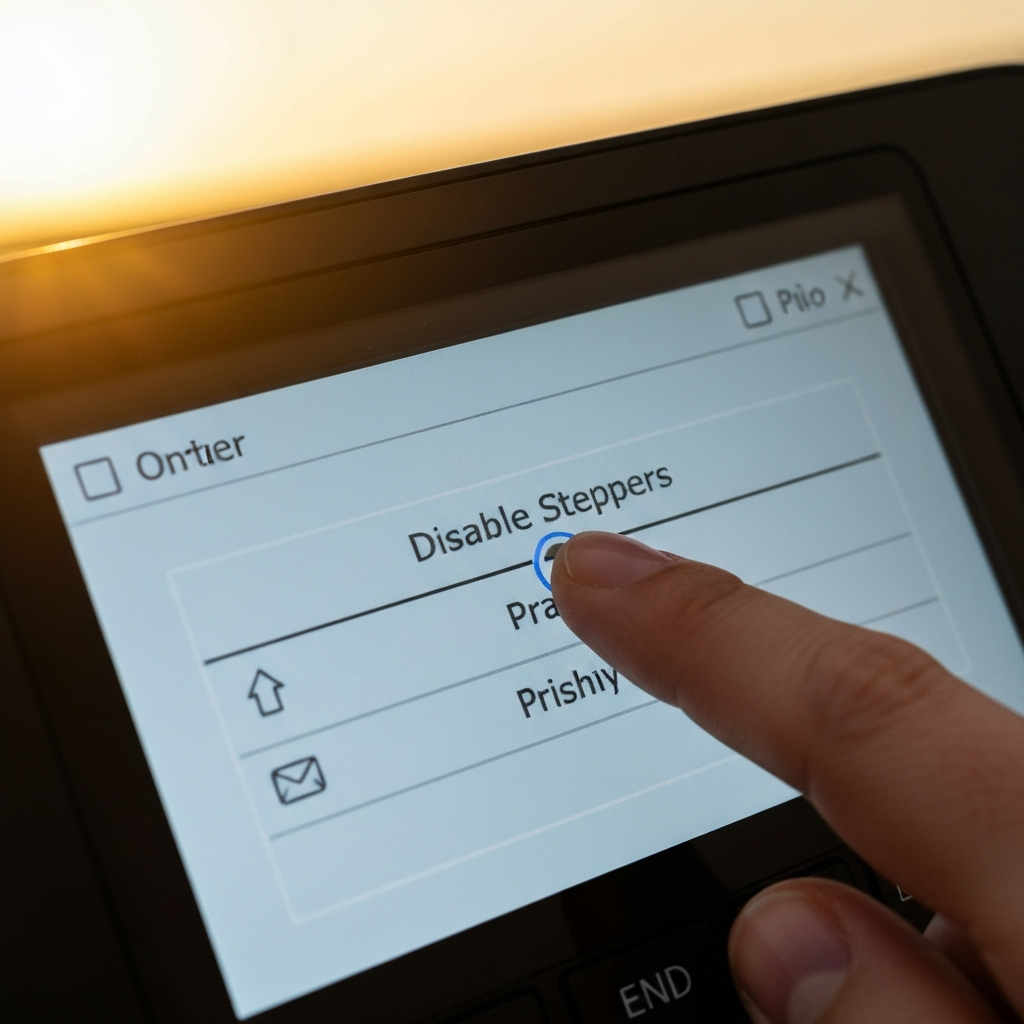
After homing, disable the steppers to allow free movement of the print head and bed. This is usually found in the "Control" or "Motors" menu as "Disable Steppers." This allows you to move the print head and bed manually to each corner of the build plate for adjustment. Disabling the steppers prevents the motors from resisting your movements during manual leveling.
Step 4: The Paper Test – Corner 1
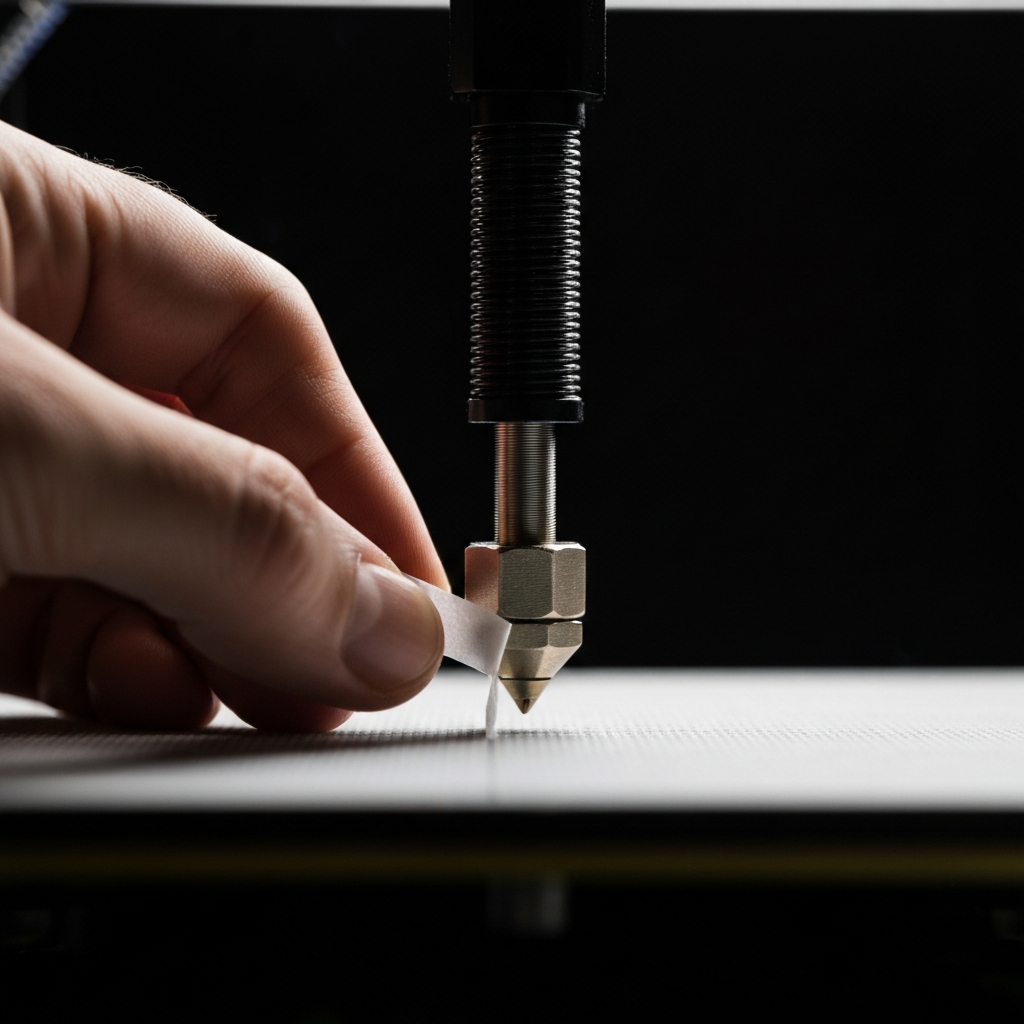
Take a standard sheet of printer paper and place it on the bed in one of the corners. Manually move the print head to that corner. Now, adjust the leveling knob beneath the bed at that corner until you feel a slight drag on the paper when you move it back and forth. The goal is to have the nozzle just barely touching the paper. Too tight, and the nozzle could scratch the bed; too loose, and the filament won't adhere properly.
Step 5: Repeat for All Corners
Repeat Step 4 for each of the remaining three corners of the print bed. It's crucial to go around to each corner multiple times, as adjusting one corner can affect the others. Think of it like balancing a table – adjusting one leg often requires readjusting the others. Aim for consistent resistance on the paper in all four corners.
Step 6: The Center Check
After leveling the corners, move the print head to the center of the bed and perform the paper test again. Ideally, the resistance should be similar to what you felt in the corners. If it's significantly different, you may need to repeat Steps 4 and 5 to fine-tune the leveling. The center of the bed is where most prints start, so it's important that it's level too.
Step 7: Using the BLTouch (if equipped)
If your Ender 5 Plus is equipped with a BLTouch auto-leveling sensor, it can compensate for slight imperfections in the bed surface. Navigate to the "Leveling" menu on the printer's control panel and select "ABL" or "Auto Bed Leveling." The printer will then probe multiple points on the bed to create a mesh that it will use to adjust the Z-axis during printing. Ensure the BLTouch is properly installed and configured in the firmware for accurate results.

Step 8: Set Z-Offset
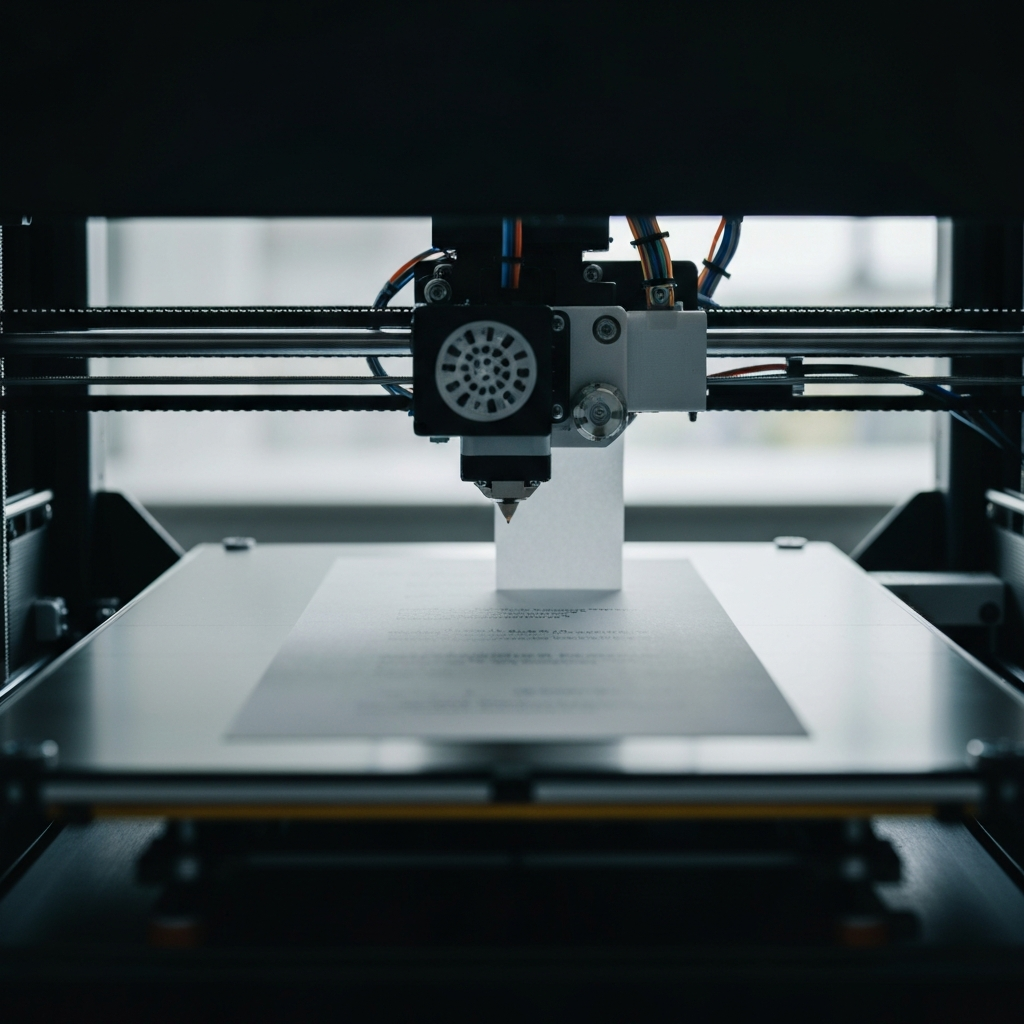
After running auto bed leveling, you need to set the Z-offset. This is the distance between the nozzle and the bed at the "home" position after ABL has compensated. Start a test print (a single layer square is ideal) and monitor the first layer adhesion. If the filament is too squished or not adhering properly, adjust the Z-offset in the printer's menu. Lowering the Z-offset brings the nozzle closer to the bed, while raising it increases the distance. Make small adjustments and observe the results.
Pro Tips
- Regularly clean your print bed with isopropyl alcohol to ensure good adhesion.
- Consider upgrading to a glass bed for a flatter, more consistent printing surface.
- If you're still having trouble with bed adhesion, try using a bed adhesive like glue stick or hairspray (use sparingly).
- Check your bed leveling regularly, especially after moving the printer.
Common Mistakes to Avoid
- Forgetting to heat the bed before leveling.
- Leveling too quickly – take your time and be precise.
- Not cleaning the bed before leveling.
- Ignoring the Z-offset after auto bed leveling.
Conclusion
Leveling your Ender 5 Plus may seem daunting at first, but with practice and patience, it becomes a routine part of the 3D printing process. By following the steps outlined in this guide, you'll be well on your way to achieving perfectly level prints and enjoying the full potential of your 3D printer. Remember to take your time, be precise, and don't be afraid to experiment to find what works best for you.