Street art, once relegated to the fringes, has blossomed into a respected and vibrant art form. From intricate stencils to large-scale murals, the possibilities are endless. This guide will take you on a journey from novice to accomplished street artist, providing the knowledge and skills needed to create impactful and meaningful art in public spaces. Remember, respect for the environment and legal considerations are paramount.
This isn't just about picking up a spray can; it's about understanding the history, techniques, and ethics of street art. We'll delve into the fundamental skills, from sketching and design to paint application and mural scaling. Get ready to transform your vision into reality, one brick wall at a time.
So, grab your sketchbook, gather your courage, and prepare to unleash your inner street artist. The world is your canvas, but always remember to tread responsibly and artistically.
Step-by-Step Guide
Step 1: Mastering the Fundamentals of Art
Before you even think about touching a spray can, it's crucial to have a solid understanding of the fundamentals of art. This includes drawing, composition, color theory, and perspective. Practice sketching regularly, focusing on accurate representation and understanding of form. Experiment with different drawing mediums like graphite, charcoal, and ink to find your preferred style. Familiarize yourself with color palettes and how different colors interact with each other. Understanding perspective is key to creating realistic and visually appealing murals.
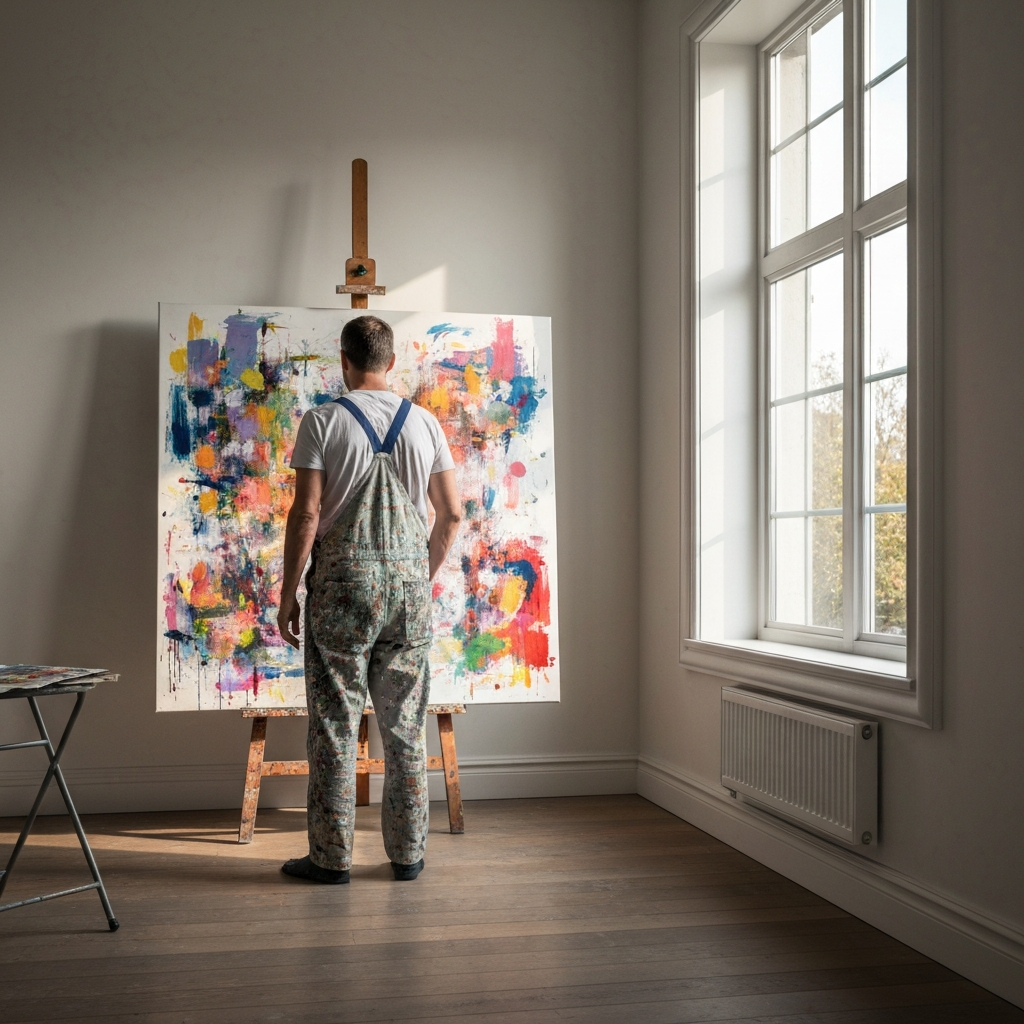
Step 2: Developing Your Unique Style
What sets you apart from other artists? What message do you want to convey through your art? Your unique style is your artistic fingerprint. Experiment with different techniques, themes, and subjects until you find something that resonates with you. Don't be afraid to take inspiration from other artists, but always strive to create something original. Consider your strengths and weaknesses and focus on developing your signature style based on those.
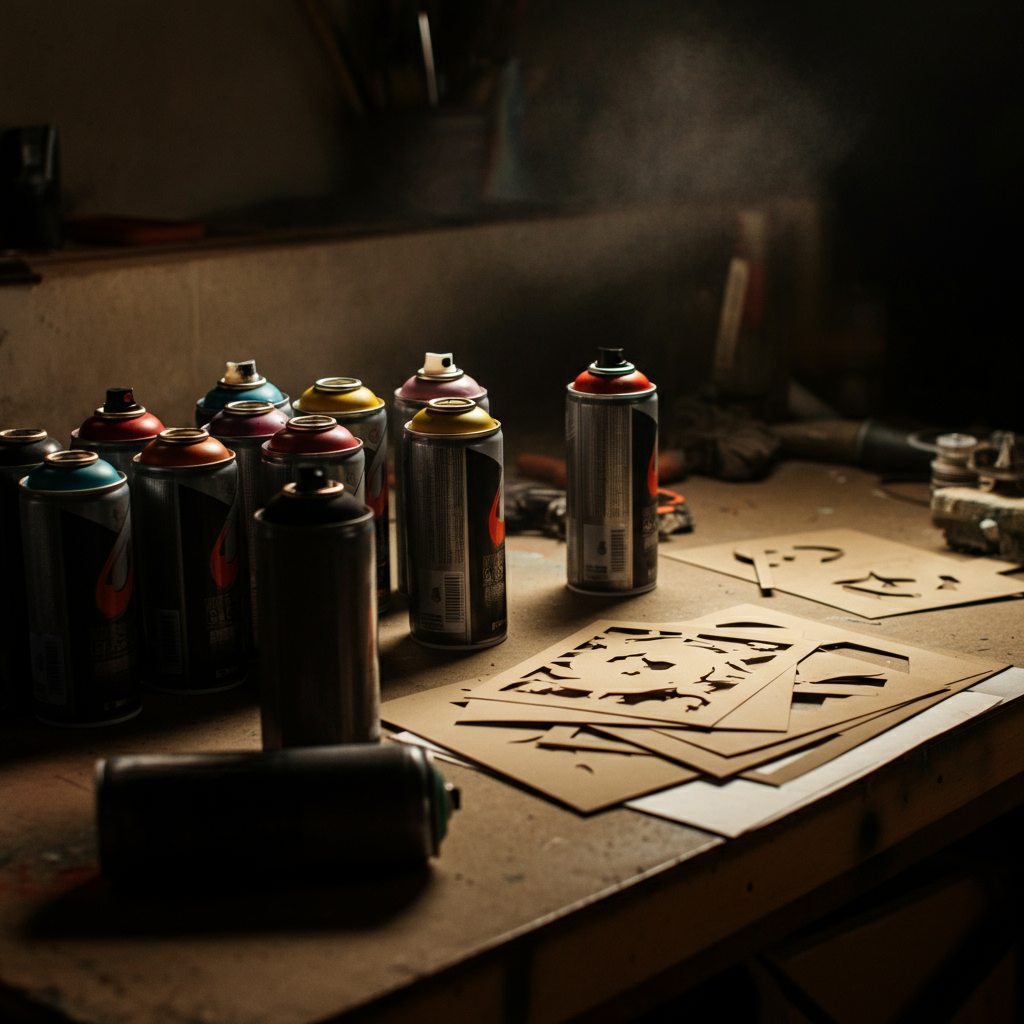
Step 3: Choosing Your Medium: From Stencils to Freehand
Street art encompasses a wide range of mediums, each with its own unique set of advantages and disadvantages. Stencils are great for creating detailed and repeatable designs, while freehand allows for more spontaneity and expression. Other options include wheat-pasting, sticker art, and installations. Consider the scale of your project, the surface you'll be working on, and your personal preferences when choosing your medium. Spray paint is the most common medium for murals, but acrylics, markers, and even chalk can be used to create stunning effects.
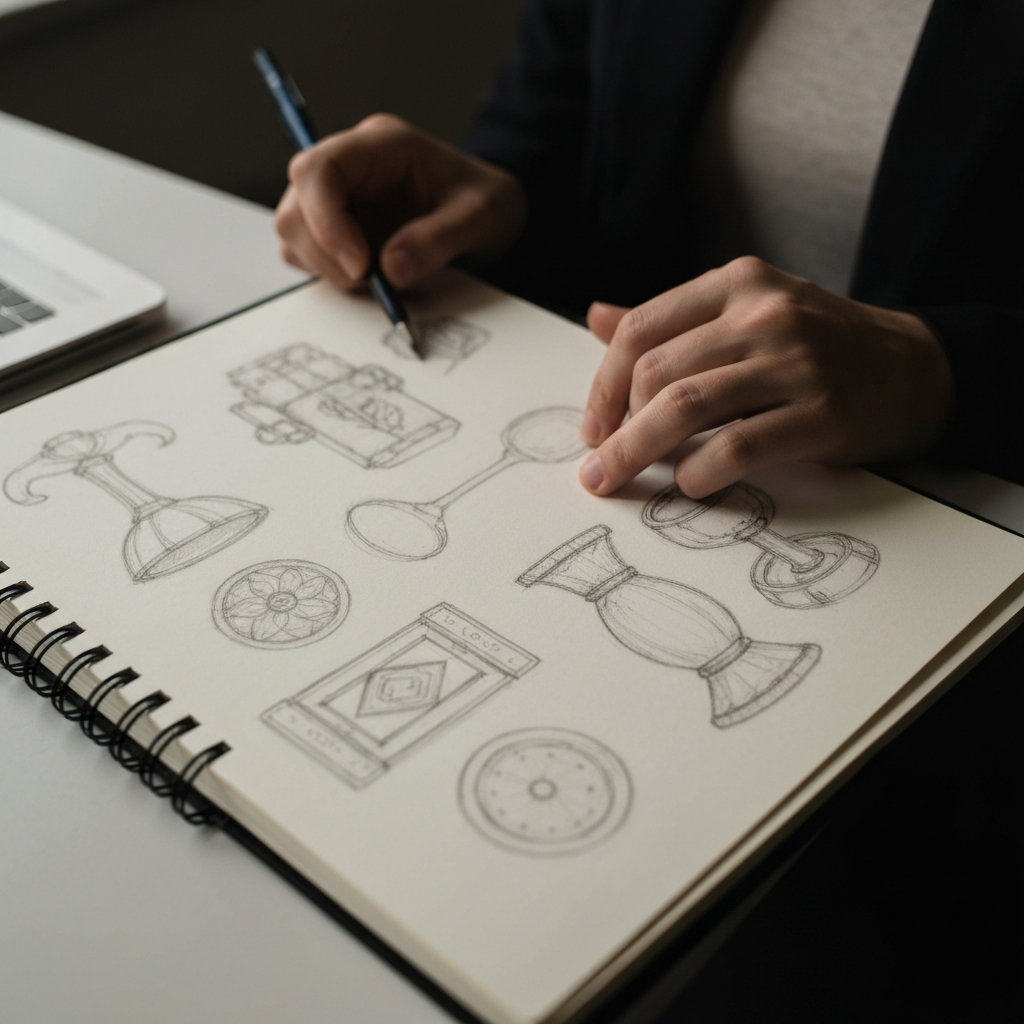
Step 4: Sketching and Planning Your Mural
Planning is essential for a successful mural. Begin by sketching out your design on paper or digitally. Consider the size, shape, and texture of the wall you'll be working on. Create a detailed mock-up of your mural, including color schemes, shading, and details. This will help you visualize the final product and identify any potential problems. Use a grid system to scale up your design from your sketch to the wall. Take photographs of the wall from different angles to aid in your planning process.
Step 5: Getting Permission and Choosing Your Location
This is arguably the most important step. Creating street art without permission is illegal and can result in fines, legal trouble, and damage to your reputation. Always seek permission from the property owner before creating any street art. Alternatively, look for legal walls or sanctioned street art areas in your city. Consider the visibility of your location, the foot traffic, and the overall aesthetic of the neighborhood when choosing your spot. Ensure your chosen location is safe to work in, free from hazards like traffic or exposed electrical wires.
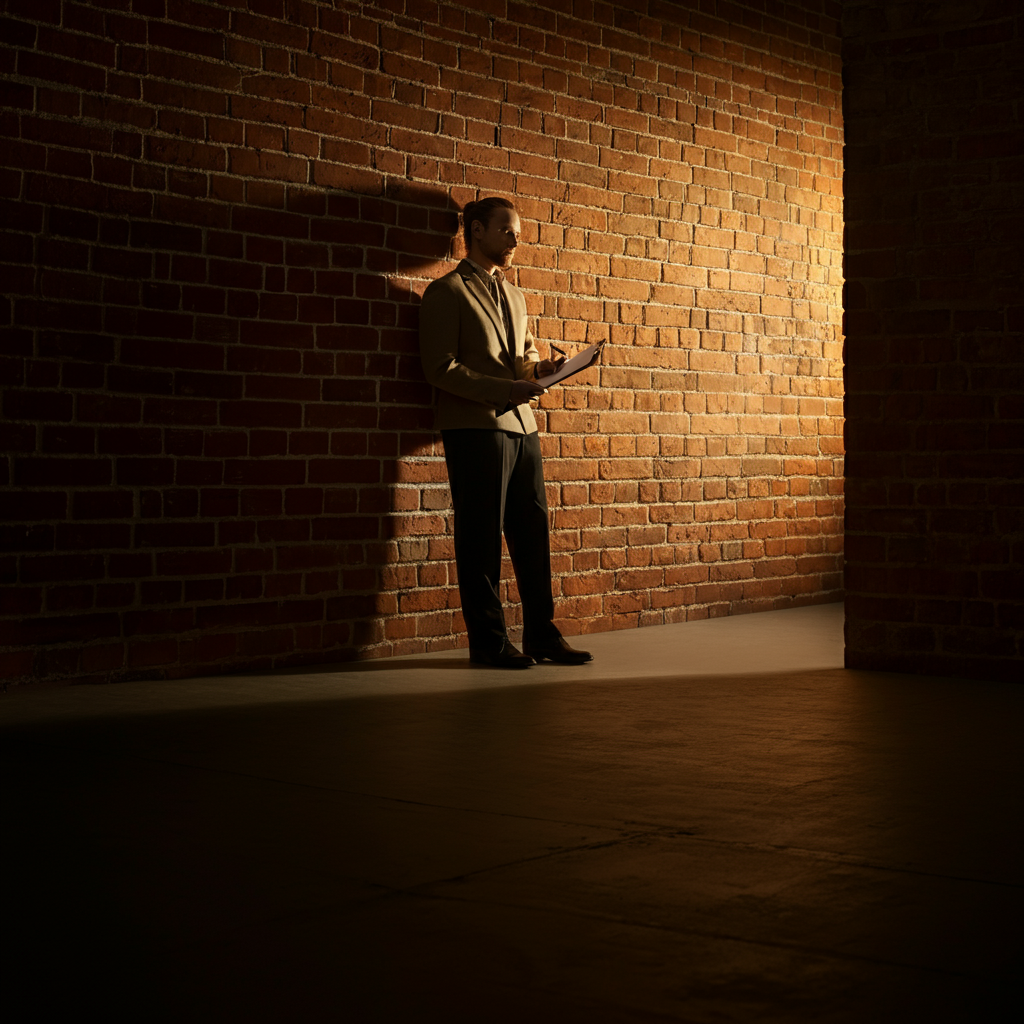
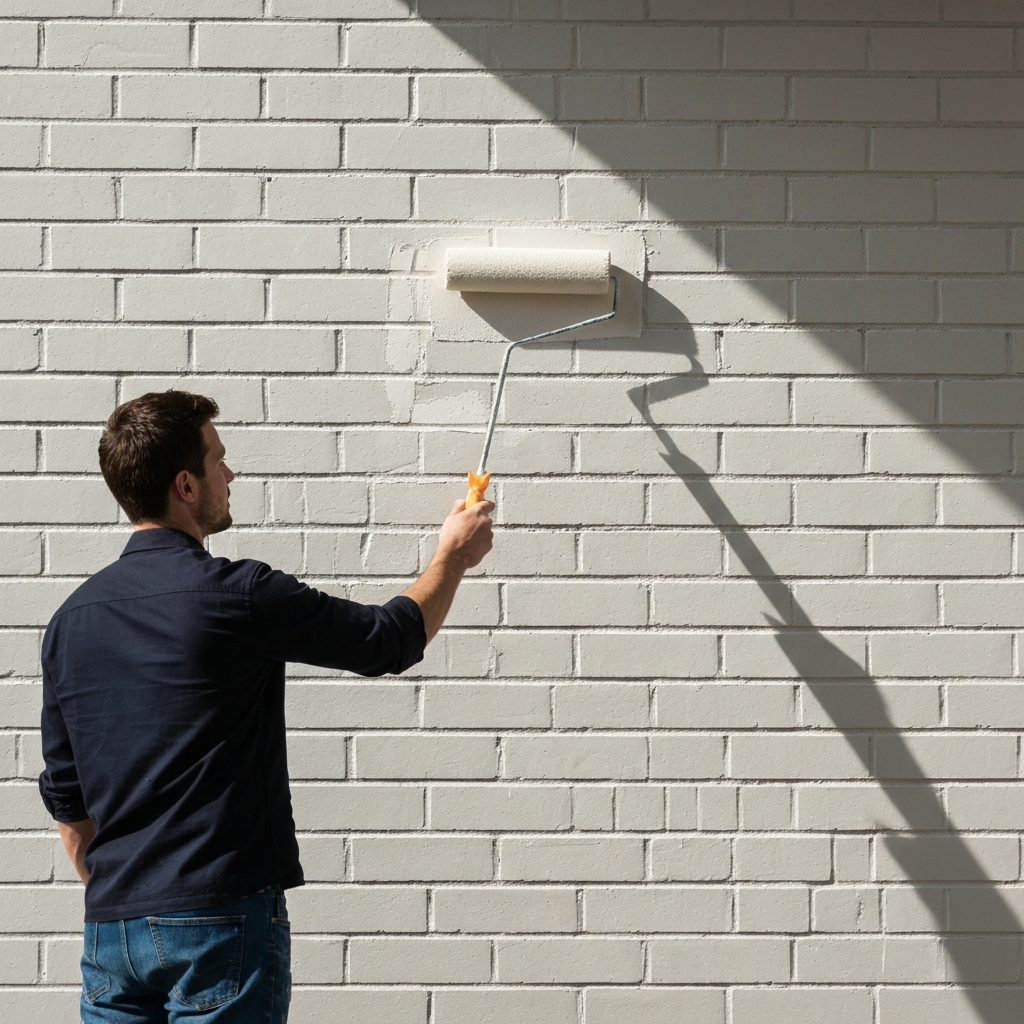
Step 6: Preparing Your Surface
A smooth and clean surface is essential for a professional-looking mural. Remove any loose paint, dirt, or debris from the wall. Use a wire brush or scraper to remove any flaking paint. Fill any cracks or holes with patching compound and sand it smooth. Apply a primer to the wall to create a uniform surface and improve paint adhesion. Consider the type of surface you're working on (brick, concrete, metal, etc.) and choose a primer that is appropriate for that material.
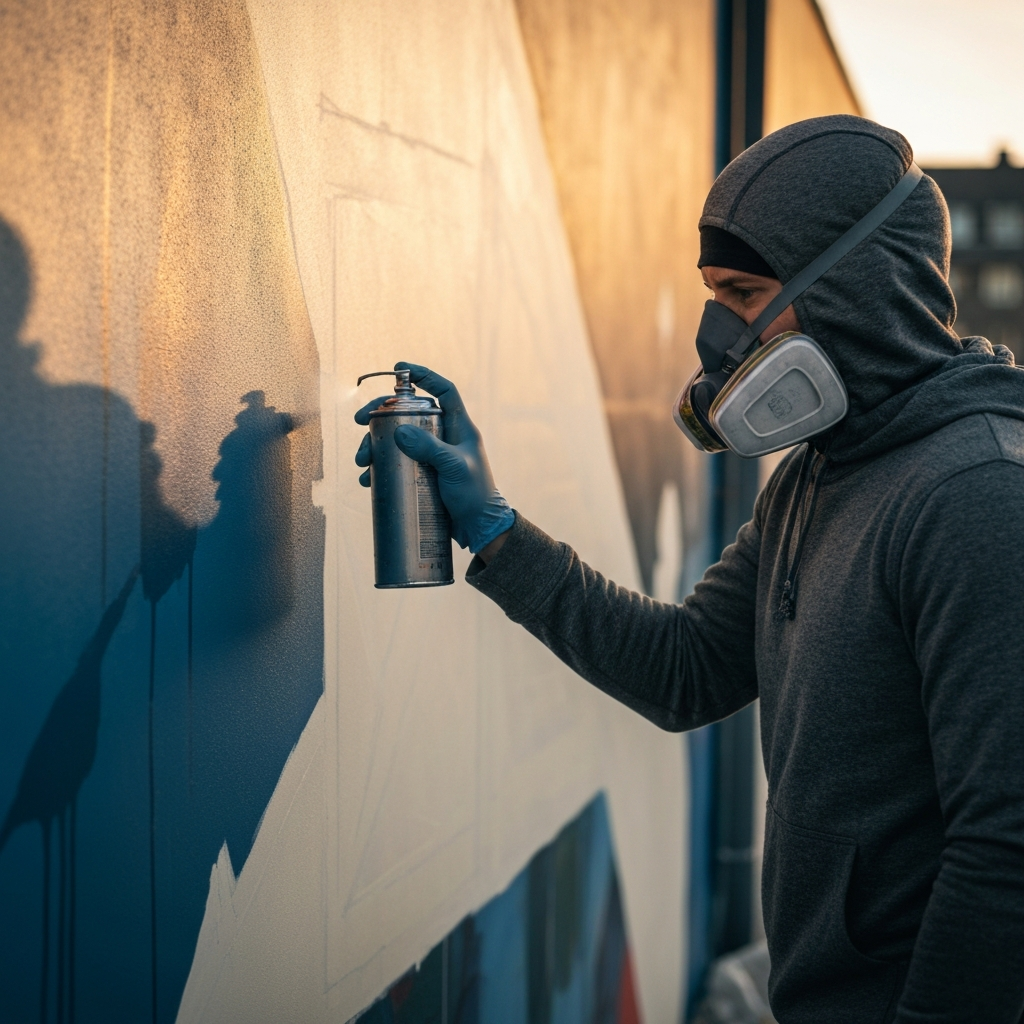
Step 7: Applying Your Art
Now for the fun part! Use your sketch and grid system as a guide to transfer your design onto the wall. Start by outlining your design with chalk or a light-colored paint. Then, begin filling in the colors, working from the background to the foreground. Use a variety of techniques to create different effects, such as fading, blending, and layering. Take your time and don't be afraid to experiment. Consider using different sized spray cans and nozzles for varied line widths and spray patterns. Remember to shake your spray cans thoroughly before use.
Step 8: Adding Details and Finishing Touches
Once you've filled in the basic colors, it's time to add the details and finishing touches that will bring your mural to life. Use fine-tipped brushes or markers to add outlines, highlights, and shadows. Pay attention to the small details; they can make a big difference. Step back from your work periodically to assess your progress and identify areas that need improvement. Consider adding a clear coat to protect your mural from the elements and vandalism.

Step 9: Documenting Your Work
Once your mural is complete, it's important to document it properly. Take high-quality photographs and videos of your work. Share your work on social media and your website to reach a wider audience. Include information about your mural, such as the location, the materials used, and the inspiration behind it. This will help you build your portfolio and attract future commissions.
Step 10: Continuous Learning and Improvement
The journey of a street artist is never truly complete. Continue to learn new techniques, experiment with different mediums, and challenge yourself to create even more impactful and meaningful art. Attend workshops, visit art galleries, and connect with other artists to expand your knowledge and skills. Don't be afraid to make mistakes; they are a valuable learning opportunity. The more you practice, the better you will become.
Tools or Materials Required
- Sketchbook and pencils
- Spray paint (various colors and nozzles)
- Stencils (optional)
- Acrylic paint and brushes
- Primer
- Patching compound
- Sandpaper
- Drop cloths
- Painter's tape
- Respirator
- Gloves
- Safety glasses
- Measuring tape
- Grid system (optional)
- Camera
Safety Considerations
- Always wear a respirator when working with spray paint to avoid inhaling harmful fumes.
- Wear gloves to protect your hands from paint and chemicals.
- Wear safety glasses to protect your eyes from paint splatters.
- Work in a well-ventilated area.
- Be aware of your surroundings and avoid working in dangerous locations.
- Use caution when working at heights.
- Dispose of paint cans and other materials properly.
Common Mistakes to Avoid
- Not getting permission before creating street art.
- Using low-quality materials.
- Not planning your mural properly.
- Working in a dangerous location.
- Not wearing proper safety gear.
- Ignoring local laws and regulations.
Pro Tips
- Practice regularly to improve your skills.
- Experiment with different techniques and mediums.
- Find your unique style and voice.
- Connect with other artists and learn from their experiences.
- Be respectful of the environment and the community.
- Always seek permission before creating street art.
FAQ Section
- What are some good places to find legal walls?
- Check with your local city government or arts council. Many cities have designated areas where street art is allowed.
- How do I protect my mural from vandalism?
- Apply a clear coat to your mural. This will make it easier to clean and less likely to be vandalized.
- What should I do if I get caught creating street art without permission?
- Be polite and respectful to the authorities. Explain that you were not aware that you needed permission. You may still be fined or arrested, but being respectful can help.
Conclusion
Becoming a mural master is a journey that requires dedication, practice, and a deep understanding of the art form. By mastering the fundamentals, developing your unique style, and following the steps outlined in this guide, you can unleash your inner street artist and create impactful art that enriches public spaces. Remember to always prioritize safety, respect the environment, and seek permission before creating your art. The world is your canvas – use it wisely and creatively.