Many people believe that artistic talent is something you're born with, but the truth is that anyone can learn to create. It’s more about cultivating a mindset, developing skills through practice, and, perhaps most importantly, overcoming the fear of imperfection. This guide will take you through practical steps to unlock your creative potential, regardless of your current perceived skill level. Remember, the journey of a thousand miles begins with a single step, and the journey to artistic expression starts with a single mark on a page.
We'll break down fundamental concepts, provide actionable exercises, and offer insights to help you navigate the challenges and celebrate the small victories. Forget about drawing "perfect" straight lines. The goal is to explore, experiment, and find joy in the creative process. By the end of this guide, you'll have a toolkit of techniques and a renewed confidence in your ability to create art.
Step 1: Embrace the Beginner's Mind
The first and perhaps most crucial step is to adopt a beginner's mindset. This means letting go of expectations, judgments, and the need for immediate perfection. Think of yourself as a child exploring a new toy. There's no pressure to create a masterpiece; the focus is purely on discovery and play. Allow yourself to make mistakes, experiment with different techniques, and learn from your experiences. Resist the urge to compare your work to others, especially in the early stages. Your artistic journey is unique to you.
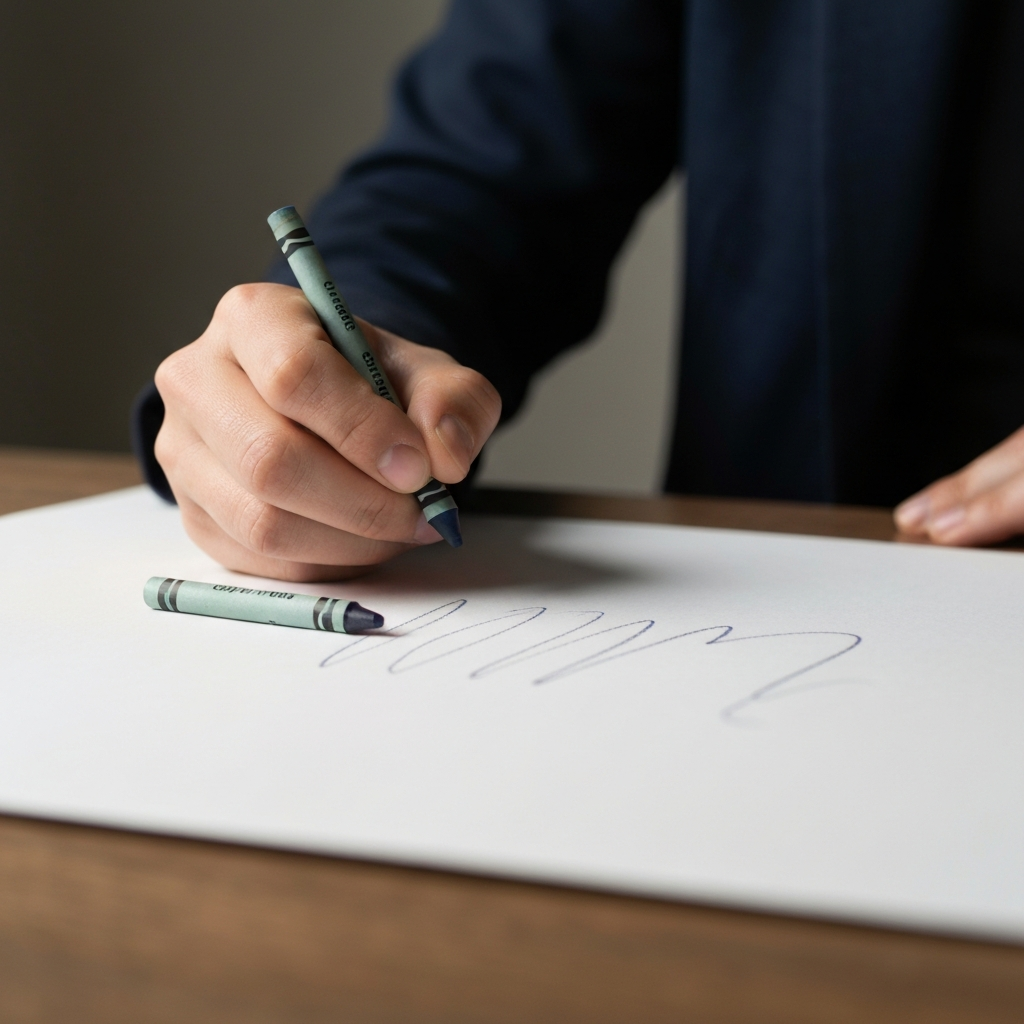
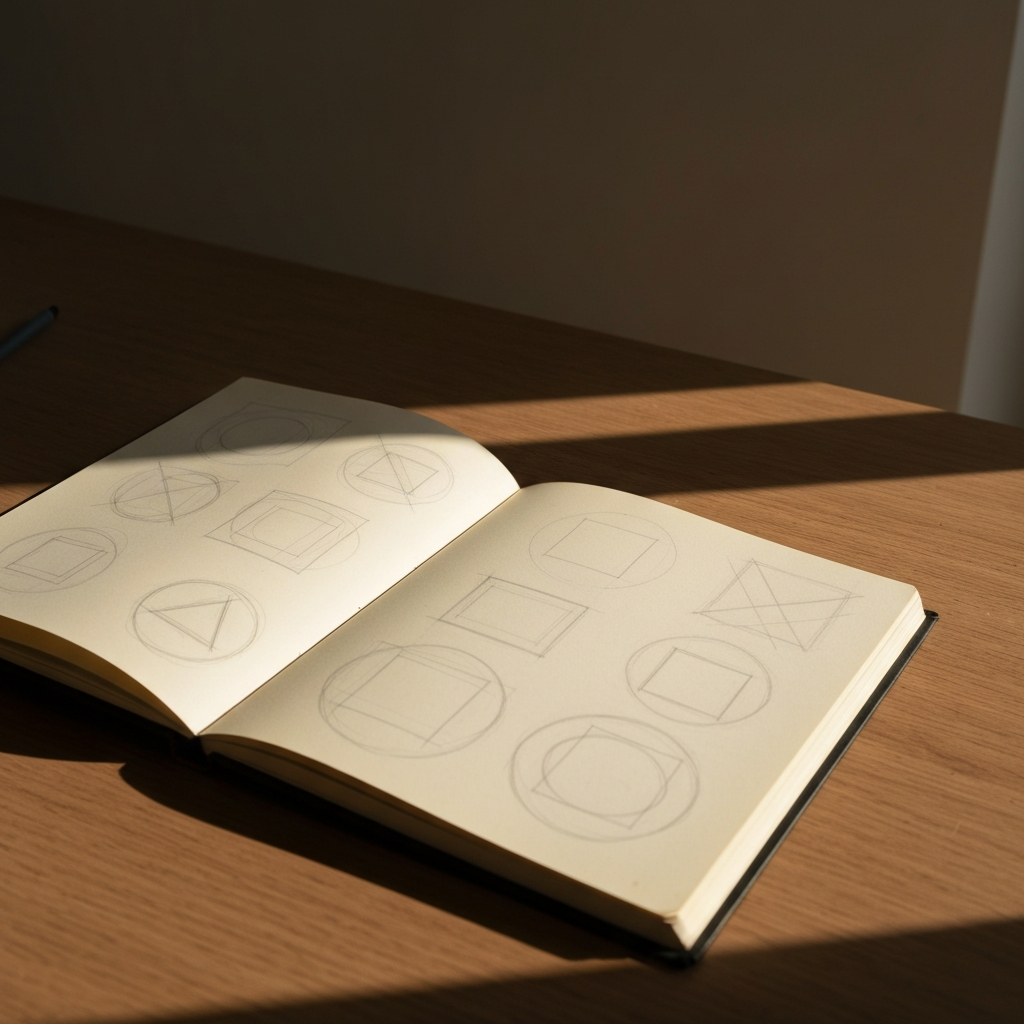
Step 2: Start with Simple Shapes
Begin by practicing basic shapes: circles, squares, triangles, and lines. These are the building blocks of all complex forms. Fill pages with variations of these shapes, focusing on consistency and control. Practice drawing these shapes from different angles and in different sizes. This exercise will help you develop hand-eye coordination and build a foundation for more intricate drawings. Don’t worry about creating perfect geometric shapes; the goal is to get comfortable with the movement and the feel of the drawing tool in your hand.
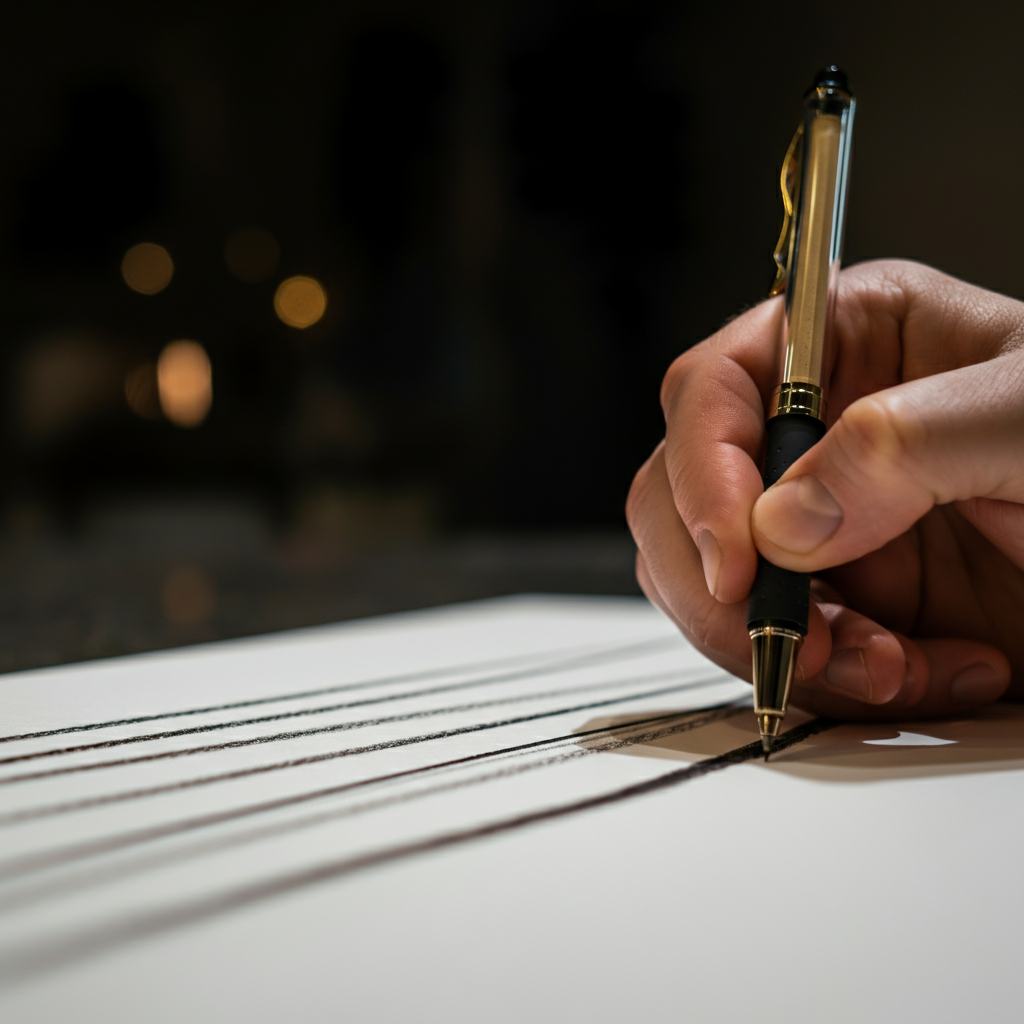
Step 3: Explore Line Variations
Lines are not just straight or curved; they have weight, texture, and personality. Experiment with different types of lines: thick, thin, dashed, dotted, wavy, and jagged. Use different pressures to create variations in line weight. Try using different drawing tools, such as pencils, pens, and charcoal, to see how each tool affects the quality of the line. Pay attention to the feeling of the tool in your hand and the way it interacts with the paper. This exploration will expand your vocabulary and add depth to your drawings.
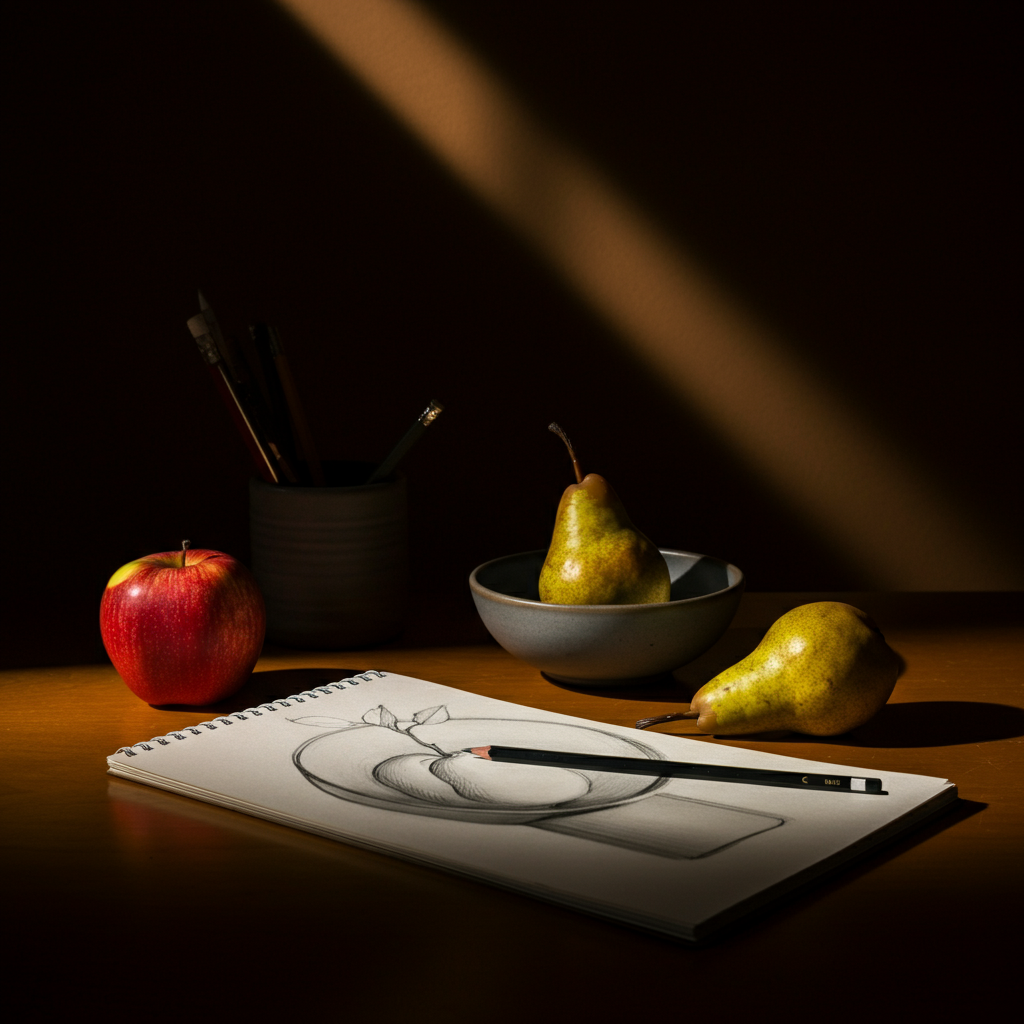
Step 4: Practice Observational Drawing
Observational drawing, also known as drawing from life, is the cornerstone of artistic development. Choose a simple object, such as a fruit, a vase, or a chair, and try to draw it as accurately as possible. Pay close attention to the shapes, proportions, and details. Don't be afraid to make mistakes. The goal is not to create a perfect replica, but to train your eye to see and understand the world around you. Start with contour drawings (outlines) and gradually add details and shading.
Step 5: Understand Value and Shading
Value refers to the lightness or darkness of a color. Shading is the process of using value to create the illusion of depth and form. Practice creating a value scale, ranging from pure white to pure black, using different drawing tools. Experiment with different shading techniques, such as hatching, cross-hatching, stippling, and blending. Use these techniques to add depth and dimension to your observational drawings. Understanding value is essential for creating realistic and compelling artwork.
Step 6: Explore Different Mediums
Don't limit yourself to one drawing tool or medium. Experiment with different pencils (e.g., HB, 2B, 4B), pens, charcoal, pastels, watercolors, and acrylics. Each medium has its own unique properties and characteristics. Exploring different mediums will not only expand your artistic skills but also help you discover your preferred tools and techniques. You might find that you prefer the softness of charcoal, the precision of ink, or the vibrancy of watercolors.
Tools or Materials Required
- Sketchbook: A good quality sketchbook with a smooth or slightly textured surface.
- Pencils: A set of pencils with varying hardness (e.g., HB, 2B, 4B, 6B).
- Eraser: A kneaded eraser and a plastic eraser.
- Sharpener: A pencil sharpener.
- Pens: A set of pens with varying tip sizes.
- Charcoal: Willow charcoal and compressed charcoal sticks.
- Optional: Watercolors, acrylic paints, pastels, brushes.
Common Mistakes to Avoid
- Comparing your work to others: Focus on your own progress and celebrate your achievements.
- Giving up too easily: Artistic development takes time and effort.
- Being too critical of yourself: Be kind and patient with yourself.
- Not experimenting: Don't be afraid to try new things.
- Ignoring the fundamentals: Master the basics before moving on to more advanced techniques.
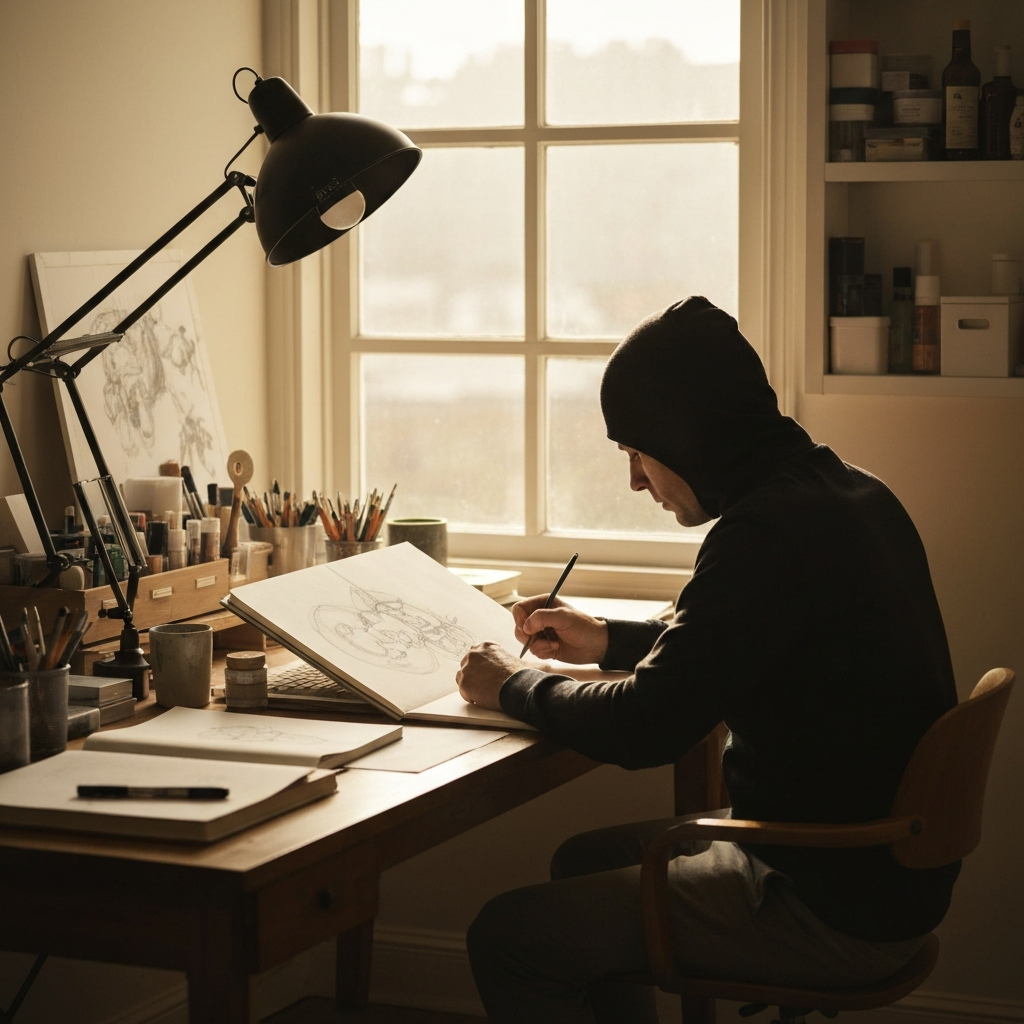
Step 7: Practice Regularly
Consistency is key to artistic development. Set aside time each day or week to practice your drawing skills. Even 15-30 minutes of regular practice can make a significant difference. The more you draw, the more comfortable and confident you will become. Treat your practice sessions as opportunities for exploration and experimentation, rather than as tasks to be completed. Find a time and place where you can focus without distractions.
Step 8: Seek Feedback and Learn from Others
Share your work with others and ask for constructive feedback. Join a local art class or online forum to connect with other artists and learn from their experiences. Don't be afraid to ask questions and seek guidance. Be open to criticism and use it as an opportunity to improve your skills. Remember that feedback is subjective, so take it with a grain of salt and focus on the areas where you can realistically improve.

Step 9: Find Inspiration
Surround yourself with art that inspires you. Visit museums, galleries, and art fairs. Look at the work of your favorite artists and try to understand their techniques and styles. Read books and articles about art history and contemporary art. Inspiration can come from anywhere, so be open to new ideas and experiences. Use your inspiration to fuel your own creative process.
Step 10: Just Create!
The most important step is to simply create. Don't overthink it, don't worry about making mistakes, just let your creativity flow. Draw whatever comes to mind, whether it's a doodle, a landscape, or a portrait. The more you create, the more confident and skilled you will become. Remember that art is a journey, not a destination. Enjoy the process and celebrate your progress along the way. Embrace imperfections and see them as opportunities for growth.
FAQ Section
Q: I can't even draw a stick figure. Can I really learn to draw?
A: Absolutely! Drawing is a skill that can be learned and developed with practice. This guide starts with the very basics and gradually builds your skills. The key is to be patient, persistent, and to enjoy the process.
Q: What if I don't have any artistic talent?
A: Talent is often overemphasized. While some people may have a natural aptitude for art, anyone can learn to draw with dedication and practice. Focus on developing your skills and expressing your unique perspective.
Q: What is the best way to improve my drawing skills?
A: The best way to improve is through consistent practice. Draw regularly, experiment with different techniques, seek feedback, and don't be afraid to make mistakes. The more you draw, the better you will become.
Q: What if I get discouraged?
A: Discouragement is a normal part of the learning process. When you feel discouraged, take a break, look at the work of artists you admire, and remind yourself why you started drawing in the first place. Don't give up on your creative journey!
Conclusion
Unleashing your inner artist is a journey of self-discovery and creative exploration. By embracing the beginner's mind, mastering the fundamentals, and practicing regularly, you can unlock your artistic potential, regardless of your current skill level. Remember to be patient, persistent, and to enjoy the process. The world needs your unique vision and creative expression. So pick up a pencil, embrace the challenge, and start creating!