Do you have a drawer overflowing with forgotten gadgets? Before you resign them to the landfill, consider this: old electronics often have untapped potential. With a little know-how and elbow grease, you can repair, repurpose, and even reimagine these devices, saving money and reducing e-waste in the process.
This guide provides a step-by-step approach to breathing new life into your old electronics, covering everything from basic repairs to creative repurposing ideas. We'll walk you through the process, highlighting common pitfalls and safety considerations along the way.
So, dust off those old devices and get ready to embark on a rewarding journey of repair and repurposing. Let's transform that e-waste into something useful and exciting!
Step 1: Assessment and Diagnosis
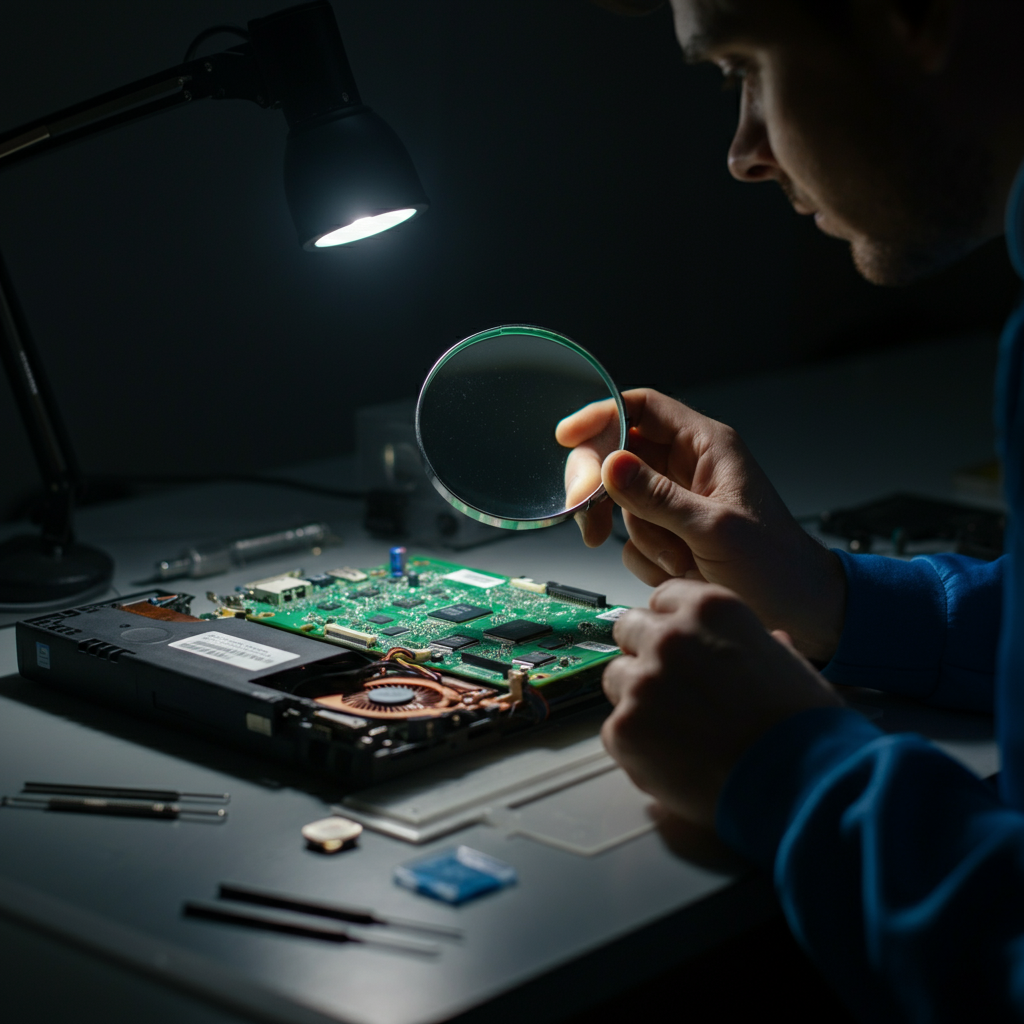
Thorough Examination
Before you even think about turning anything on, conduct a thorough visual inspection. Look for obvious signs of damage: cracked screens, bulging capacitors (especially in power supplies), frayed wires, or any signs of corrosion. Note down all observed issues, as this will guide your troubleshooting. A systematic approach will save you time and prevent further damage. Check the battery compartment for any signs of leakage, which can be highly corrosive. Also, take pictures of the original setup before disassembly, especially of the wiring. This will greatly aid reassembly later.
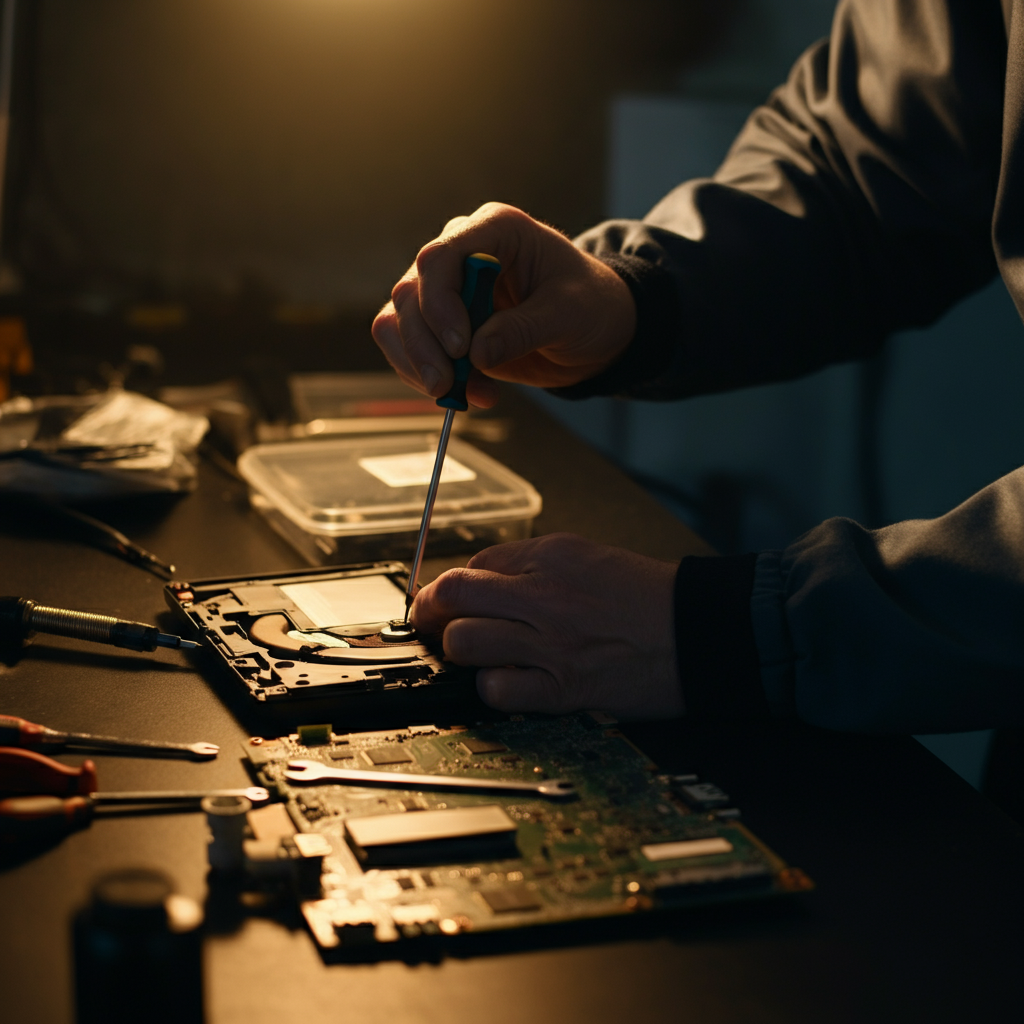
Step 2: Cleaning and Preparation
Dust Removal and Contact Cleaning
Dust is the enemy of electronics. Use compressed air to gently blow out dust from vents, connectors, and internal components. For stubborn dust, use a soft brush. Avoid using a vacuum cleaner, as it can generate static electricity that can damage sensitive components. Clean corroded contacts with isopropyl alcohol and a cotton swab. Ensure the alcohol evaporates completely before powering on the device. For really stubborn corrosion, a fiberglass scratch brush can be used very carefully.

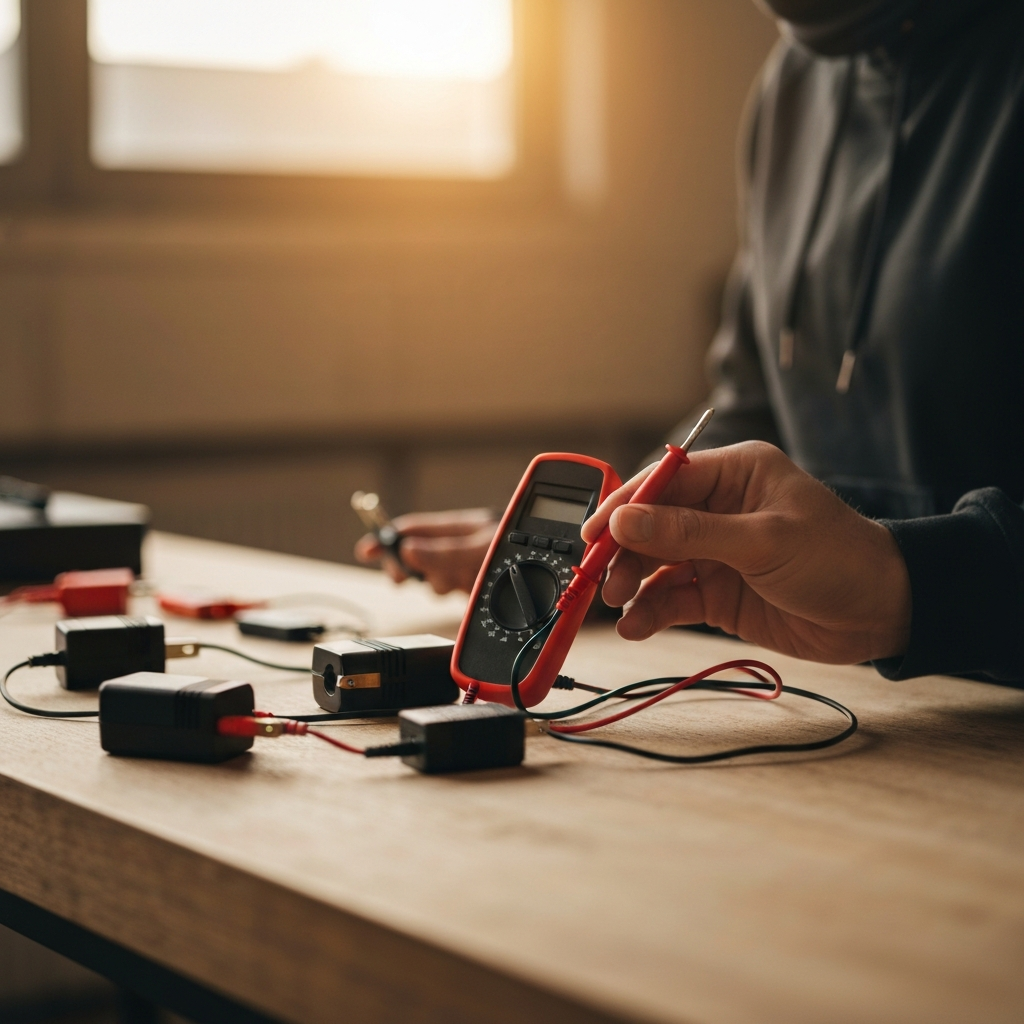
Step 3: Basic Repairs: Power Issues
Power Supply Troubleshooting
A dead device often points to a faulty power supply. Start by checking the power cord and adapter with a multimeter. If the adapter isn't providing the correct voltage, it needs to be replaced. If the power supply is internal, carefully inspect the capacitors for bulging or leaking. Replacing these components can often restore functionality. Remember to unplug the device and discharge any capacitors before working on the power supply. Always consult a schematic diagram if available to avoid shorts.
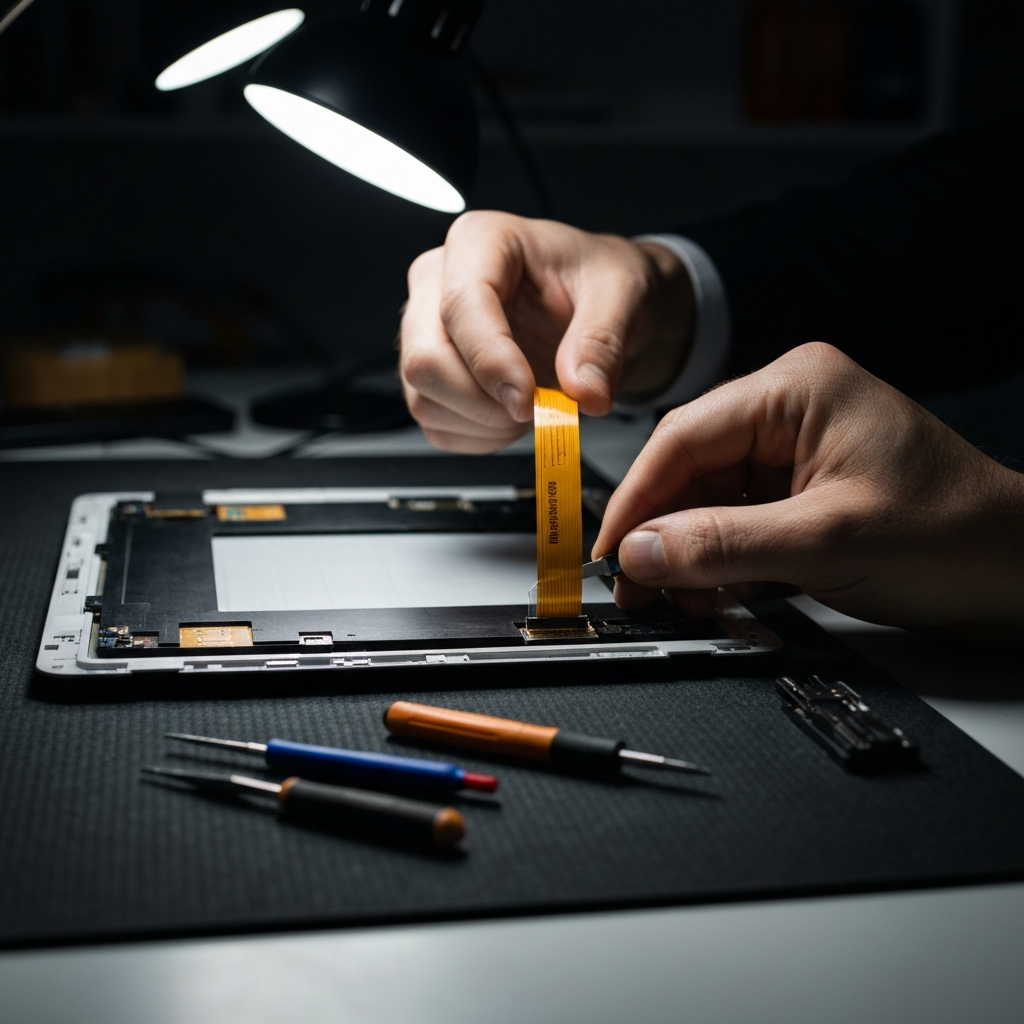
Step 4: Screen Replacement (LCDs/LEDs)
Replacing Cracked Screens
Cracked screens are a common issue. Replacing them can be challenging but rewarding. First, identify the correct replacement screen for your device (model number is crucial). Watch tutorial videos specific to your device model before starting. Use plastic opening tools to gently pry open the device and disconnect the old screen's ribbon cables. Be extremely careful with these cables, as they are fragile. Connect the new screen, test its functionality, and then carefully reassemble the device.
Step 5: Battery Replacement
Reviving with New Batteries
Old batteries are a frequent cause of device failure, especially in laptops and mobile devices. Replacing them can dramatically improve performance and extend the device's lifespan. Purchase a compatible replacement battery. Pay attention to polarity when connecting the new battery. Some older batteries may require soldering, so exercise caution. Lithium-ion batteries require careful handling. Dispose of old batteries responsibly at a recycling center.
Step 6: Repurposing Ideas
Creative Reuse
Even if repair isn't feasible, you can often repurpose old electronics. Turn an old laptop into a dedicated media server. Use an old smartphone as a security camera. An old desktop computer can become a retro gaming machine. With a little creativity, you can give these devices a new lease on life. Consider disassembling the device to harvest useful components, such as motors, LEDs, and switches, for other DIY projects. Open-source hardware projects often provide excellent ideas for repurposing.

Tools or Materials Required
- Screwdriver set (various sizes and types)
- Plastic opening tools
- Multimeter
- Compressed air
- Isopropyl alcohol
- Cotton swabs
- Soldering iron (optional)
- Replacement parts (screens, batteries, etc.)
- Magnifying glass
- Anti-static mat
Safety Considerations
Working with electronics can be dangerous if proper precautions are not taken. Always unplug devices before working on them. Discharge capacitors to prevent electric shock. Wear safety glasses to protect your eyes. Work in a well-ventilated area. Dispose of electronic waste responsibly.
Common Mistakes to Avoid
One common mistake is forcing components apart. Use patience and gentle pressure. Another mistake is not documenting the disassembly process, making reassembly difficult. Take pictures or videos as you go. Avoid using excessive force when tightening screws, as this can damage the housing or internal components.
Pro Tips
- Consult online forums and repair guides specific to your device model.
- Purchase replacement parts from reputable sources.
- Practice soldering on scrap electronics before working on valuable devices.
- Take your time and be patient.
FAQ Section
- Q: Where can I find replacement parts?
- A: Online retailers like Amazon and eBay are good starting points. Specialized electronics repair shops may also sell parts.
- Q: How do I dispose of old electronics responsibly?
- A: Check with your local municipality for e-waste recycling programs. Many retailers also offer take-back programs.
- Q: Is it worth repairing old electronics?
- A: It depends on the cost of repair versus the cost of replacement. For simple repairs, it's often worth it. For complex repairs on older devices, it may not be.
Conclusion
Breathing new life into old electronics is a rewarding endeavor. By following the steps outlined in this guide, you can repair, repurpose, and reduce e-waste. Remember to prioritize safety, take your time, and consult online resources when needed. With a little effort, you can transform forgotten gadgets into useful tools and creative projects.