In a world increasingly dominated by disposable technology, the charm and functionality of older electronics are often overlooked. From vintage radios to early digital cameras, these devices represent not only a piece of history but also an opportunity to reduce e-waste and save money. Before relegating that dusty gadget to the landfill, consider the possibilities of restoration and reuse. With a little know-how and some elbow grease, you can breathe new life into old electronics, enjoying their original purpose or repurposing them for modern applications.
This guide provides a comprehensive approach to reviving old electronics, covering everything from basic cleaning and repair to more advanced troubleshooting and modification techniques. Whether you're a seasoned electronics enthusiast or a curious beginner, you'll find valuable insights and practical advice to help you succeed. We'll focus on safe practices, common pitfalls to avoid, and the tools and materials necessary to get the job done right. So, let's dive in and discover the joy of restoring these forgotten treasures.
The process is not just about fixing a broken device; it's about understanding its inner workings, appreciating its design, and extending its lifespan. By embracing the challenge, you contribute to a more sustainable approach to technology consumption and gain a deeper appreciation for the ingenuity of past innovations.
Step 1: Assessment and Safety Precautions
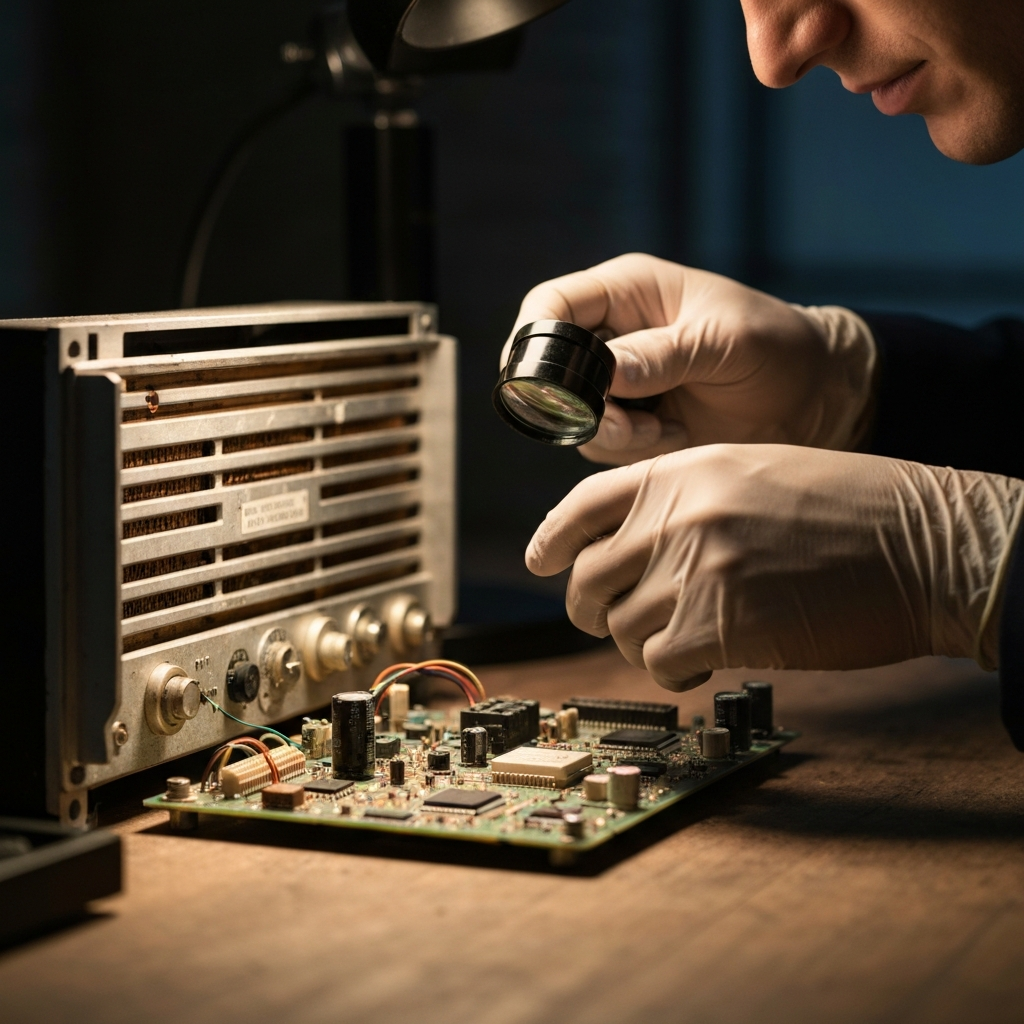
Before you even think about plugging in that old device, a thorough assessment is crucial. Begin by visually inspecting the electronics for any obvious signs of damage, such as cracked casings, frayed wires, bulging capacitors, or corrosion. Always disconnect the device from any power source before handling it. This is paramount for your safety. Look for battery leakage in battery-powered devices. If present, carefully clean the affected area with a solution of baking soda and water, ensuring proper ventilation and wearing gloves to protect your skin.
Step 2: Cleaning and Dust Removal
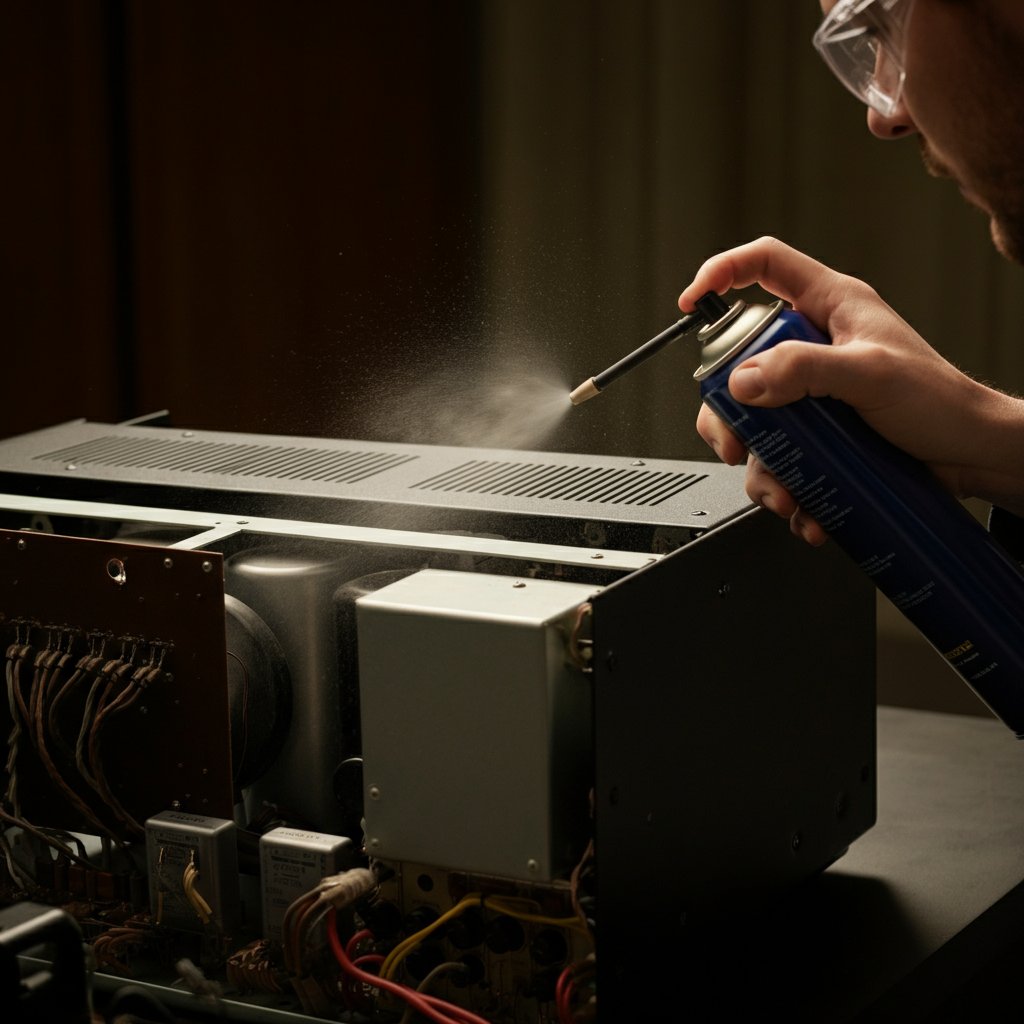
Dust is the enemy of all electronics. Over time, it accumulates inside devices, trapping heat and potentially causing short circuits. Use a can of compressed air to blow out dust from vents, crevices, and internal components. For stubborn dirt and grime on the exterior casing, use a soft cloth dampened with isopropyl alcohol. Avoid using excessive moisture, as it can damage sensitive components. Pay particular attention to cleaning switches, knobs, and connectors, as these are often prone to oxidation and corrosion.
Step 3: Checking and Replacing Batteries
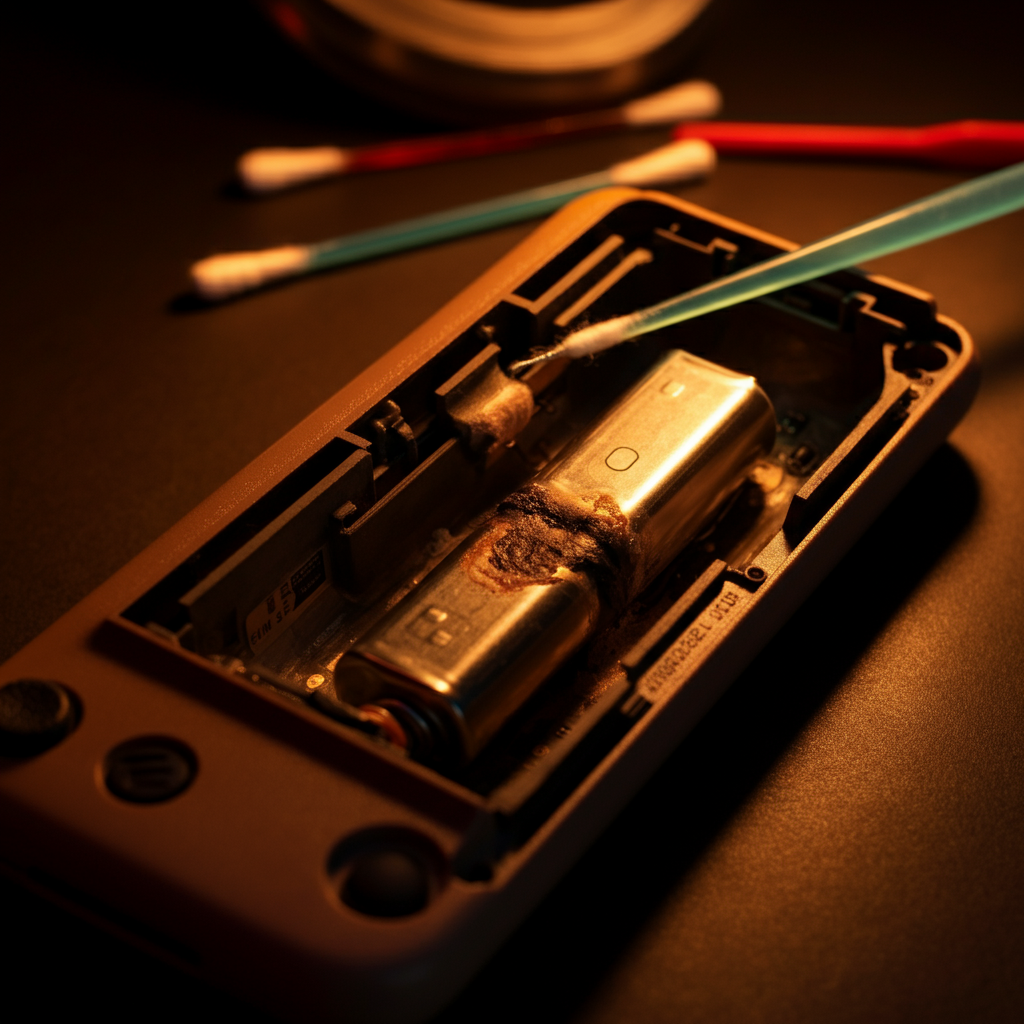
If the device uses batteries, check their condition. Old batteries can leak and corrode contacts, causing significant damage. Remove any old batteries and clean the battery compartment with a cotton swab dipped in vinegar or a specialized contact cleaner. If the contacts are heavily corroded, you may need to use a small wire brush or sandpaper to remove the corrosion. When replacing batteries, always use the correct type and voltage. Consider using rechargeable batteries to reduce waste and save money in the long run.
Step 4: Basic Troubleshooting: Power Issues
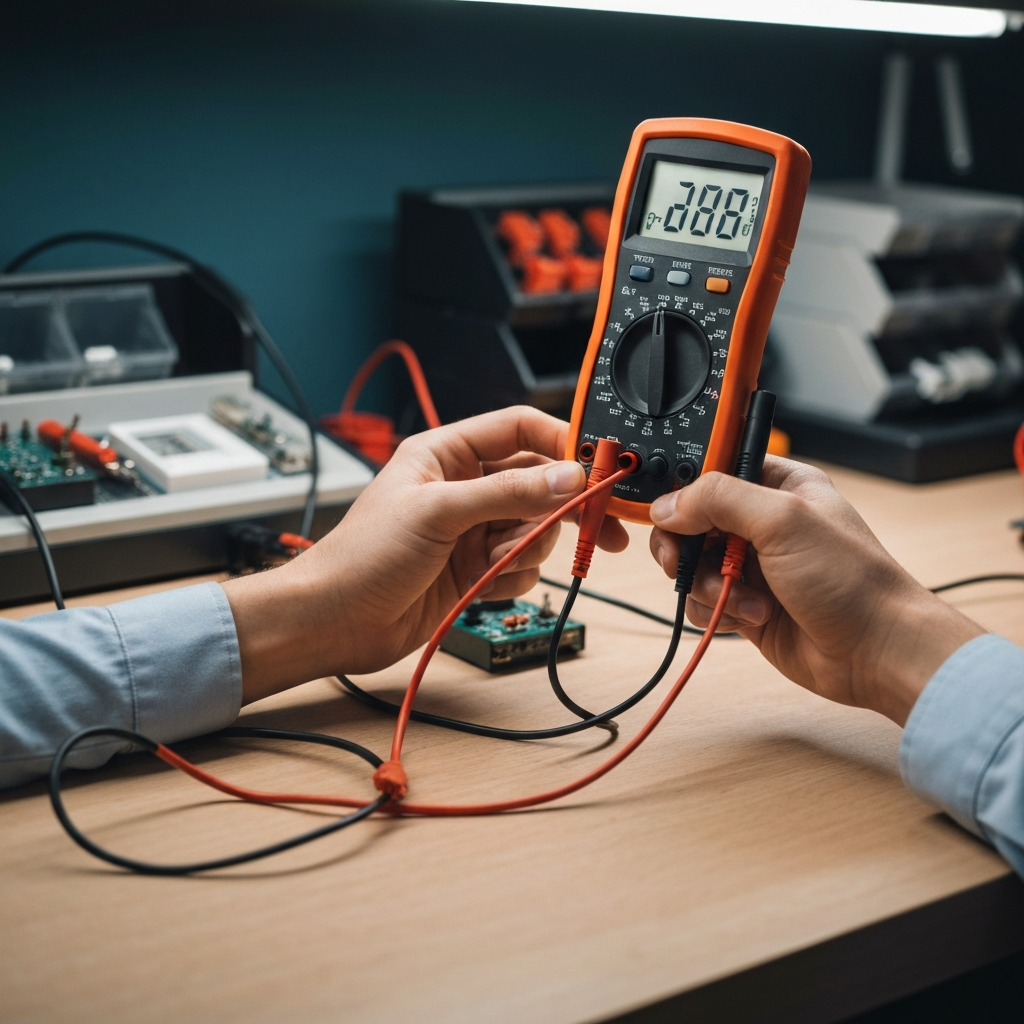
If the device doesn't power on, start by checking the power cord and plug. Look for any signs of damage, such as frayed wires or a loose connection. If possible, test the power cord with a multimeter to ensure it's delivering power. If the power cord is faulty, replace it with a new one of the same type and voltage. Also, inspect the power switch for any signs of damage or corrosion. Sometimes, a simple cleaning of the switch contacts can restore functionality. Internal fuses are designed to protect the electronics from power surges; always replace them with the exact same amperage and voltage rating.
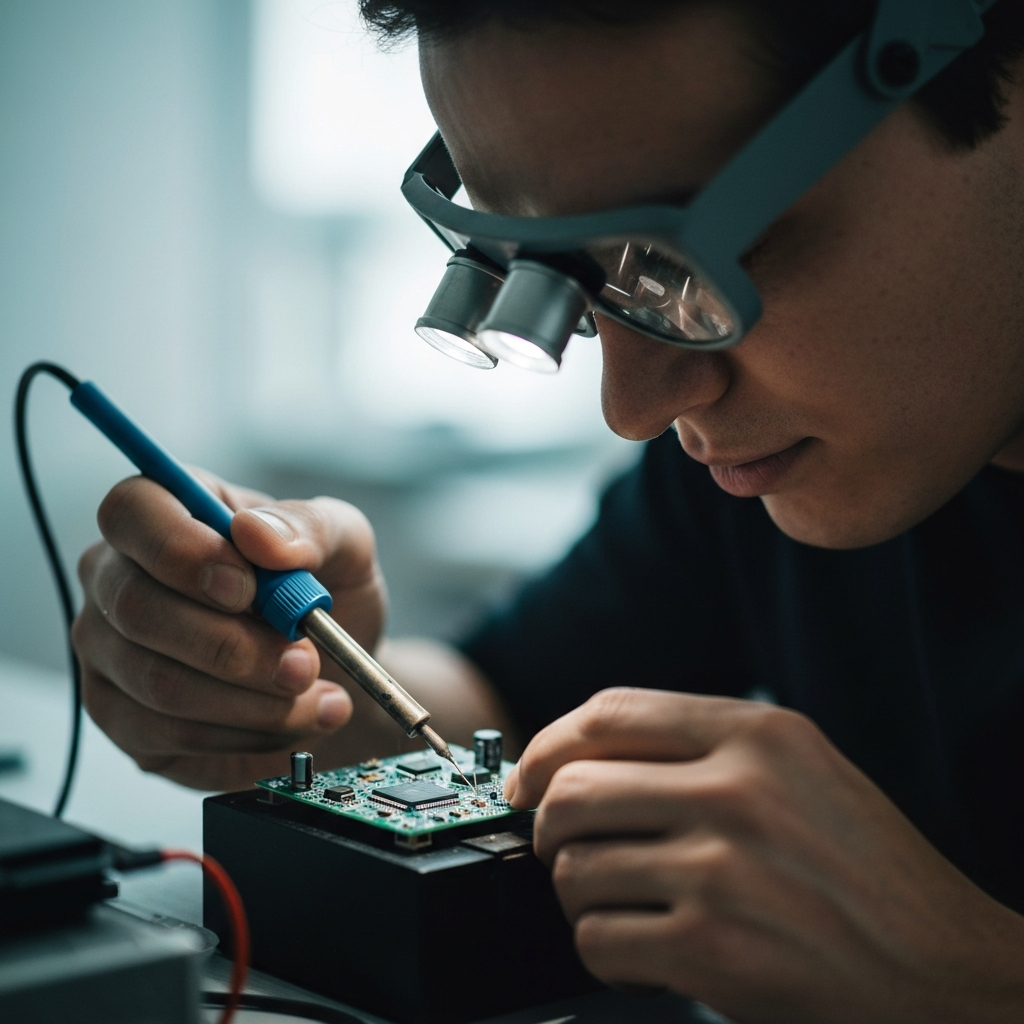
Step 5: Component-Level Repair (If Necessary)
For more complex issues, such as a faulty circuit board or a damaged component, component-level repair may be necessary. This requires a basic understanding of electronics and soldering skills. Start by identifying the faulty component using a multimeter or other diagnostic tools. Common culprits include capacitors, resistors, and transistors. Once identified, desolder the faulty component and replace it with a new one of the same type and value. Pay close attention to polarity when replacing polarized components, such as capacitors and diodes. If you are not comfortable with soldering, consider seeking assistance from a qualified electronics repair technician.
Tools or Materials Required
- Screwdrivers (various sizes)
- Pliers
- Wire cutters
- Soldering iron and solder
- Multimeter
- Compressed air
- Isopropyl alcohol
- Soft cloths
- Contact cleaner
- Replacement components (capacitors, resistors, etc.)
- Safety glasses
- Nitrile gloves
Safety Considerations
- Always disconnect the device from the power source before working on it.
- Wear safety glasses to protect your eyes from flying debris or solder splatter.
- Use proper ventilation when soldering to avoid inhaling fumes.
- Be careful when handling sharp tools.
- If you are not comfortable with a particular repair, seek assistance from a qualified technician.
Pro Tips
- Take photos of the device before disassembly to help you remember how everything goes back together.
- Keep track of all screws and small parts by using labeled containers.
- Consult online forums and repair manuals for specific troubleshooting tips for your device.
- Don't be afraid to experiment, but always proceed with caution.
FAQ Section
- Q: What should I do with electronics that are beyond repair?
- A: Check with your local municipality for e-waste recycling programs. Many electronics retailers also offer recycling services.
- Q: Where can I find replacement parts for old electronics?
- A: Online electronics suppliers, surplus stores, and even other old electronics can be a source of parts.
- Q: Is it safe to open up old CRT televisions or monitors?
- A: No. CRT devices contain high voltage components that can be extremely dangerous, even when the device is unplugged. It is best to leave these repairs to qualified professionals.
By following these steps, you can significantly increase the chances of successfully reviving old electronics. Remember to prioritize safety, take your time, and enjoy the process of bringing these forgotten devices back to life. The satisfaction of restoring a piece of history and reducing e-waste is well worth the effort.