Split-screen functionality allows you to display and interact with multiple applications simultaneously on a single screen. This is a powerful tool for boosting productivity, enabling you to compare documents, watch videos while taking notes, or manage multiple projects at once. Mastering split-screen techniques can significantly improve your workflow efficiency across various devices.
This guide provides detailed, step-by-step instructions for using split-screen on different operating systems, including Windows, macOS, Chromebook, Android, and iPadOS. We'll cover the necessary steps, potential issues, and pro tips to help you seamlessly integrate split-screen into your daily routine. Whether you're a seasoned multitasker or new to the concept, this guide will equip you with the knowledge and skills to use split-screen effectively.
Note that split-screen capabilities can vary slightly depending on the specific device model and operating system version. However, the fundamental principles remain consistent, allowing you to adapt these instructions to your specific setup.
Tools or Materials Required
- A device running Windows, macOS, ChromeOS, Android, or iPadOS.
- Applications compatible with split-screen mode.
Safety Considerations
Ensure proper ergonomics when using split-screen for extended periods. Maintain good posture and take regular breaks to prevent eye strain and physical discomfort. Position your device at an appropriate viewing distance and adjust screen brightness for optimal comfort.
Common Mistakes to Avoid
- Assuming all applications support split-screen – always verify compatibility.
- Overloading the system with too many applications, which can impact performance.
- Forgetting keyboard shortcuts that can streamline the split-screen process.
Pro Tips
- Customize the size of split-screen windows to prioritize important tasks.
- Utilize keyboard shortcuts to quickly switch between applications.
- Close unnecessary applications running in the background to improve performance.
FAQ Section
- Why isn't split-screen working on my device?
- Ensure that split-screen is enabled in your device's settings and that the applications you are trying to use are compatible with split-screen mode. Restarting your device can sometimes resolve compatibility issues.
- Can I use split-screen with any application?
- No, not all applications support split-screen mode. Check the application's documentation or settings to confirm compatibility.
- How do I adjust the size of the split-screen windows?
- Most operating systems allow you to adjust the size of split-screen windows by dragging the separator bar between the applications. The exact method may vary depending on the operating system.
-
Step 1: Split Screen on Windows
Windows offers a seamless split-screen experience through its "Snap Assist" feature. This allows you to quickly arrange application windows side-by-side or in quadrants. Before you begin, ensure that Snap Windows is enabled in your system settings. Go to Settings > System > Multitasking and verify that the toggle switch next to "Snap windows" is turned on.

-
Step 2: Opening Applications in Split Screen on Windows
Open the applications that you want to use in split-screen mode. Most applications are compatible with Snap Assist. To initiate split-screen, click and drag the title bar of the first application window to either the left or right edge of your screen. As you drag, an outline will appear, indicating where the window will be snapped. Release the mouse button to snap the window into place.
-
Step 3: Selecting the Second Application on Windows
After snapping the first application, Windows will display thumbnails of other open applications on the remaining side of the screen. Simply click on the thumbnail of the second application that you want to use. The selected application will automatically fill the remaining space, creating a perfect split-screen view. If the desired application isn't shown, you can manually open it and repeat the snapping process on the other side.
-
Step 4: Adjusting the Split on Windows
To adjust the size of the split-screen windows, hover your mouse cursor over the divider between the two applications. The cursor will change into a double-sided arrow. Click and drag the divider left or right to resize the windows to your desired proportions. This allows you to prioritize one application over the other, depending on your current task.

-
Step 5: Split Screen on macOS
macOS offers Split View, a feature that allows you to work in two applications side-by-side in full screen. To start, open the two applications you want to use in Split View. Unlike Windows, Split View requires both applications to be in full-screen mode. Click the green "maximize" button in the upper-left corner of the first application window.
-
Step 6: Entering Split View on macOS
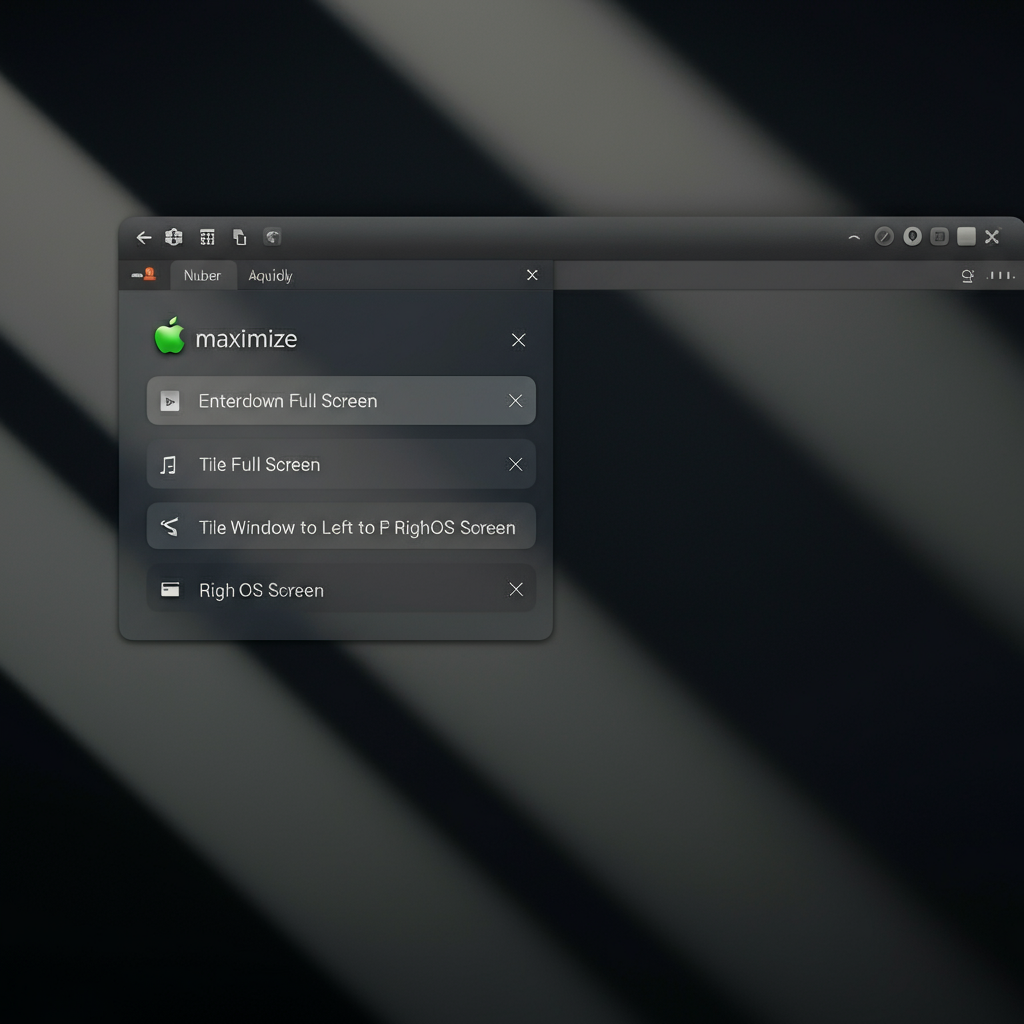
When you hover over the green button, a menu appears. Select either "Enter Full Screen" or "Tile Window to Left of Screen" or "Tile Window to Right of Screen". Choosing either "Tile" option will automatically push the current application to one side of the screen and display Mission Control on the other side. Mission Control shows all your open windows and desktop spaces.
-
Step 7: Selecting the Second Application on macOS
In Mission Control, click on the second application you want to use in Split View. This application will then occupy the remaining space, and both applications will be displayed side-by-side in full screen. To exit Split View, move your cursor to the top of the screen to reveal the menu bar, then click the green button again to return the applications to their normal windowed state.

-
Step 8: Split Screen on Chromebook
Chromebook provides a straightforward method for splitting the screen between two applications. Open the first application you want to use. Click and hold the maximize/restore button (the square icon) in the upper-right corner of the application window. This will present options for tiling the window.
-
Step 9: Tiling the First Application on Chromebook
Choose either the "Tile Left" or "Tile Right" option. Alternatively, you can simply drag the window to either edge of the screen until a semi-transparent outline appears, then release the mouse button. The application will snap into place, occupying half of the screen.
-
Step 10: Selecting the Second Application on Chromebook
Once the first application is tiled, the remaining half of the screen will display thumbnails of other open applications. Click on the thumbnail of the second application you want to use. This application will automatically fill the remaining space, completing the split-screen setup. You can adjust the divider between the two applications by dragging it left or right.
-
Step 11: Split Screen on Android (Stock Android)
Android offers a split-screen mode that allows you to run two apps simultaneously. First, open the two apps you want to use. Next, open the Recent Apps menu by swiping up from the bottom of the screen and holding, or by tapping the square button (depending on your device's navigation style).
-
Step 12: Initiating Split Screen on Android
In the Recent Apps menu, tap the icon of the first app you want to use in split-screen mode (usually located above the app preview). A menu will appear. Tap the "Split screen" option. The app will then move to the top portion of the screen, and the Recent Apps menu will reappear at the bottom.
-
Step 13: Selecting the Second App on Android
From the Recent Apps menu, select the second app you want to use. Tap the app's icon or the app preview. The second app will then occupy the bottom portion of the screen, creating a split-screen view. You can adjust the size of the split by dragging the divider between the two apps.
-
Step 14: Split Screen on iPad
iPadOS provides robust multitasking capabilities, including Split View. First, ensure that multitasking is enabled in Settings. Go to Settings > Multitasking & Gestures and make sure the "Allow Multiple Apps" toggle is turned on. Then, open the first app you want to use in Split View.
-
Step 15: Entering Split View on iPad
Swipe up from the bottom edge of the screen to reveal the Dock. On the Dock, tap and hold the icon of the second app you want to use. Drag the icon from the Dock onto the screen. A subtle animation will indicate that the app is being added to Split View.
-
Step 16: Adjusting and Using Split View on iPad
Release the icon on the left or right edge of the screen, depending on where you want the second app to appear. The iPad will then display both apps side-by-side. You can adjust the split by dragging the divider in the middle. To exit Split View, drag the divider all the way to the left or right edge of the screen.
Conclusion
By following these steps, you can effectively utilize split-screen functionality on various devices. Remember to check application compatibility and optimize your workflow by adjusting window sizes and utilizing keyboard shortcuts. Mastering split-screen can significantly enhance your productivity and multitasking capabilities, allowing you to work more efficiently across different platforms. Experiment with different setups and find what works best for your individual needs and workflow.