So you're thinking of hosting an open mic night? Excellent! It's a fantastic way to build community, showcase local talent, and create a vibrant atmosphere. But being a successful host is more than just putting your name on the event. It requires planning, organization, and a healthy dose of charisma. The host sets the tone for the entire evening, influencing everything from audience participation to performer comfort levels.
Hosting isn't just about announcing names; it's about creating a welcoming and supportive environment. Think of yourself as the conductor of an orchestra, guiding the flow of the evening and ensuring everyone has a positive experience. From managing sign-ups and keeping the energy up between acts to handling unexpected situations, your role is crucial to the event's success. This guide will walk you through every step, from initial planning to the final curtain call.
Whether you're a seasoned performer or a newcomer to the scene, this guide will equip you with the knowledge and tools you need to create a memorable open mic night that keeps performers and audiences coming back for more. Let's dive in and unlock the secrets to becoming a truly great open mic host!
Step 1: Pre-Event Planning is Key
Before you even think about stepping onto a stage, a considerable amount of groundwork is required. This stage involves securing a venue, determining the event's format, and setting clear guidelines for performers and attendees. Failing to plan is planning to fail. Don't underestimate the importance of these initial steps; they're the foundation upon which a successful open mic night is built.

Step 2: Defining the Open Mic Format
Decide on the specific format of your open mic. Will it focus on poetry, music, comedy, or a mix of all three? Will there be themed nights? What is the duration of each performance? Consider the needs and interests of your target audience when making these decisions. A clearly defined format attracts a specific audience. This helps with promotion and ensures the talent you attract aligns with the event's focus. Establish performance time limits (3-5 minutes is standard), and if there will be a headliner, determine when they'll perform.

Step 3: Setting Up the Sign-Up Process
Make it easy for performers to sign up. The sign-up sheet should be clearly visible and accessible, ideally near the entrance or welcome desk. Include columns for name, contact information, and type of performance. Offer options for performers to pre-register online – this streamlines the process. Be prepared to manage walk-ins on the night of the event. You can either hold the sign-up list yourself for easier communication with younger audience or place at a welcome desk.

Step 4: Venue Setup and Technical Considerations
Ensure the venue is properly equipped with essential equipment. Microphones (with stands), a sound system, and adequate lighting are crucial. Test the equipment before the event starts to identify and address any technical issues. Consider the acoustics of the venue. A carpeted room will absorb sound better than a tiled one. If possible, have a dedicated sound technician to manage the audio levels and ensure clear sound for both performers and the audience. If you have a DJ, discuss how they will play transition music before and after the acts.

Step 5: Welcoming the Audience and Setting Expectations
As people arrive, greet them warmly and create a welcoming atmosphere. Be approachable and encourage newcomers to sign up. Briefly explain the format of the open mic, including the performance time limits, break schedule, and any specific rules. Set a positive and inclusive tone from the outset to encourage audience participation and respect for performers. Clearly explain that everyone should put phones on silent to avoid any interruptions during performances.

Step 6: Kicking Off the Show with Enthusiasm
When it's time to start, take the stage with confidence and enthusiasm. Introduce yourself, thank the audience for coming, and express your excitement for the evening. Briefly reiterate the format and rules of the open mic. Start with a captivating opener – a joke, a poem, or a short anecdote – to grab the audience's attention. Clearly explain to the audience what positive participation looks like for the type of event you are hosting.

Step 7: Smooth Transitions Between Acts
Your job as a host is to keep the energy flowing between performances. After each act, offer a brief, positive comment about their performance. Thank them for sharing their talent and announce the name of the next performer. Avoid lengthy monologues or drawing attention away from the performers. The transition should be quick and seamless to maintain momentum. Announce the name of the person who will be next to perform after the next act, so they can be on deck and prepared.

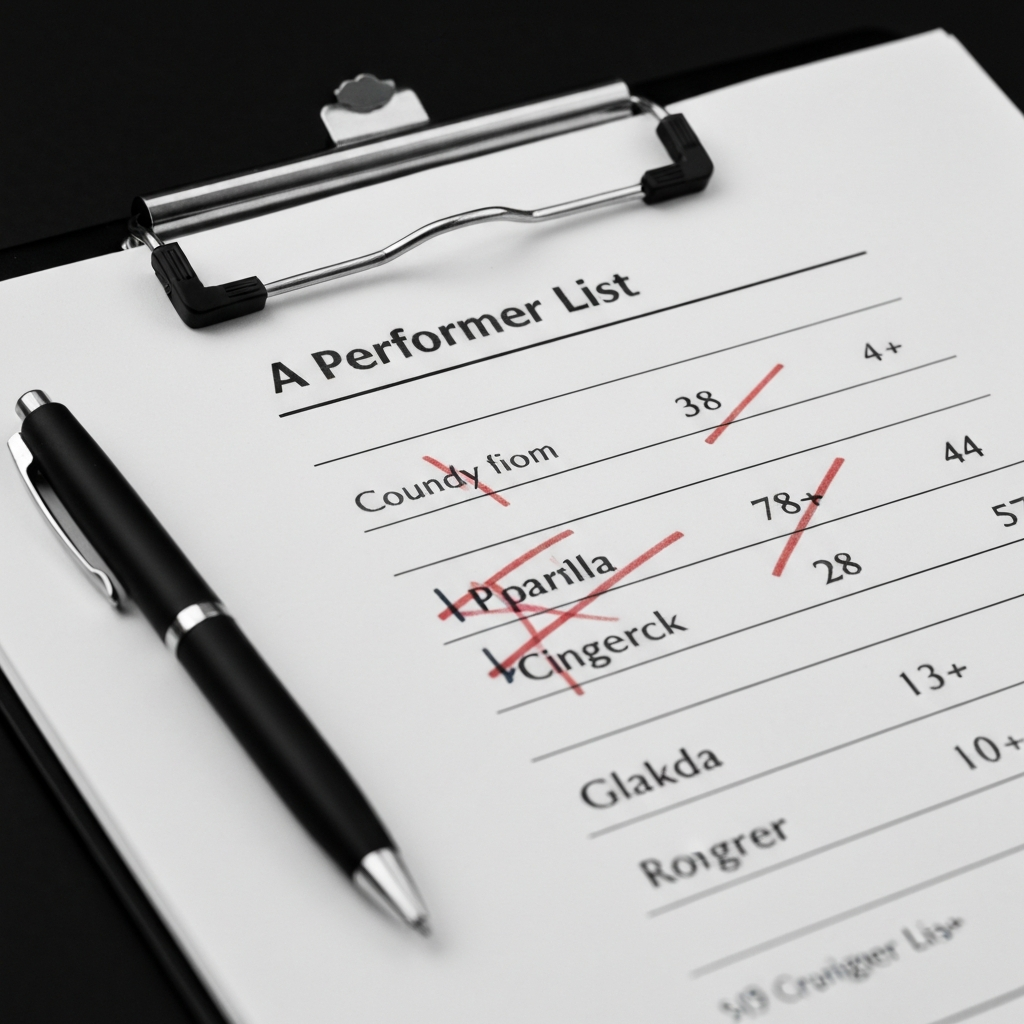
Step 8: Managing the Performer List
Keep track of the performer list and mark off names as they perform. This helps you stay organized and prevents you from accidentally skipping anyone. If a performer isn't present when called, move on to the next name and offer to add them back to the list later. Going in order from top to bottom makes things easier.
Step 9: Dealing with Difficult Situations
Be prepared to handle unexpected situations, such as technical difficulties, disruptive audience members, or performers who exceed their time limit. Remain calm and professional in these situations. Politely address the issue and try to resolve it quickly and efficiently. If a performer crosses the line with inappropriate content, be prepared to intervene and shut down the performance.
Step 10: Closing the Show and Saying Thank You
At the end of the open mic, thank all the performers, the audience, and the venue staff for their participation. Remind everyone about upcoming events and encourage them to spread the word. End on a high note and leave everyone feeling positive and appreciated.
Tools or Materials Required
- Microphone and stand
- Sound system
- Sign-up sheet and pens
- Timer
- Venue with adequate lighting
- Backup microphone and cables
Common Mistakes to Avoid
- Talking too much between acts
- Not keeping track of the time
- Failing to address technical issues promptly
- Being unprepared for difficult situations
- Not promoting the event effectively
Safety Considerations
- Ensure the venue is adequately lit and has clear exits.
- Have a plan for handling emergencies.
- Be aware of potential fire hazards.
- Avoid serving alcohol to minors.
Pro Tips
- Arrive early to set up and test equipment.
- Engage with the audience between acts.
- Be yourself and let your personality shine.
- Encourage audience participation.
- Promote the event on social media.
FAQ Section
- How long should each performance be?
- 3-5 minutes is the standard time limit.
- What should I do if a performer goes over the time limit?
- Politely remind them of the time limit and encourage them to wrap up their performance.
- How do I handle disruptive audience members?
- Speak to them privately and ask them to be respectful. If the behavior continues, ask them to leave.
- What should I do if there are technical difficulties?
- Remain calm and try to troubleshoot the problem. If you can't resolve it, apologize to the audience and offer a solution.
Conclusion
Hosting an open mic night is a rewarding experience that can bring people together and foster a sense of community. By following the steps outlined in this guide, you'll be well-equipped to create a successful and memorable event. Remember to be organized, enthusiastic, and welcoming, and always prioritize the comfort and enjoyment of your performers and audience. Good luck, and have a fantastic open mic night!