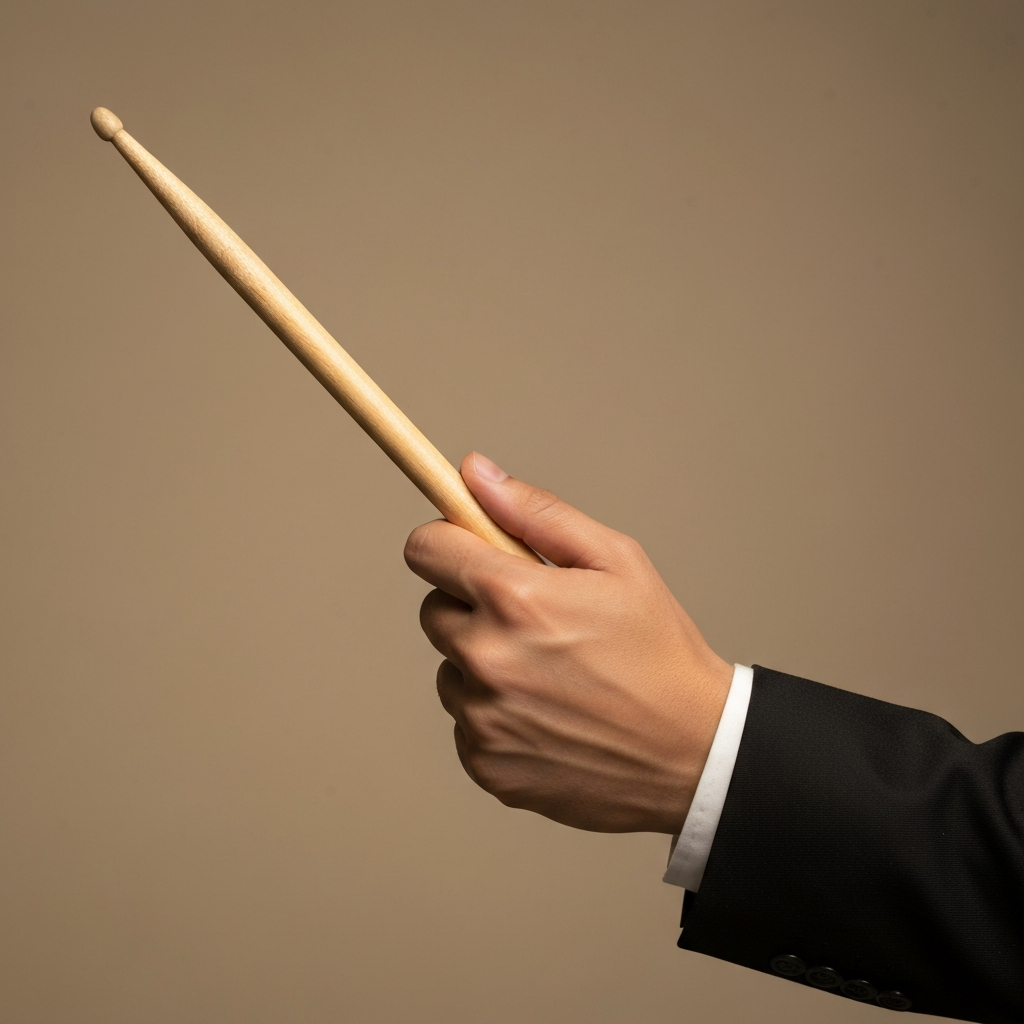
The way you hold your drumsticks is fundamental to your playing. It influences your control, power, and overall sound. A proper grip allows for fluid movement, reduces fatigue, and enables you to express yourself fully behind the kit. Developing a solid grip is not just about holding the stick, but about creating a connection between your body and the instrument.
There isn't one "right" way to hold a drumstick. Different styles and techniques cater to various musical genres and personal preferences. We'll explore four primary grip styles: American, German, French, and Traditional. Each grip offers unique advantages and disadvantages, influencing your playing style and the sounds you can achieve. Understanding these nuances is crucial for any aspiring drummer.
This guide will walk you through each grip step-by-step, providing practical advice and addressing common pitfalls. By the end, you'll have a clear understanding of each grip, allowing you to experiment and find what works best for you. Remember, consistent practice and mindful attention to your technique are key to developing a comfortable and effective grip. Let's get started!
1. The American Grip: A Versatile Foundation
Step 1: Forming the Fulcrum Pocket
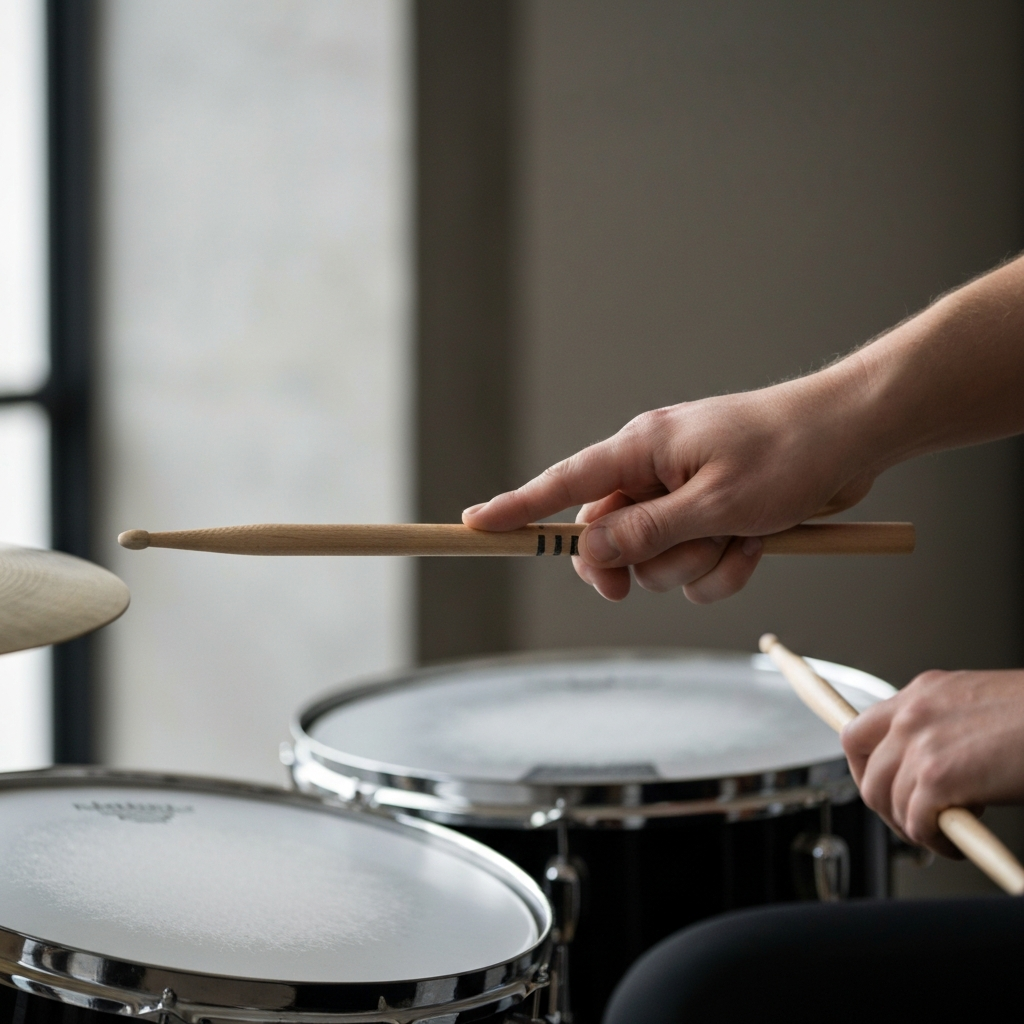
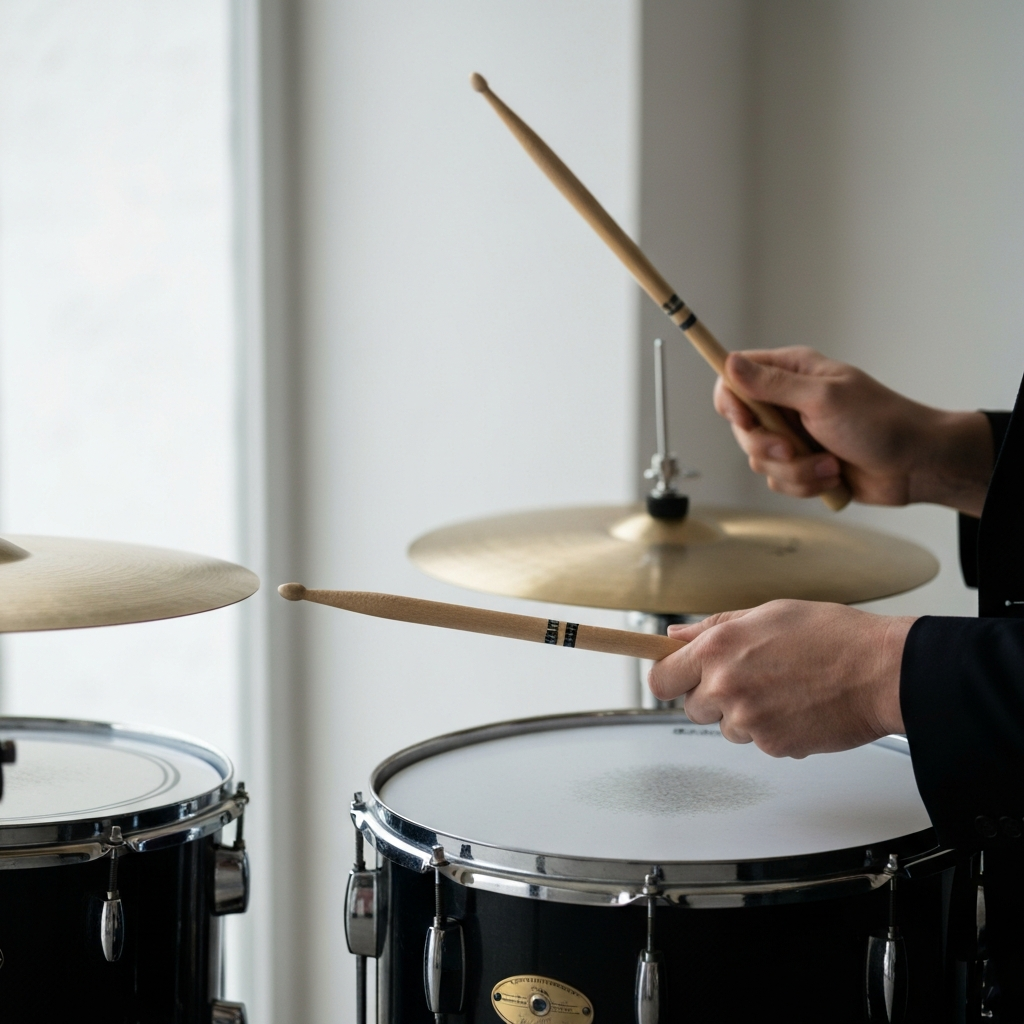
The American grip is often considered a foundational grip due to its versatility and balance between power and control. Begin by extending your hand with your palm facing downwards at roughly a 45-degree angle. Now, gently curve your index finger, creating a small "pocket" between the first knuckle and your palm. This pocket serves as the primary fulcrum, or pivot point, for the drumstick. Ensure the pocket is relaxed and not overly tense, allowing the stick to move freely. Maintaining this relaxed posture is crucial for avoiding tension and fatigue during longer playing sessions.

Step 2: Positioning the Drumstick
Carefully slide the drumstick into the pocket formed by your index finger and thumb. The stick should rest comfortably within the curve of your index finger, as if you're gently cradling it. Avoid squeezing the stick tightly at this stage; the focus is on creating a stable but flexible contact point. The drumstick should be positioned so that it runs along the fleshy part of your palm and exits the back of your hand.
Step 3: Finding the Balance Point
Adjust the position of the stick within your grip to find its natural balance point. This is the point where the stick feels most responsive and rebounds easily when struck against a drum. Gently slide the stick forward and backward in your hand until you feel a balanced, springy action. Experiment with small adjustments to find the optimal balance point for your specific sticks and playing style. This usually lies about two-thirds of the way back from the stick tip.
Step 4: Thumb Placement
Once you've found the balance point, place your thumb on the side of the drumstick, opposite your index finger. The thumb acts as a secondary point of control, providing stability and guiding the stick's movement. The thumb should apply gentle pressure, avoiding a tight or restrictive grip. A common mistake is to position the thumb on top of the stick, which can limit wrist movement and power.
Step 5: Finger Support
Wrap your remaining fingers (middle, ring, and pinky) loosely around the drumstick, underneath. These fingers provide additional support and control, but should not grip the stick tightly. The goal is to maintain a relaxed grip, allowing the stick to move freely and rebound naturally. These fingers can be subtly used for finesse and advanced control techniques over time.
Step 6: Replicating on the Other Hand
Mirror the steps above on your other hand, ensuring that both hands are using the same American grip technique. Because both hands mirror each other, this is called a "matched grip." Consistency is crucial for developing a balanced and coordinated playing style. Take the time to ensure both grips feel as similar as possible, adjusting as needed. This equalized grip is essential for uniform sound and control across the drum kit.
Step 7: Striking the Drum
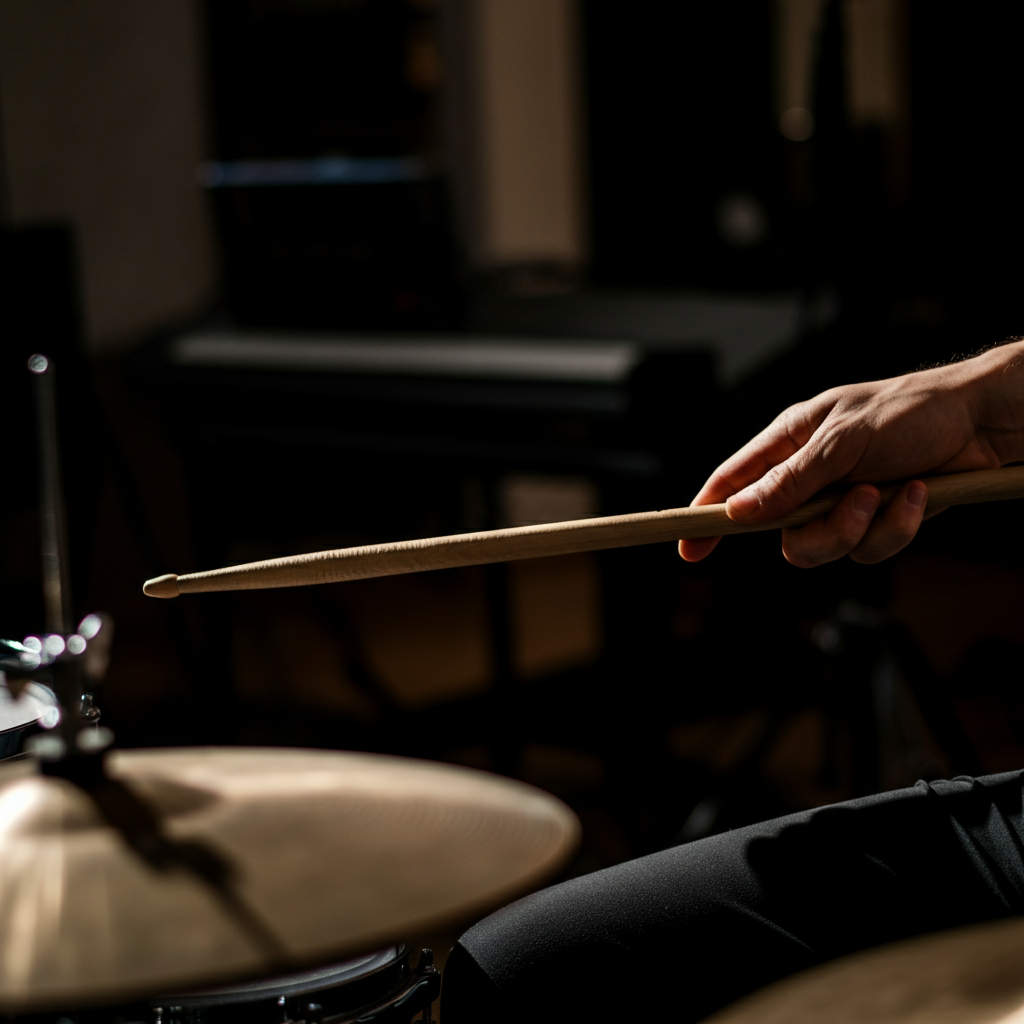
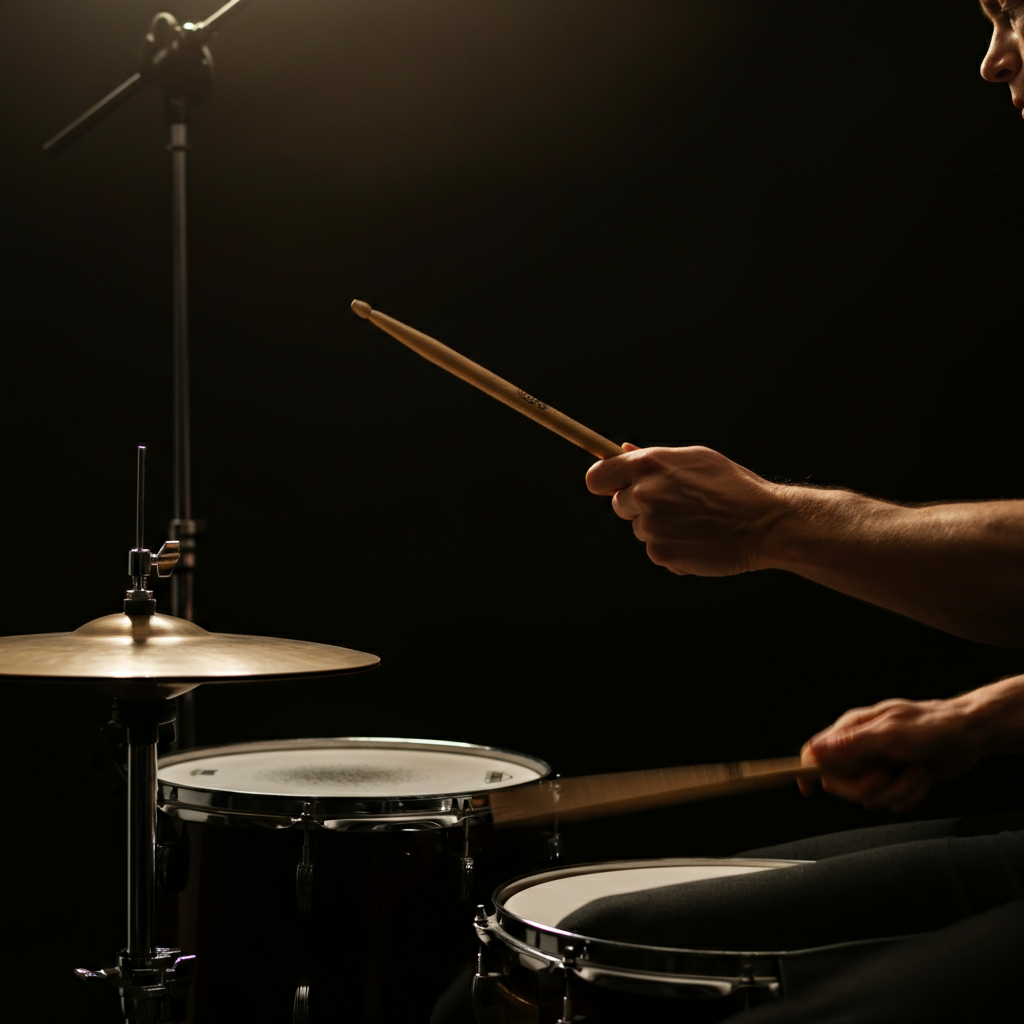
Strike the drum primarily using a wrist motion, allowing the stick to rebound naturally. Keep your palms facing downward, nearly parallel to the floor, to ensure the largest part of your wrist is facilitating the movement. Adjust the tightness of your thumb and fingers to control the bounce and volume. Avoid using your arms or shoulders to generate power; the movement should originate from the wrist and fingers. Practicing this motion repeatedly will build muscle memory and improve your control.
2. The German Grip: Power and Projection
Step 1: Initial Grip Similar to American
Begin by gripping the stick at its balance point, similar to the American grip. Form the fulcrum pocket with your index finger and thumb, ensuring a relaxed but stable connection. The foundation of the German grip starts with a familiar hand position, allowing for an easy transition. This ensures a smooth and controlled initiation before adjusting the hand position.

Step 2: Palms Parallel to the Drum Surface
Rotate your hands so that your palms are facing downward, parallel to the surface of the drum. This rotation is a key characteristic of the German grip, positioning your wrists for a more direct and powerful stroke. This palm-down orientation facilitates a fuller, more resonant sound. This adjustment allows for maximum impact when striking the drumhead.
Step 3: Middle Finger Support
Curl your middle fingers underneath the stick, providing additional support. The ring and pinky fingers can also be used for support or simply folded loosely underneath the stick. The middle fingers play a more prominent role in the German grip compared to other styles. This added support contributes to the overall power and control of the grip.
Step 4: Elbow Positioning
Allow your elbows to bend outward naturally. The German grip often encourages a more open arm posture, which can feel more comfortable and facilitate a powerful stroke. Avoid forcing your elbows inward; the goal is to maintain a relaxed and natural arm position. Letting the elbows find their natural position is essential for efficient movement and preventing strain.
Step 5: Striking with Wrist Motion
Strike the drum by turning your wrists downward. The German grip emphasizes a strong, controlled wrist motion for generating power. The sticks should rebound naturally from the drumhead. The primary movement should come from the wrists, minimizing the use of arms and shoulders. This ensures consistent and powerful strikes.
3. The French Grip: Finesse and Dexterity
Step 1: Initial Grip Similar to American
Begin by gripping the stick at its balance point, forming a fulcrum with your thumb and index finger, just as with the American and German grips. This initial grip provides a familiar starting point before transitioning to the unique hand position of the French grip. Focus on maintaining a relaxed and balanced grip to prepare for the finger-driven motion.
Step 2: Palms Facing Each Other
Rotate your hands so that your palms are facing each other, perpendicular to the floor. This is a key characteristic of the French grip, positioning your hands for a finger-driven playing style. This "handshake" position allows for greater finger control and finesse. The distance between the hands should feel natural and comfortable.
Step 3: Finger Support
Curl your middle, ring, and pinky fingers underneath the stick. These fingers provide support and control, and they play a more active role in generating power compared to other grip styles. The fingers act as levers, propelling the stick towards the drumhead. Consistent practice will strengthen these finger muscles and improve your control.
Step 4: Elbow Positioning
Keep your elbows tucked in close to your sides. This helps maintain a compact and controlled playing posture, essential for the French grip's focus on finesse and dexterity. Avoid letting your elbows flare out, which can reduce control and increase fatigue. Maintaining a stable elbow position is crucial for precise finger movements.
Step 5: Striking with Fingers
Strike the drum primarily using your fingers to propel the stick. The French grip relies heavily on finger control for generating speed and precision. Some wrist movement is unavoidable, but the emphasis should be on finger action. The goal is to use your fingers as miniature levers, flicking the stick towards the drumhead. This technique requires practice and coordination, but it allows for exceptional control and finesse.
4. The Traditional Grip: A Legacy of Innovation
Step 1: Non-Dominant Hand Palm Up
Begin by extending your non-dominant hand in front of you, palm facing upwards. This is the defining characteristic of the traditional grip and distinguishes it from all matched grip styles. The traditional grip originated from marching drummers who needed to play while carrying a drum slung across their body. The upwards-facing palm allows for a more comfortable playing position in this scenario.
Step 2: Stick Placement in the Crook
Place the drumstick in the fleshy "crook" of your hand, between your thumb and index finger. Adjust the stick's position until you find its natural balance point. The stick should rest comfortably in this crook, providing a stable base for the grip. Finding the balance point is crucial for achieving a responsive and controlled playing experience. Proper stick placement minimizes strain and maximizes rebound.
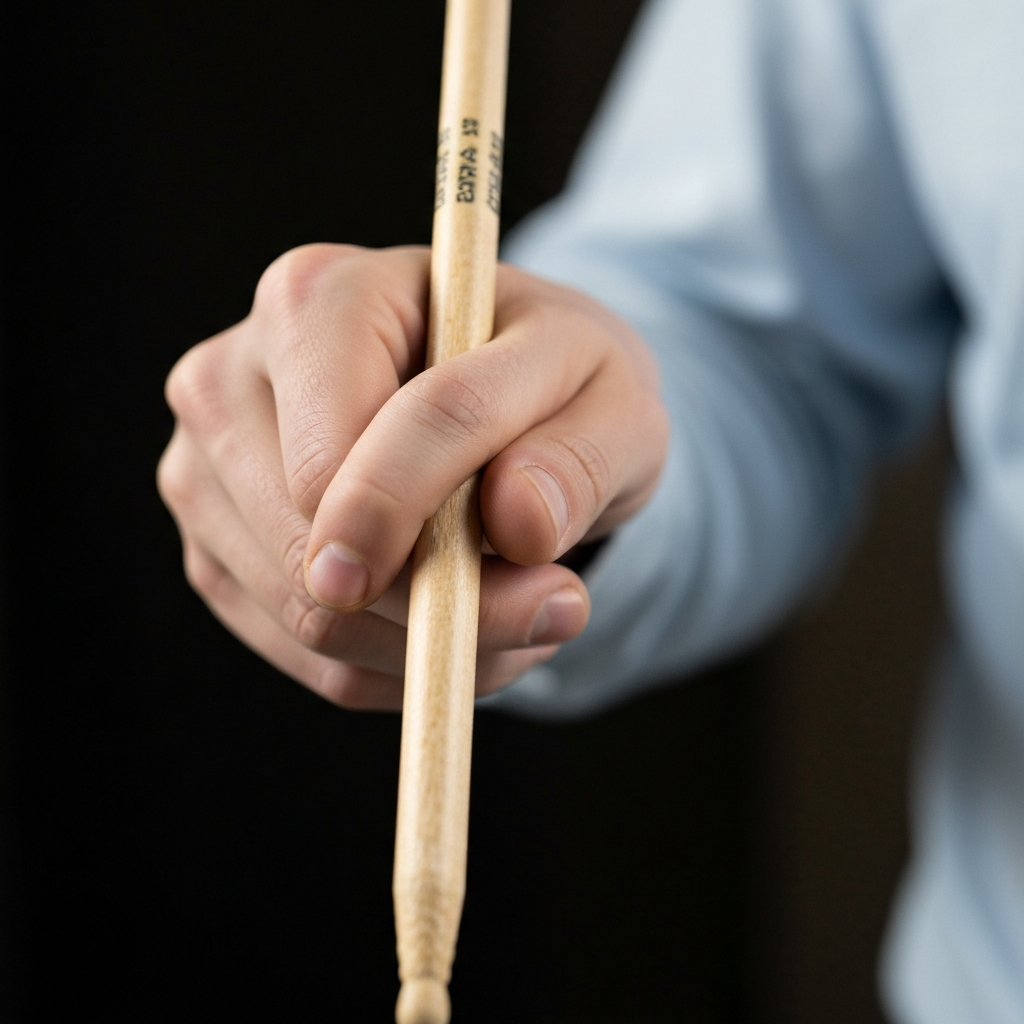
Step 3: Thumb and Index Finger Wrap
Wrap your thumb and index finger around the stick. Your thumb should rest comfortably on top of the stick, while your index finger curves over the top, touching the stick with the inside portion of the finger. This creates a secure and controlled grip. The thumb and index finger work together to provide the primary fulcrum for the stick. Maintaining a relaxed but firm grip is essential for control and responsiveness.
Step 4: Middle Finger Support
Position your middle finger along the outer edge of the stick, touching the stick on the underside of the second or third knuckle. This provides additional support and control, allowing you to manipulate the stick with greater precision. The middle finger acts as a lever, influencing the stick's movement and rebound. This may feel unnatural at first, but with practice, it will become a natural part of your grip.
Step 5: Ring and Pinky Finger Curl
Curl your remaining fingers (ring and pinky) underneath the stick. These fingers provide further support and stability, helping to control the stick's rebound and movement. The ring and pinky fingers work in unison to balance the grip and provide a subtle but important level of control. Ensure these fingers are relaxed and do not grip the stick too tightly.
Step 6: Dominant Hand Overhand Grip
Grip the other stick in your dominant hand using an overhand grip, such as the American grip, German grip, or French grip. This creates a contrasting but complementary hand position, allowing you to generate a wide range of sounds and rhythms. The combination of the traditional grip in the non-dominant hand and the overhand grip in the dominant hand provides a unique playing experience. Experiment with different overhand grip styles to find what works best for you.
Step 7: Striking with Wrist Motion
Strike the drum using a wrist-based motion in both hands. The wrist motion will feel slightly different in each hand due to the contrasting grip styles. However, the goal is to generate a fluid and controlled stroke in both hands, creating a balanced and dynamic sound. The traditional grip requires practice and coordination to master the unique wrist motion. Consistent practice will improve your control and allow you to explore the full potential of this grip style.
Tools or Materials Required
- Drumsticks: The most important tool! Experiment with different sizes and weights to find what feels most comfortable.
- Practice Pad: Essential for quiet practice and developing technique.
- Mirror: Use a mirror to observe your hand positioning and technique.
Common Mistakes to Avoid
- Gripping the sticks too tightly: This restricts movement and causes fatigue.
- Using your arms or shoulders to generate power: The movement should come from your wrists and fingers.
- Inconsistent grip between hands: This leads to an unbalanced sound.
- Ignoring the balance point: Finding the balance point is crucial for responsiveness.
Pro Tips
- Record yourself playing and analyze your technique.
- Work with a qualified drum teacher for personalized feedback.
- Practice regularly to build muscle memory and improve your control.
- Experiment with different grip styles to find what works best for you.
- Stay relaxed and have fun!
FAQ Section
Q: Which grip is best for beginners?
A: The American grip is often recommended for beginners due to its versatility and balance between power and control.
Q: How do I know if I'm gripping the sticks too tightly?
A: If your hands or forearms feel tense or fatigued, you're likely gripping the sticks too tightly. Focus on relaxing your grip and allowing the stick to move freely.
Q: Can I mix and match grip styles?
A: While it's important to master the fundamentals of each grip style, you can certainly experiment with incorporating elements from different grips into your playing. Ultimately, the goal is to find what works best for you and allows you to express yourself musically.
Conclusion
Mastering the art of holding a drumstick is a journey that requires patience, practice, and a keen awareness of your body and technique. By understanding the nuances of the American, German, French, and Traditional grips, you can unlock a wider range of sounds and playing styles. Remember to stay relaxed, experiment with different techniques, and most importantly, enjoy the process of learning and growing as a drummer. With dedication and mindful practice, you'll develop a comfortable and effective grip that empowers you to express your musical vision.