Hand-weaving a scarf is a rewarding experience, connecting you to a craft that spans centuries. Beyond the satisfaction of creating something beautiful and functional, you'll gain a deeper appreciation for the textures and intricacies of woven fabric. This guide provides a step-by-step approach to weaving your own unique scarf, perfect for gifting or adding a personal touch to your wardrobe.
Whether you're a complete beginner or have some experience with weaving, this tutorial offers clear instructions and helpful tips to ensure your success. We'll cover everything from setting up your loom to finishing your scarf with a professional touch. Get ready to embark on a creative journey and transform simple yarn into a cherished heirloom.
The process might seem daunting at first, but by breaking it down into manageable steps, you'll find that hand-weaving is accessible and enjoyable. Let's begin!
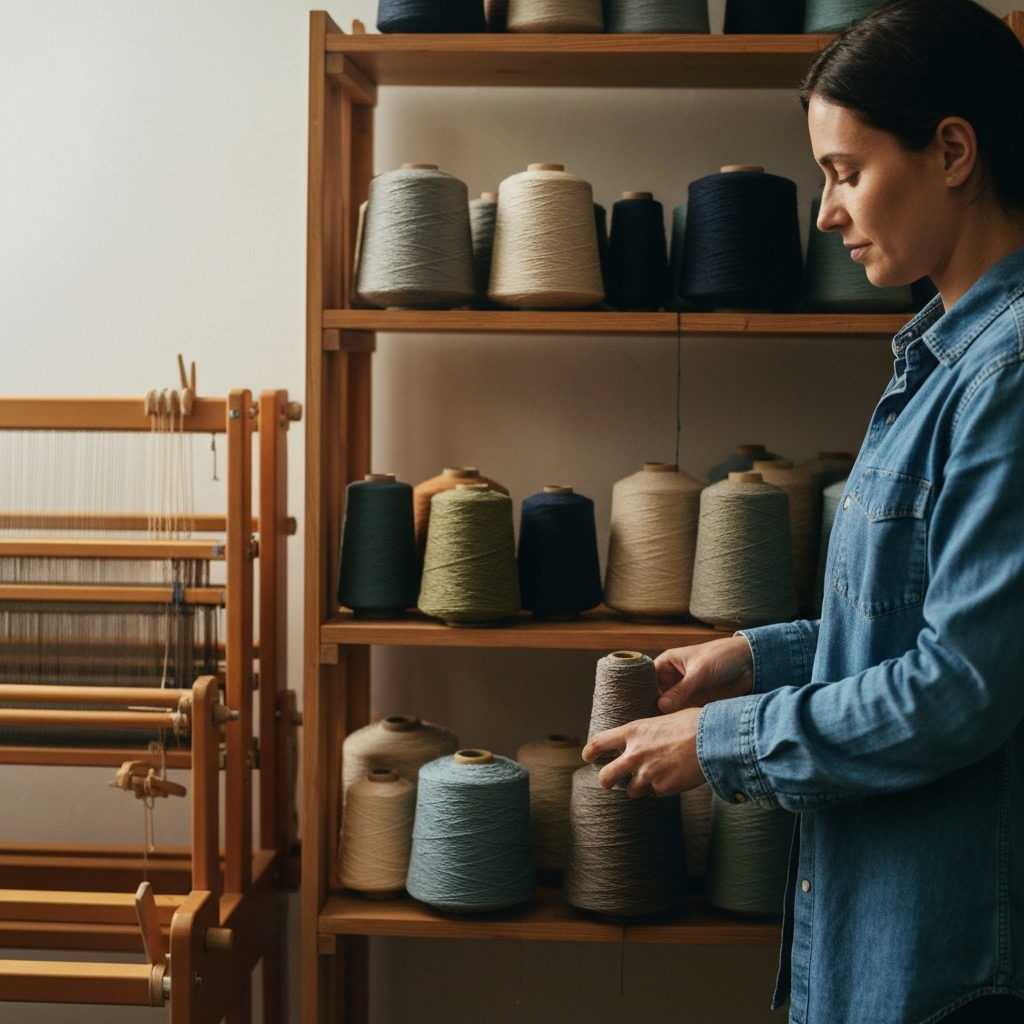
Step 1: Gathering Your Materials and Tools
Before you can start weaving, you need to gather all the necessary materials and tools. This includes your loom, warp yarn, weft yarn, a shuttle, a measuring tape, scissors, and possibly a warping board or peg system. Choosing the right yarn is crucial for the final look and feel of your scarf. Consider the fiber content (wool, cotton, silk, etc.), color, and texture. Your loom's size will dictate the maximum width of your scarf.
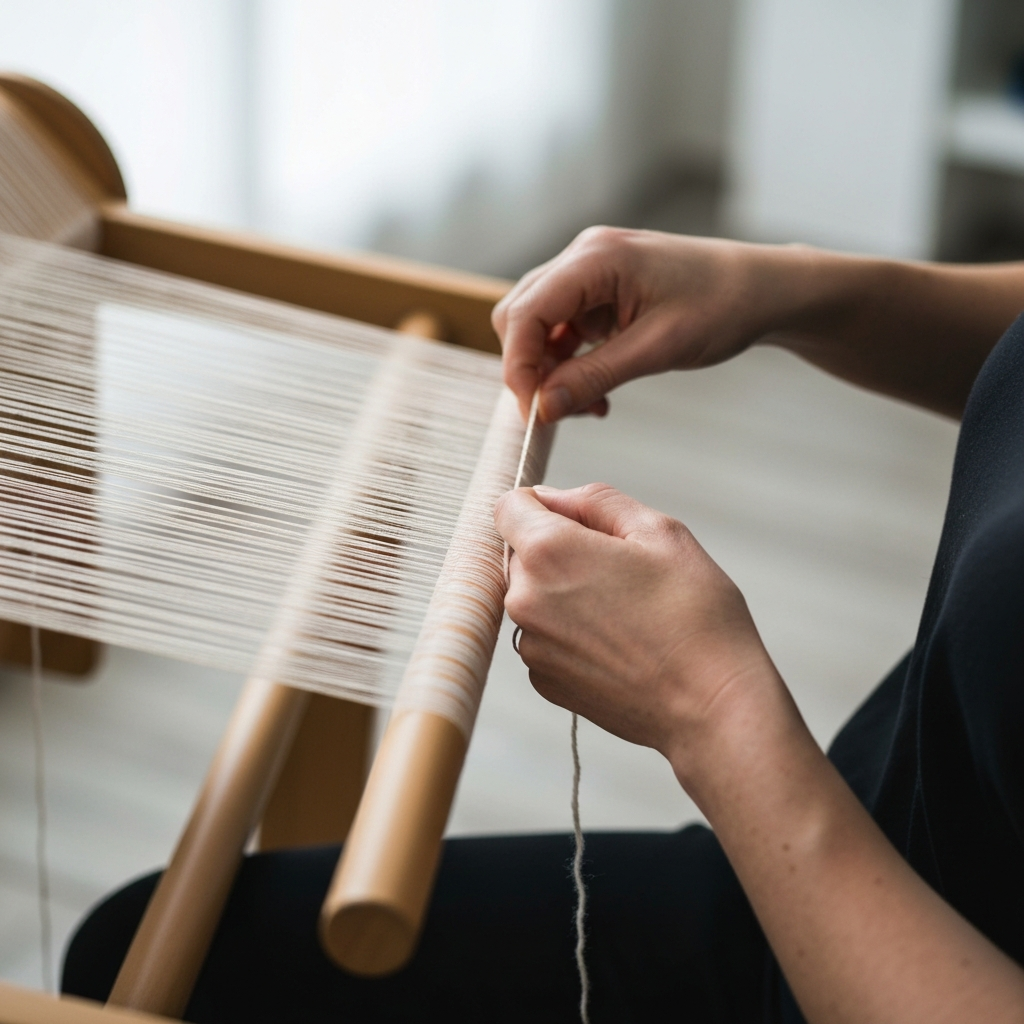
Step 2: Warping the Loom
Warping the loom is the process of preparing the vertical threads (warp) that run the length of your scarf. This is arguably the most time-consuming part of weaving, but it's essential for a successful outcome. Ensure your warp threads are evenly spaced and under consistent tension to prevent weaving errors later on. Use a warping board or warping mill to accurately measure and wind your warp threads.
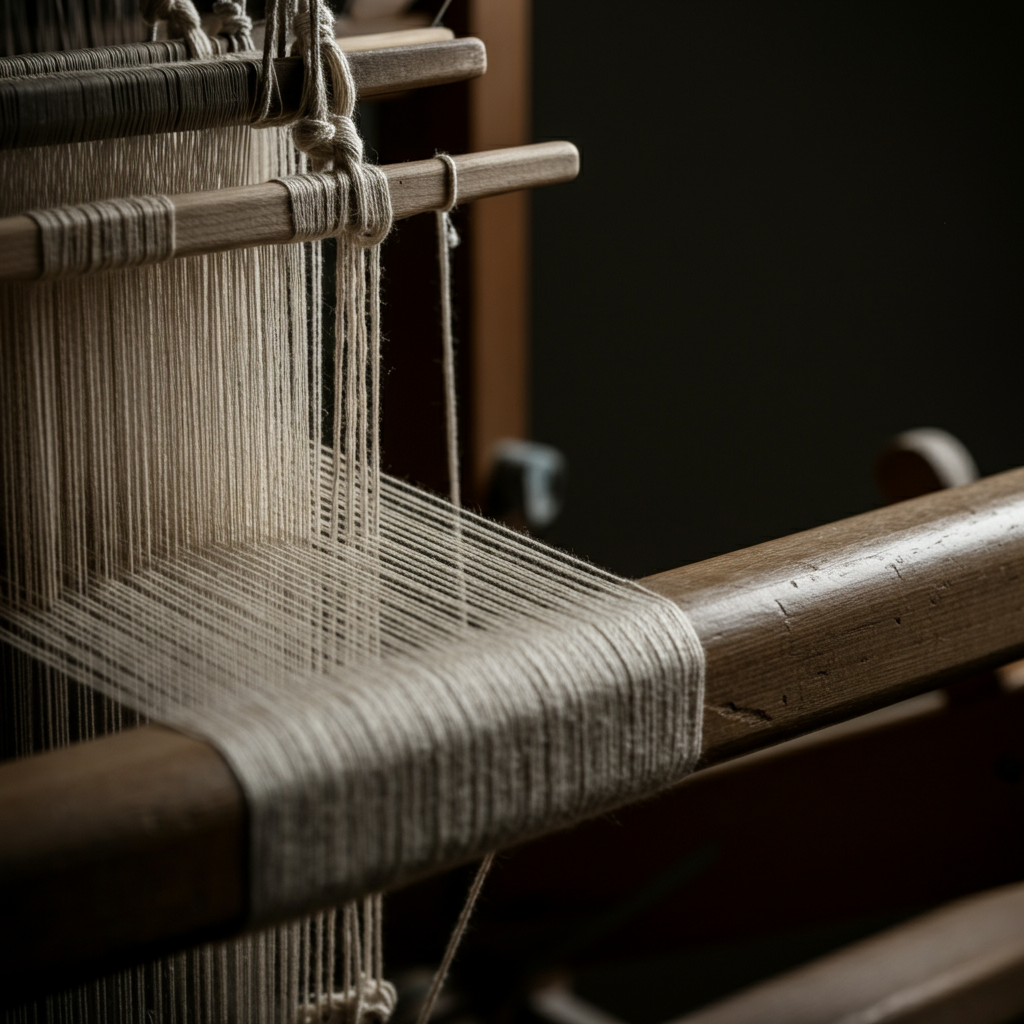
Step 3: Threading the Heddles and Reed
Once the warp is wound, carefully thread each warp thread through the heddles on your loom's harnesses, following a specific threading pattern. This pattern determines the weave structure of your scarf. Then, thread each warp thread through the dents of the reed, which keeps the warp threads evenly spaced and aids in beating the weft. Double-check your threading pattern to avoid mistakes that can affect the appearance of your finished scarf. A threading hook can be helpful for this task.
Step 4: Tying On to the Front Beam
With the warp threaded through the heddles and reed, it's time to tie the warp threads to the front beam of your loom. Divide the warp threads into small groups and tie them securely, ensuring even tension across the width of the warp. Uneven tension can lead to warping or puckering in your finished scarf. Use a raddle to help distribute the threads evenly across the beam.
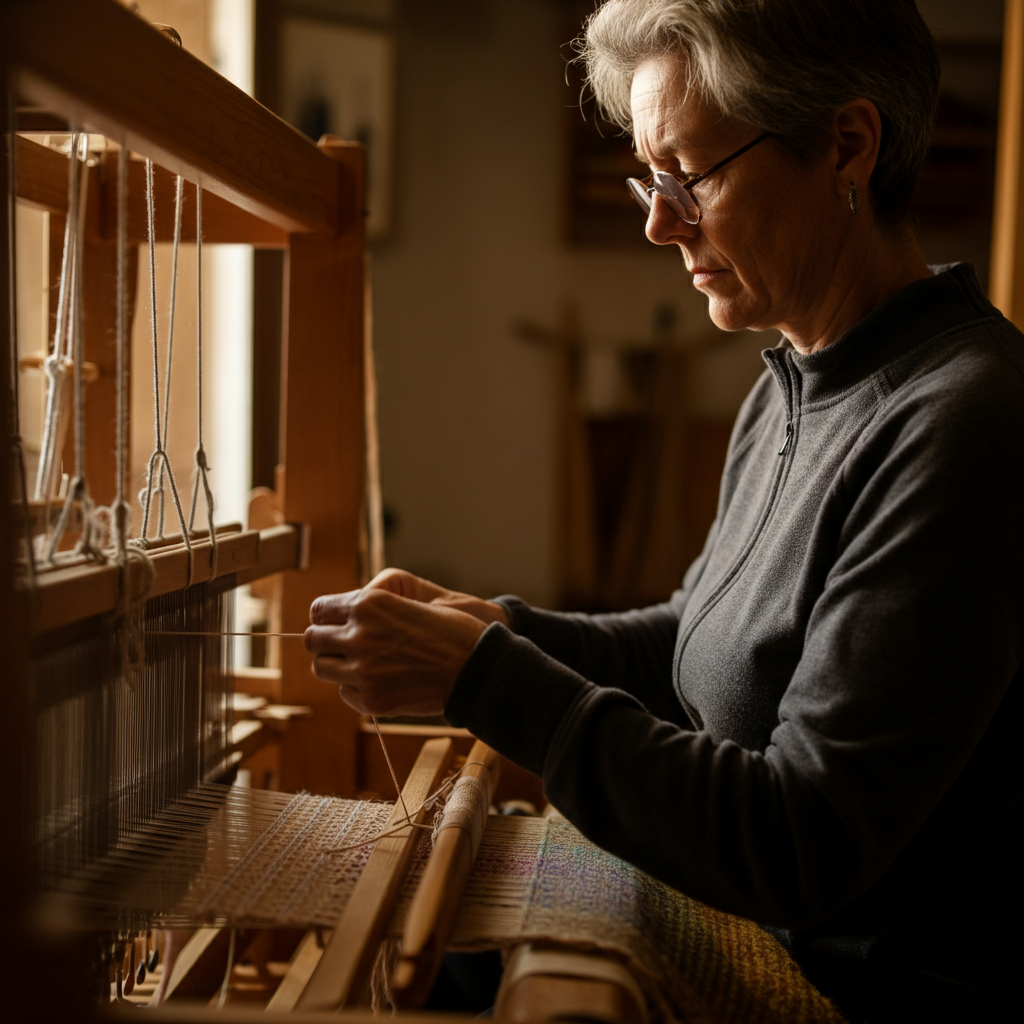
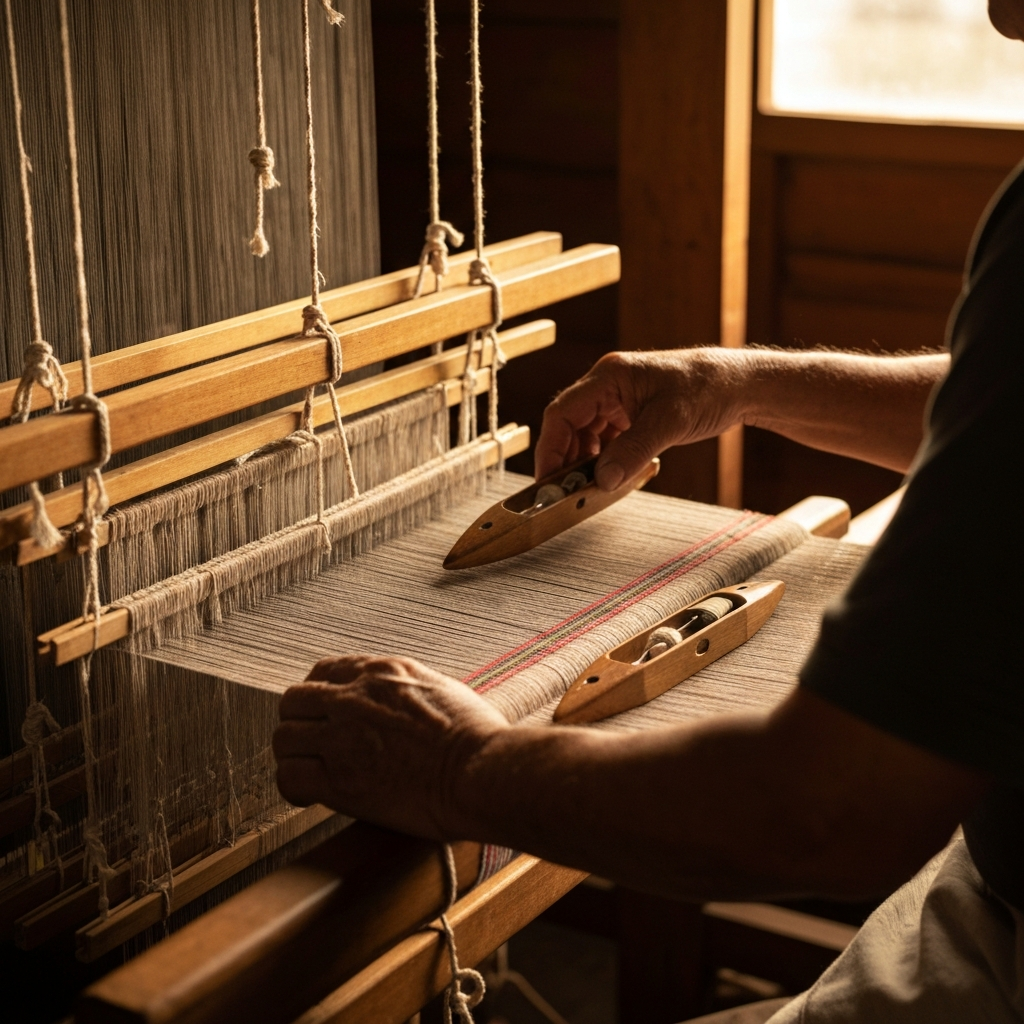
Step 5: Weaving the Scarf
Now comes the fun part! Load your shuttle with weft yarn and begin weaving. Raise and lower the harnesses according to your chosen weave structure (plain weave is a good starting point for beginners). Pass the shuttle through the shed (the opening created by the raised harnesses), and beat the weft into place with the reed. Maintain a consistent beat and even tension to create a balanced and durable fabric. Be mindful of your selvedges (the edges of the scarf) to prevent them from drawing in.
Step 6: Finishing Techniques
Once you've woven your scarf to the desired length, cut the warp threads from the loom, leaving enough length for fringe or other finishing techniques. You can hem the edges, twist the fringe, or add embellishments like beads or embroidery. Proper finishing will enhance the appearance and durability of your scarf. Wet-finishing (washing and drying) can help to set the weave and soften the fabric.

Tools or Materials Required
- Loom (rigid heddle or floor loom)
- Warp Yarn
- Weft Yarn
- Shuttle
- Warping Board or Peg System (optional, but highly recommended)
- Measuring Tape
- Scissors
- Threading Hook
- Raddle (optional)
Common Mistakes to Avoid
- Uneven warp tension: This can lead to warping or puckering.
- Inconsistent beat: This can result in an unbalanced fabric.
- Selvedges drawing in: This can create an hourglass shape.
- Incorrect threading: This can affect the weave structure.
- Using unsuitable yarn: Choosing the wrong fiber or weight can impact the final result.
Pro Tips
- Practice makes perfect! Don't be discouraged if your first scarf isn't perfect.
- Experiment with different weave structures, colors, and textures.
- Join a weaving guild or online community for support and inspiration.
- Take a weaving class to learn from experienced instructors.
FAQ Section
- What type of loom should I use?
- A rigid heddle loom is a great option for beginners, while a floor loom offers more versatility for advanced weavers.
- How much yarn do I need?
- The amount of yarn depends on the size and weave structure of your scarf. Consult a weaving calculator or pattern for specific estimates.
- How do I calculate the warp length?
- Add the desired scarf length, plus take-up (shrinkage during weaving), plus loom waste (the amount needed to tie on), and extra for fringe if desired.
- How do I prevent selvedges from drawing in?
- Leave a small loop of weft yarn at the selvedge edges when changing sheds. This gives the weft room to move and prevents the edges from pulling inward.
Safety Considerations
- Be careful when using sharp tools like scissors and threading hooks.
- Keep your weaving area clean and organized to prevent tripping hazards.
- Take breaks to avoid strain and fatigue.
Conclusion
Congratulations! You've completed your hand-woven scarf. Remember that weaving is a journey of learning and experimentation. Don't be afraid to try new techniques and express your creativity. With patience and practice, you'll be crafting beautiful and unique scarves in no time. Enjoy the process and the satisfaction of creating something handmade with your own two hands!