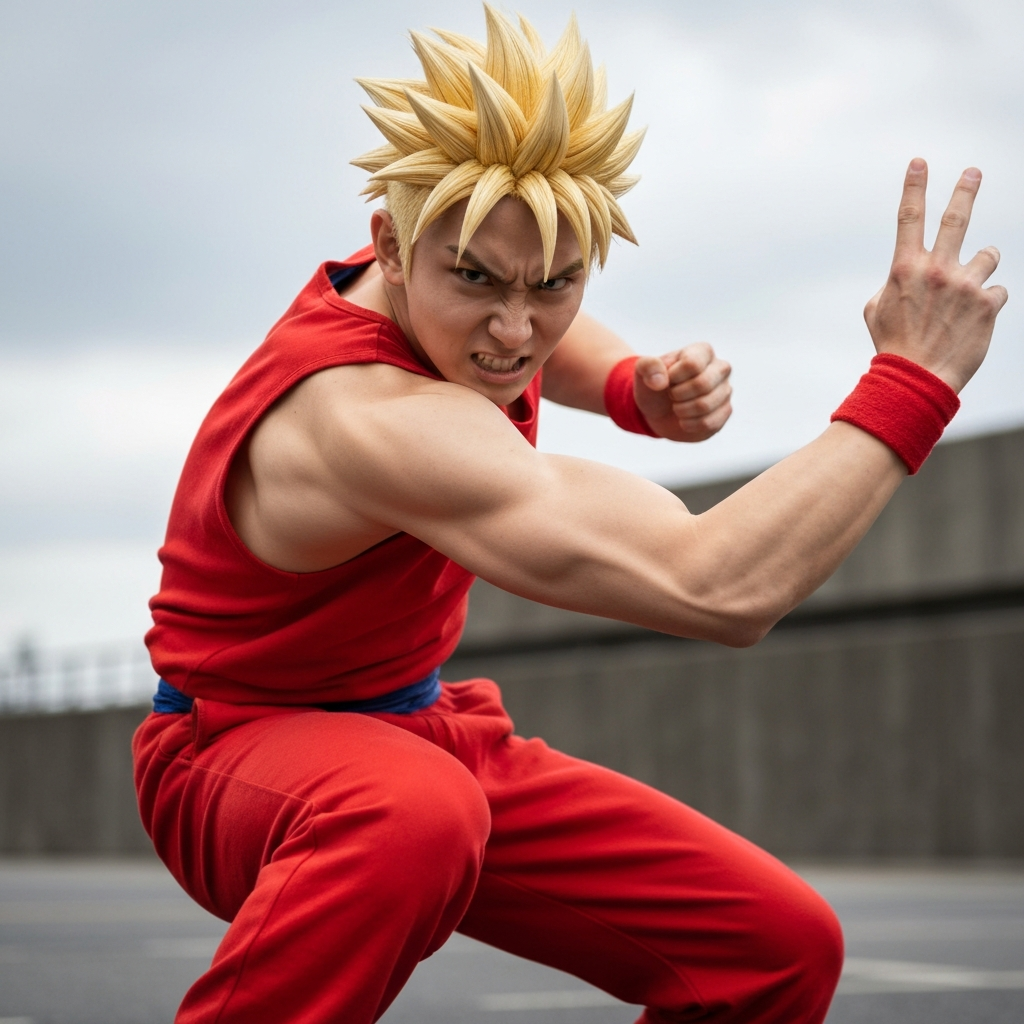
The Ginyu Force, with their flamboyant poses and over-the-top personalities, are iconic figures in the Dragon Ball universe. Beyond their strength, their signature poses have captivated fans for decades, inspiring countless imitations. Whether you're planning a cosplay event, a themed photoshoot, or simply want to channel your inner Saiyan, this comprehensive guide will walk you through mastering several signature Ginyu Force poses. We'll break down each stance, offering detailed instructions and practical tips to help you achieve the perfect recreation.
This guide covers the classic team pose, individual character poses, the Ginyu Force victory pose, and even Captain Ginyu's self-proclaimed greatest fighting pose. Remember, the key to nailing these poses is commitment and exaggeration. Don't be afraid to be silly and embrace the over-the-top nature of the Ginyu Force!
So, gather your friends, warm up those muscles, and prepare to strike a pose worthy of the Ginyu Force!
Step 1: Assembling Your Team (Optional)
While you can certainly attempt individual poses, the true essence of the Ginyu Force lies in their teamwork. If possible, gather four friends to complete the iconic five-member squad. Divide roles based on preference or physical attributes. The key is to have fun and commit to your chosen character. Coordinate outfits for an even more authentic look.
Step 2: Warm-up and Stretching
Before attempting any of these poses, it's crucial to warm up your muscles. These poses often require unusual stances and can put strain on your joints if you're not prepared. Perform light cardio exercises like jumping jacks or jogging in place for 5-10 minutes. Follow this with dynamic stretches focusing on your legs, arms, and back. Pay particular attention to your hamstrings, quadriceps, and shoulders. Static stretches, holding each stretch for 20-30 seconds, should be performed after your posing session.
Safety Considerations
Listen to your body and avoid pushing yourself beyond your limits. If you feel any pain, stop immediately. These poses can be physically demanding, especially for those with limited flexibility or pre-existing injuries. If you have any concerns, consult with a doctor or physical therapist before attempting these poses.
Step 3: The Ginyu Force Team Pose
This is the quintessential Ginyu Force pose, instantly recognizable to any Dragon Ball fan. The team arranges themselves in a dynamic formation, each character striking their signature stance. Achieving this pose requires coordination and attention to detail.
-
3.1: Captain Ginyu
Captain Ginyu takes center stage at the front. Crouch down, placing your left knee on the ground and bending your right knee in front of you at roughly a 90-degree angle. Extend both arms downward in a wide V shape, curling all fingers except your index fingers which should be pointing straight.
-
3.2: Guldo
Position yourself just behind and to the right of Captain Ginyu. Assume a wide stance with your legs spread apart and your left knee slightly bent. Hold your arms in front of your body, clasping your hands together.
-
3.3: Jeice
Stand behind and slightly to the left of Captain Ginyu. Lunge forward, bending your right knee (it may be hidden in the group photo). Extend your left leg straight out behind you. Raise both fists, bending your right arm so your fist is near your face, and raising your left fist straight up in the air.
-
3.4: Recoome
Stand with your back to the camera, positioning yourself behind Guldo. Adopt a wide stance with your feet at a diagonal, your left leg behind you and your right leg in front, both knees slightly bent. Raise your left arm, bending your elbow and wrist at 90-degree angles. Extend your right arm out to the side. Look over your right shoulder at the camera with a fierce expression.
-
3.5: Burter
Position yourself behind and to the left of Jeice. Balance on your right foot, bringing your left knee up towards your chest. Extend both arms straight out to the sides, parallel to the ground. Maintain a confident and energetic expression.
Pro Tip
Take multiple shots from different angles to ensure everyone is visible and their poses are clear. Practice the individual poses beforehand to make the team pose flow more smoothly. Don't be afraid to yell out your character's name for added effect!
Step 4: Individual Poses
Mastering the individual poses allows you to truly embody your chosen Ginyu Force member. Each pose requires specific movements and a unique flair.
-
4.1: Recoome's Individual Pose
Begin by standing with your feet hip-width apart and your toes slightly turned outwards. Keep your arms loose at your sides. Tense your body and quickly bring your arms forward, then push them back out again. In one fluid motion, drop down, extending your left leg out to the side with your knee bent at a 90-degree angle. Simultaneously, extend your right leg straight out to the side, toes pointed. Snap your arms upwards, bending your right arm in front of your body and extending your left arm straight out at an angle. Aim to create a straight diagonal line with your right leg and left arm.
-
4.2: Burter's Individual Pose
Start with your feet hip-width apart and toes slightly turned outwards. Keep your arms at your sides. Draw your shoulders back, push your chest forward, and lean forward momentarily. Then, transition into a mirrored version of Recoome's stance: bend your right knee out to the side at a 90-degree angle, and extend your left leg straight out to the side, toes pointed. Snap your arms upwards, bending your left arm in front of your body and creating a straight diagonal line with your right arm and left leg.
-
4.3: Jeice's Individual Pose
Begin in a wide-leg stance with your arms at your sides. Toss your hair to one side (passing it in front of your face if it's long enough). Simultaneously, drop your head forward, covering your face with your hair. As you do this, drop down, placing your left knee on the ground and bending your right knee at a 90-degree angle in front of you. Snap your head back up, allowing your hair to fall behind you. Raise your arms in a V shape above your head, sharply bending your wrists with palms facing down and fingers pointing outwards.
-
4.4: Guldo's Individual Pose
Start in a wide stance with your arms at your sides. Lift your arms straight up above your head. Perform a small leap, then crouch down, placing your right knee on the ground and positioning your left leg in front of you with your knee bent at a 90-degree angle. As you land in the crouch, extend your right arm straight up and bend your left arm in front of you at the elbow and wrist, mimicking a praying mantis pose. Bring your right arm down to match the mantis position, then quickly snap both arms upwards, straight above your head with sharply bent wrists, like a crane pose.
-
4.5: Captain Ginyu's Individual Pose
Turn your back to the camera or audience and spread your feet apart in a wide stance. Bend forward at the hips, keeping your arms straight at your sides. Hinge forward further until you are looking through your legs. Snap your arms inwards, bending them at the elbows with your fingers spread wide just above your head (or technically below, since they're closer to the ground). Ensure your mouth is open wide for the final pose.
Common Mistakes to Avoid
- Rushing the poses without proper form.
- Not engaging core muscles for stability.
- Holding your breath during the poses.
- Ignoring pain signals from your body.
Step 5: Ginyu Force Victory Pose
This pose showcases the Ginyu Force's triumphant spirit. It requires teamwork and precision to achieve the correct V formation.
-
5.1: Formation and Individual Positioning
Arrange yourselves in a V formation. Captain Ginyu stands in the center, with Guldo and Recoome to his right, and Jeice and Burter to his left.
-
5.2: Captain Ginyu's Victory Stance
Stand on your toes, bending your knees slightly and pressing your feet together from the ball to the heel. Lean forward slightly and extend your arms upwards in a V shape, keeping your fingers straight and your thumbs folded in.
-
5.3: Guldo's Victory Stance
Stand on your left leg, drawing your right knee up so your shin is parallel to the ground. Bend your left arm and hold your hand straight in front of your body, palm up with your thumb folded in. Raise your right hand in the air, bending your wrist inward like a crane.
-
5.4: Jeice's Victory Stance
Mirror Guldo's position. Stand on your right leg, raising your left knee up. Bend your right arm in front of your body, holding your hand with your thumb folded in. Extend your left arm straight up, bending your wrist inward like a crane.
-
5.5: Recoome's Victory Stance
Stand facing away from the camera, bending forward at the waist. Position your arms slightly behind you, bending your wrists upwards and folding in your thumbs. Look at the camera over your left shoulder.
-
5.6: Burter's Victory Stance
Mirror Recoome's pose. Stand facing away from the camera, bending forward at the waist with your arms slightly behind you. Bend your wrists upwards and look at the camera over your right shoulder.
Step 6: Captain Ginyu's Greatest Fighting Pose
According to Captain Ginyu himself, this is his ultimate pose. It's a dynamic and acrobatic move that requires strength and balance.
-
6.1: Prepare for the Leap
Crouch down and plant one hand securely on the ground behind you, providing a stable base. This hand will be your anchor during the leap.
-
6.2: Execute the Pose
Leap upwards, bringing both legs into the air in front of you in a wide V shape. Simultaneously, raise your other arm, bending your elbow. Extend your thumb, index, and middle fingers, spacing them widely apart.
Pro Tip
Have a photographer ready to capture this pose quickly, as it's difficult to maintain for an extended period. Practice the individual components (crouching, leaping, arm positioning) before attempting the full pose.
Tools or Materials Required
While no specialized equipment is necessary, consider the following:
- Comfortable clothing that allows for a full range of motion.
- A spacious area free of obstacles.
- A camera or smartphone for capturing your poses.
- Optional: Costumes or accessories to enhance the Ginyu Force theme.
FAQ Section
- Q: Are these poses suitable for all ages and fitness levels?
- A: While these poses can be adapted, some may be challenging for individuals with limited flexibility or strength. It's essential to listen to your body and modify the poses as needed. Consult with a doctor or physical therapist if you have any concerns.
- Q: How long does it take to master these poses?
- A: The time required varies depending on your current fitness level and dedication. With consistent practice, you can expect to improve your form and stability over time. Focus on mastering the fundamentals and gradually increasing the difficulty.
- Q: Is it necessary to have a full team of five to enjoy these poses?
- A: Not at all! You can certainly enjoy and master the individual poses on your own. However, recreating the team pose with friends adds an extra layer of fun and authenticity.
Conclusion
Mastering the Ginyu Force poses is a fun and rewarding way to express your fandom and challenge your physical abilities. By following the steps outlined in this guide, you can confidently recreate these iconic stances. Remember to prioritize safety, listen to your body, and embrace the over-the-top nature of the Ginyu Force. So go forth, gather your friends, and strike a pose worthy of the universe's most flamboyant fighting squad!