Creating a mural is a fantastic way to express yourself and transform a space, whether it's a public wall, a child's bedroom, or a canvas in your studio. However, the longevity and visual impact of your mural heavily depend on choosing the right paint. Selecting the appropriate paint goes beyond just color; it involves considering factors like surface type, environmental conditions, desired finish, and your artistic style. Using the wrong paint can lead to premature fading, cracking, peeling, and a host of other issues that can diminish your hard work. Understanding the nuances of different paint types will ensure your mural remains vibrant and captivating for years to come.
This guide will walk you through the essential considerations for selecting the best paint for your mural project. We'll cover various paint types, their pros and cons, and provide practical tips to help you make an informed decision. Whether you're a seasoned muralist or just starting out, this information will empower you to choose the right materials and achieve outstanding results. Let's dive in!
-
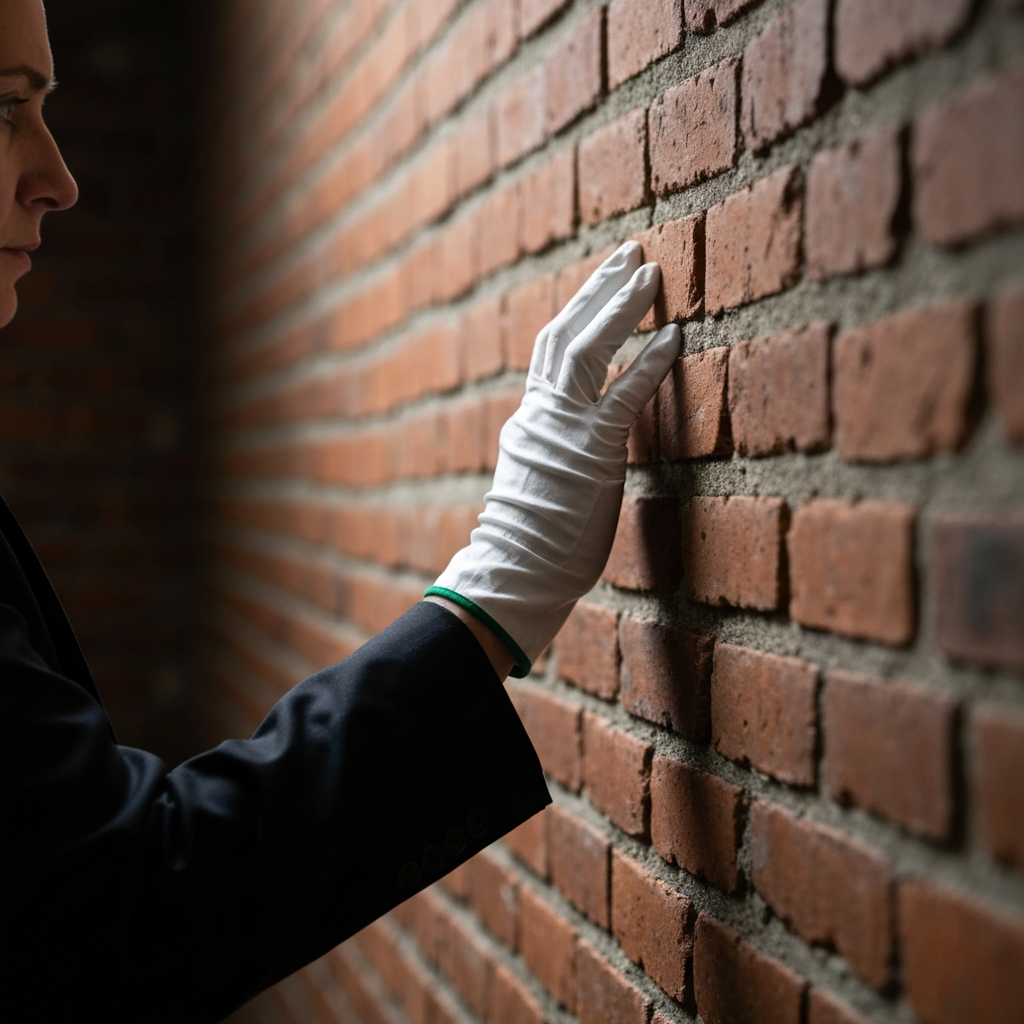
Step 1: Assessing Your Surface
Before you even think about colors, the most critical step is to thoroughly assess the surface where you'll be painting your mural. Is it interior or exterior? Is it brick, concrete, drywall, wood, or something else entirely? The surface material directly impacts paint adhesion and durability. For example, porous surfaces like brick and concrete require a primer to seal the surface and prevent the paint from being absorbed too quickly. Exterior surfaces demand paints formulated to withstand UV exposure, temperature fluctuations, and moisture. Ignoring the surface type can lead to paint failure and a mural that doesn't last.
-
Step 2: Understanding Acrylic Paints
Acrylic paints are a popular choice for murals due to their versatility, durability, and relatively quick drying time. They are water-based, making them easy to clean up, and available in a wide range of colors and finishes. For exterior murals, opt for high-quality artist-grade acrylics specifically formulated for outdoor use. These paints contain higher concentrations of pigments and UV inhibitors, providing superior fade resistance. Avoid using craft acrylics for large-scale murals as they are often less durable and prone to fading. For interior murals, you can use a wider range of acrylics, but still prioritize quality for longevity.

-
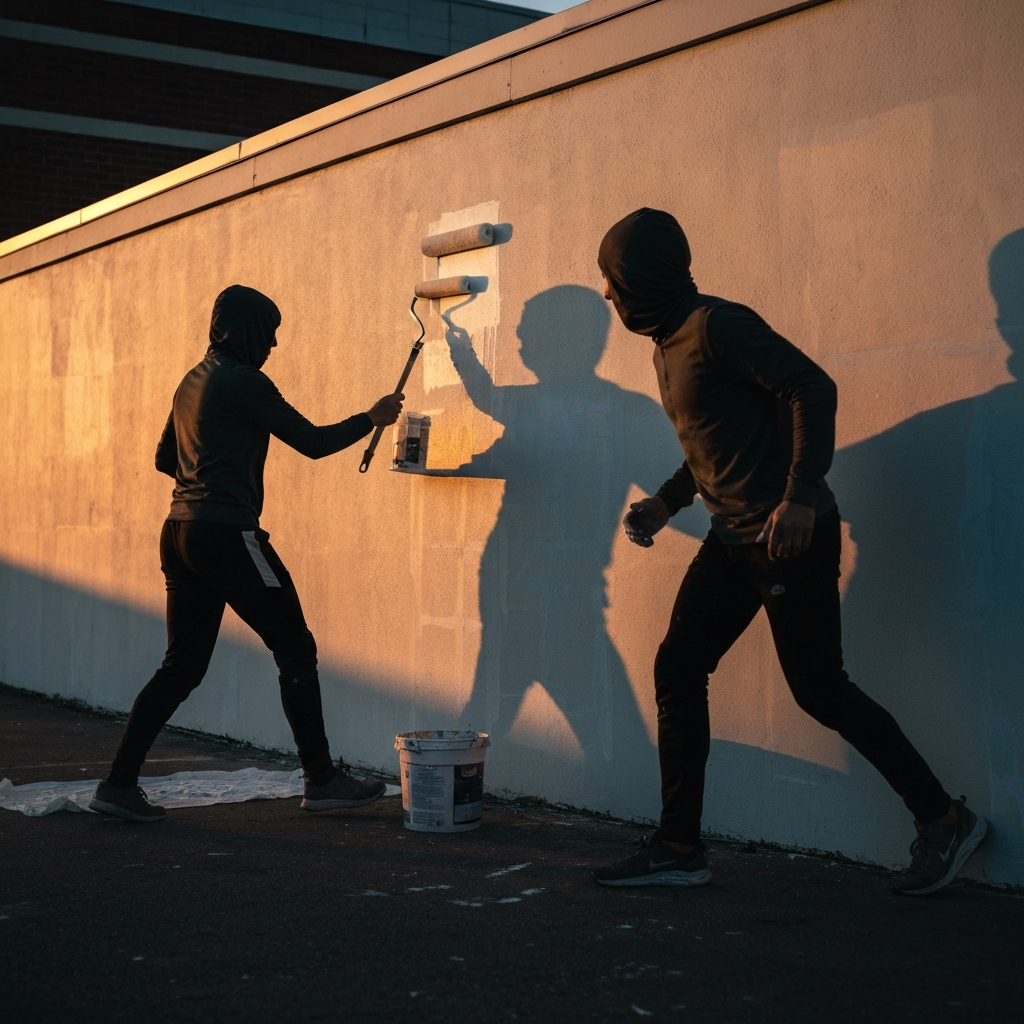
Step 3: Exploring Latex Paints
Latex paints, also water-based, are another option, particularly for large-scale exterior murals. They are known for their excellent coverage and durability, especially when applied to properly primed surfaces. Latex paints are also more flexible than acrylics, making them less prone to cracking in fluctuating temperatures. Choose exterior-grade latex paints with a 100% acrylic resin for maximum weather resistance. Consider the sheen level: matte finishes offer a less reflective look, while glossier finishes are more durable and easier to clean, though they can also highlight imperfections on the surface.
-
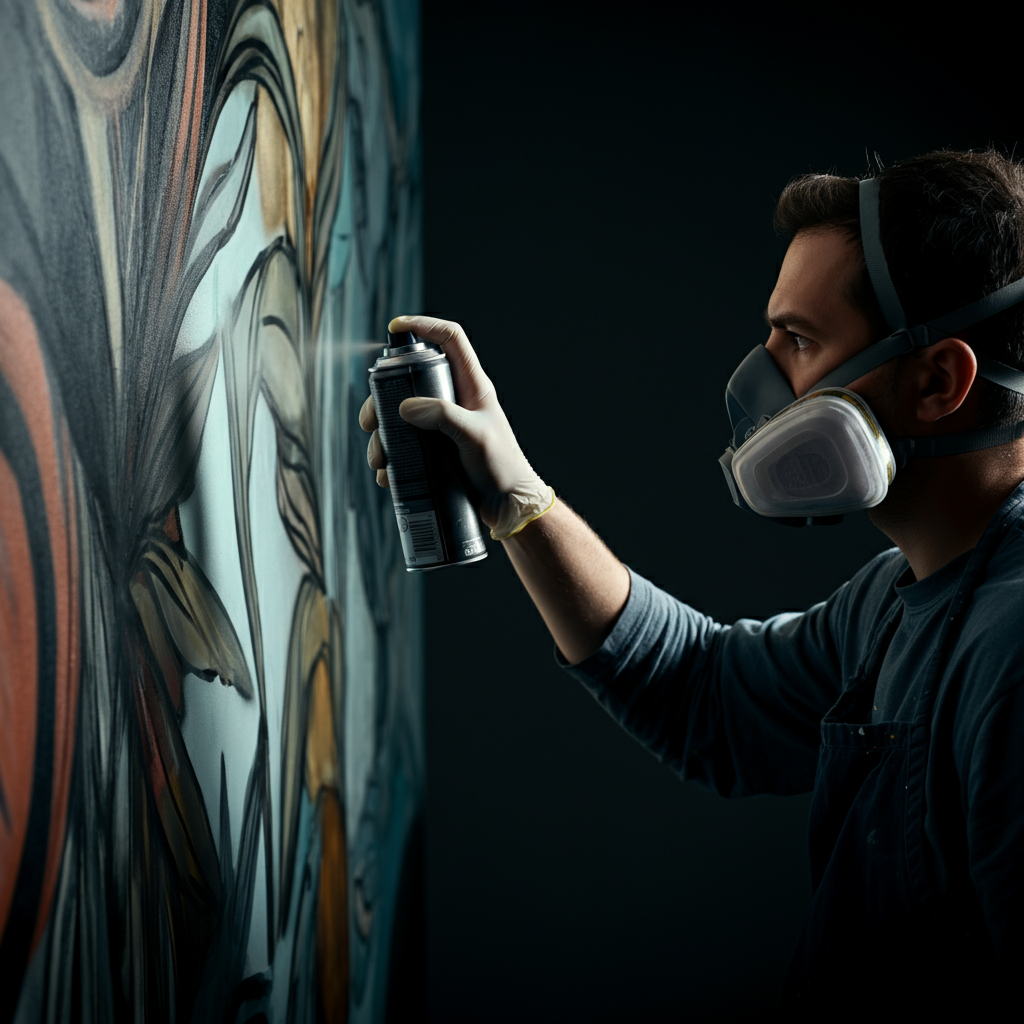
Step 4: Considering Specialty Paints
Depending on your artistic vision, you might consider specialty paints like spray paints, epoxy paints, or even paints with additives like glow-in-the-dark pigments. Spray paints are ideal for creating smooth gradients and intricate details, but require careful application and ventilation. Epoxy paints offer exceptional durability and chemical resistance, making them suitable for high-traffic areas or murals exposed to harsh conditions. Always research the specific properties and safety precautions associated with specialty paints before use. And remember adequate ventilation is key when using solvent-based paints.
-
Step 5: Priming is Paramount
No matter which paint you choose, priming is an essential step that should never be skipped. A high-quality primer creates a uniform surface for the paint to adhere to, improves coverage, and helps prevent moisture damage. Select a primer specifically designed for the surface you're painting and the type of paint you'll be using. For example, use a masonry primer for brick or concrete, and an acrylic primer for drywall. Apply at least one coat of primer, and allow it to dry completely before painting your mural.
Tools or Materials Required
- Acrylic paints (artist-grade or mural-specific)
- Latex paints (exterior grade, 100% acrylic resin)
- Specialty paints (spray paint, epoxy paint, etc.)
- Primer (appropriate for the surface)
- Brushes (various sizes and shapes)
- Rollers (for large areas)
- Palette knives
- Palette
- Mixing containers
- Water (for cleaning acrylic paints)
- Solvent (for cleaning oil-based paints, if applicable)
- Drop cloths
- Painter's tape
- Respirator (for spray painting or using solvent-based paints)
- Gloves
- Safety glasses
Safety Considerations
Always prioritize safety when working with paints and other art materials. Wear a respirator when spray painting or using solvent-based paints to avoid inhaling harmful fumes. Use gloves to protect your skin from paint and solvents. Wear safety glasses to prevent paint splatters from getting in your eyes. Work in a well-ventilated area to minimize exposure to fumes. Dispose of paint and solvents properly according to local regulations.
Pro Tips
- Test your paint colors on a small, inconspicuous area of the surface before committing to the entire mural. This will allow you to see how the colors look in different lighting conditions and ensure that they adhere properly.
- Consider using a sealant or varnish to protect your finished mural from UV damage, moisture, and graffiti.
- Work in layers, allowing each layer to dry completely before applying the next.
- Don't be afraid to experiment with different techniques and materials to achieve your desired effect.
Conclusion
Choosing the right paint for your mural is a critical decision that will impact its appearance, longevity, and overall success. By carefully assessing your surface, understanding the properties of different paint types, and prioritizing safety, you can create a mural that is both beautiful and durable. Remember to invest in high-quality materials, take your time, and most importantly, have fun! With the right paint and a little creativity, you can transform any space into a work of art.