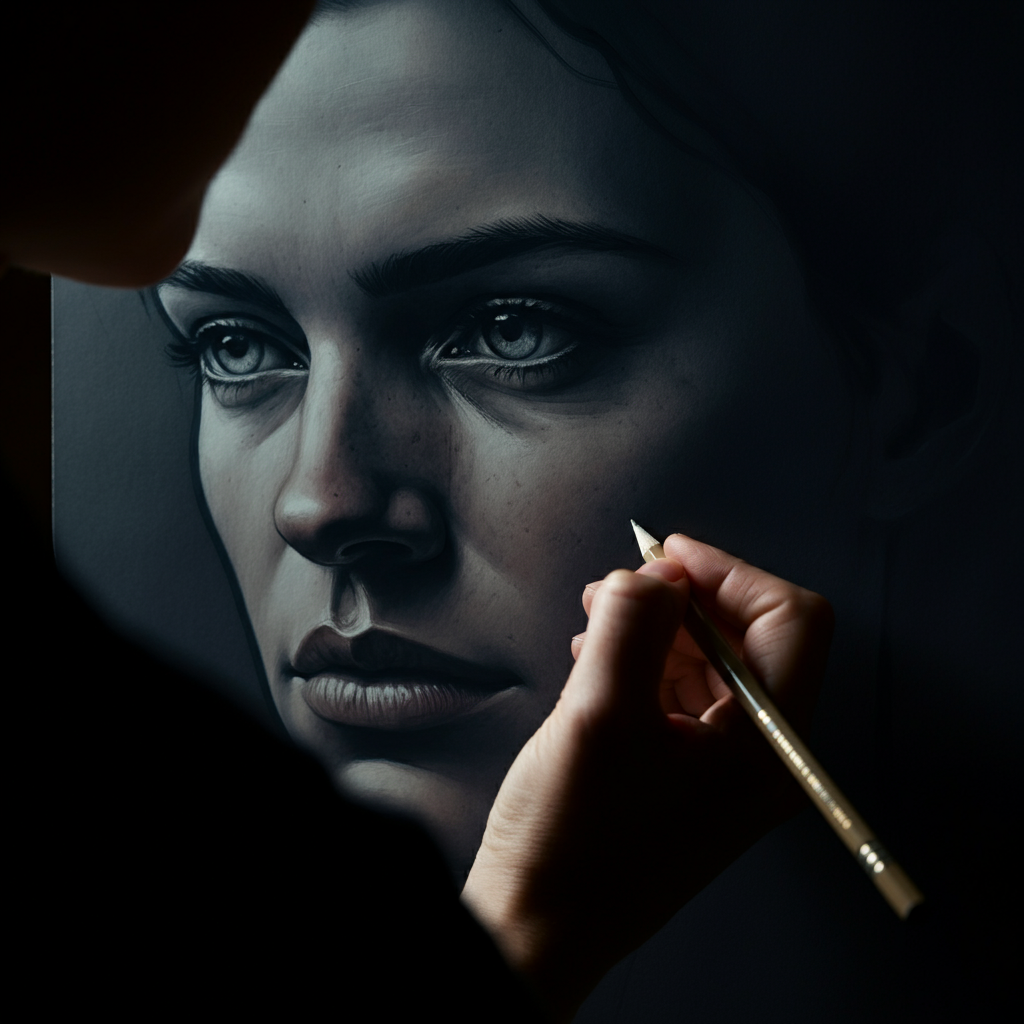
Hermione Granger, the brilliant and courageous witch from the Harry Potter series, is a beloved character for good reason. Drawing her can be a rewarding experience for any artist, from beginner to seasoned pro. This comprehensive guide breaks down the process into easy-to-follow steps, allowing you to capture her likeness and personality on paper. We'll cover essential techniques and offer expert tips to help you overcome common challenges and achieve a satisfying result.
Whether you're a fan of the books, the movies, or both, this guide will equip you with the knowledge and skills to create your own unique depiction of Hermione. Remember, the key to successful drawing is practice and patience. Don't be discouraged if your first attempt isn't perfect; each drawing is a learning opportunity.
Tools or Materials Required
- Paper (Sketchbook or individual sheets)
- Pencils (HB, 2B, and 4B recommended for varying line weights)
- Pencil sharpener
- Eraser (Kneaded eraser recommended for lifting graphite)
- Colored pencils, crayons, markers, or watercolors (Optional, for coloring)
- Blending stump or tortillon (Optional, for smooth shading)
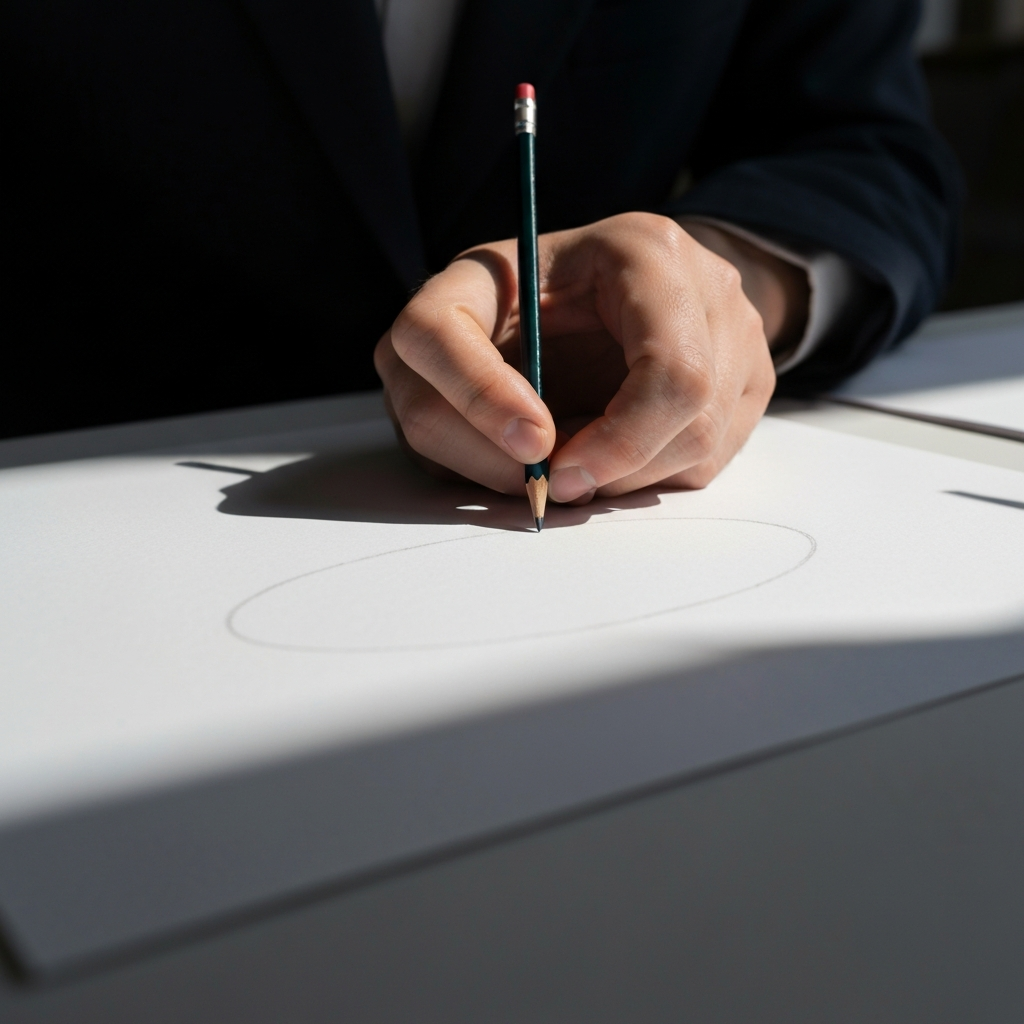
Step 1: Laying the Foundation - The Initial Oval
Begin by lightly sketching an oval in the center of your paper. This oval will serve as the foundation for Hermione's head. Make sure the oval is proportional to the size you want your finished drawing to be. Avoid pressing too hard with your pencil at this stage; you'll need to erase these guidelines later. Think of this oval as a simplified representation of the skull, guiding the placement of other facial features.
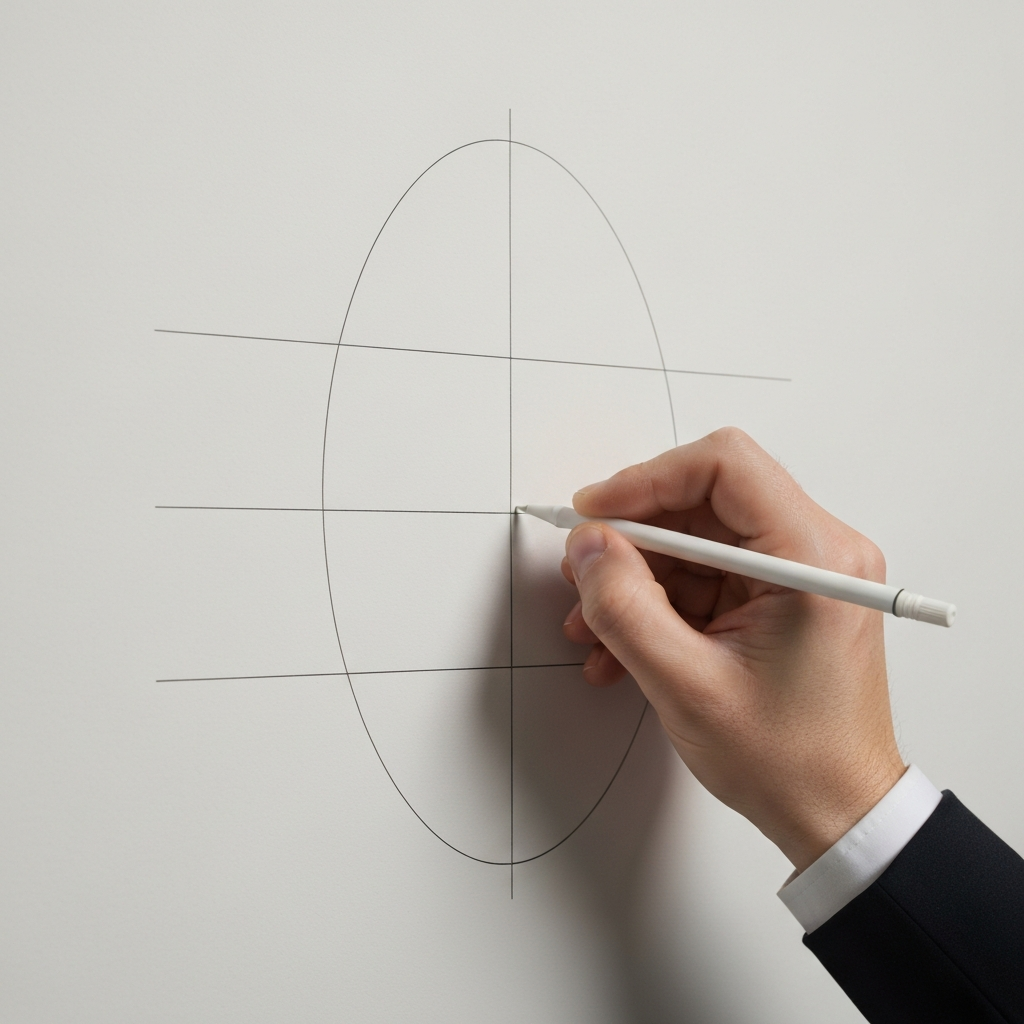
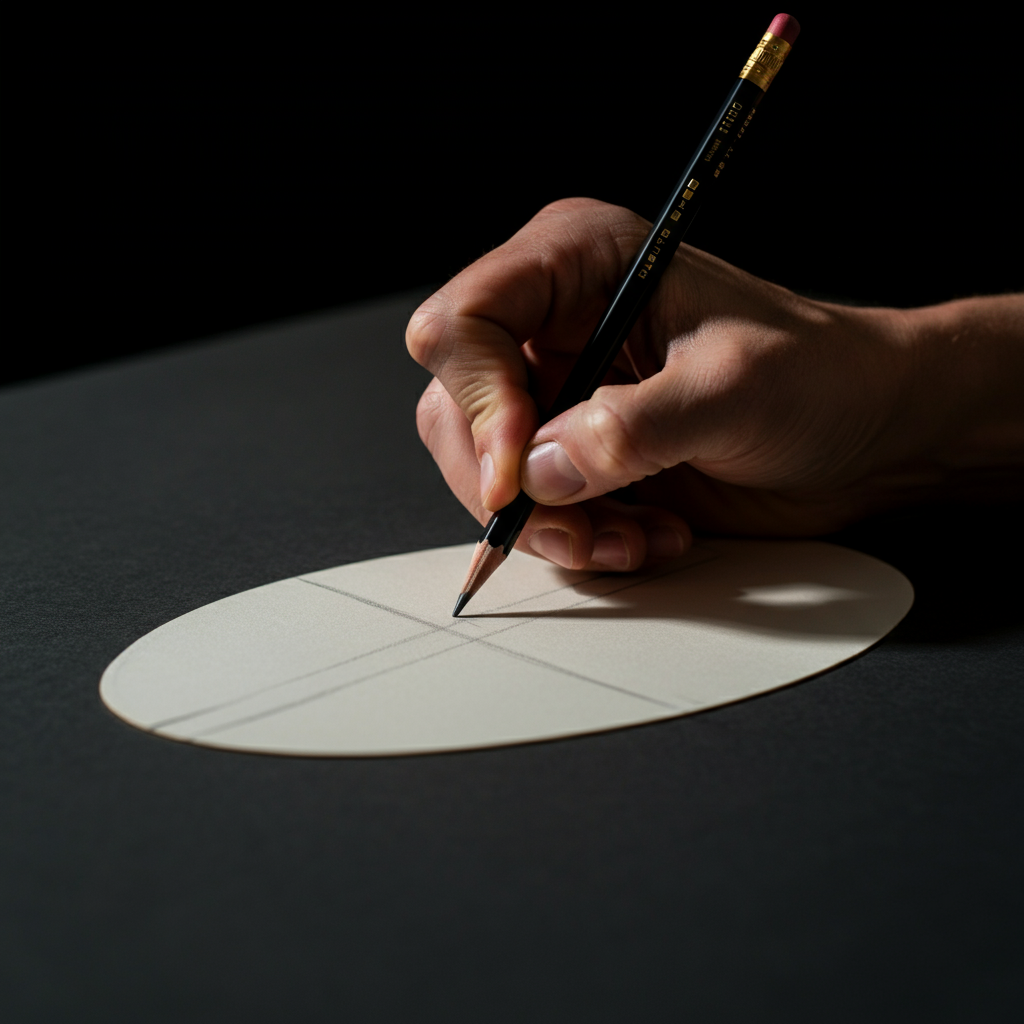
Step 2: Constructing the Facial Guidelines
Now, add four guidelines to the oval. First, draw a vertical line down the center of the oval, dividing it in half. Then, draw four horizontal lines. These horizontal lines will help you position the eyes, nose, and mouth accurately. The topmost line will roughly correspond to the brow line, while the second one defines the eye level. The third indicates the bottom of the nose, and the final one indicates the location of the mouth. These guidelines are crucial for maintaining facial symmetry and proportions.
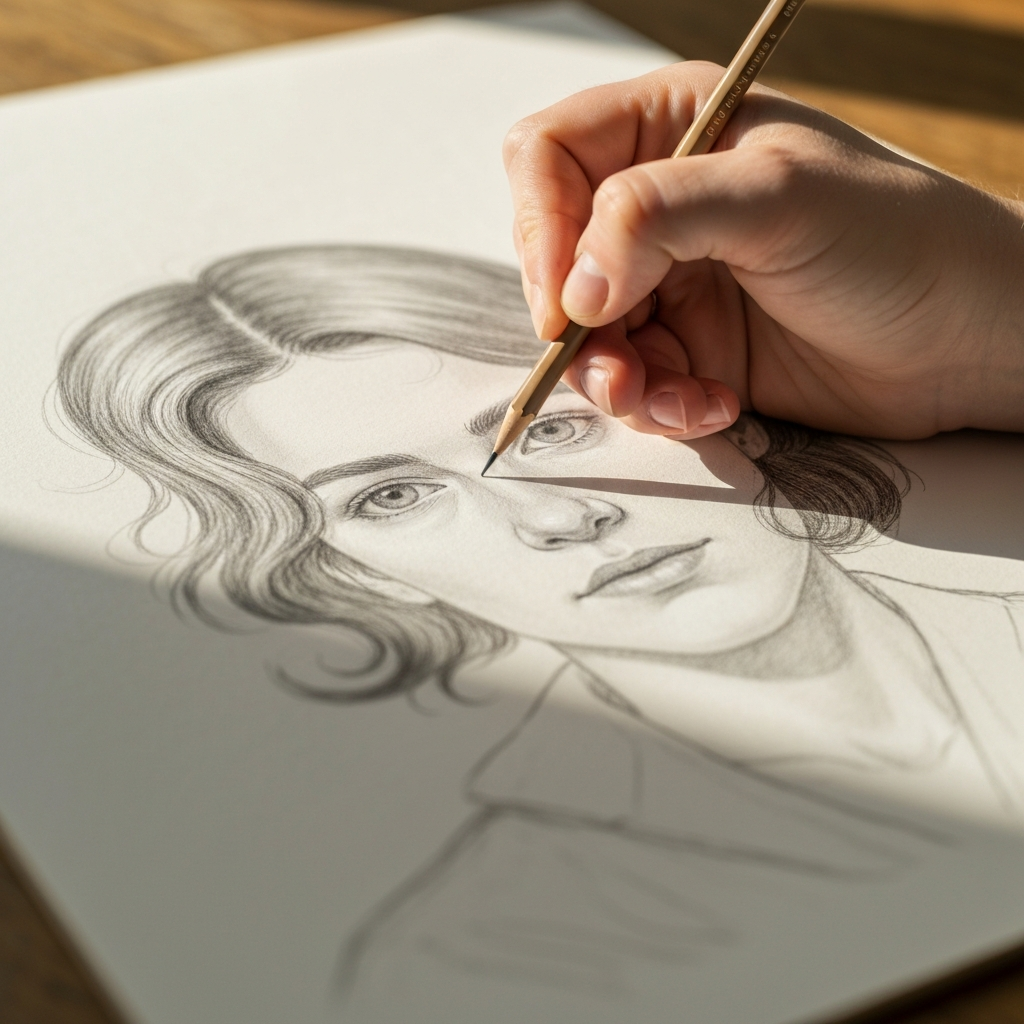
Step 3: Defining the Hairline
Sketch a curved line to represent Hermione's hairline. This line should start slightly above the top of the oval and curve downwards, following the contours of her forehead. Remember that Hermione's hair is often voluminous, so give it some height and width. Consider her signature bushy hair when defining this line. How this hairline curves will drastically affect the recognizability of the character.
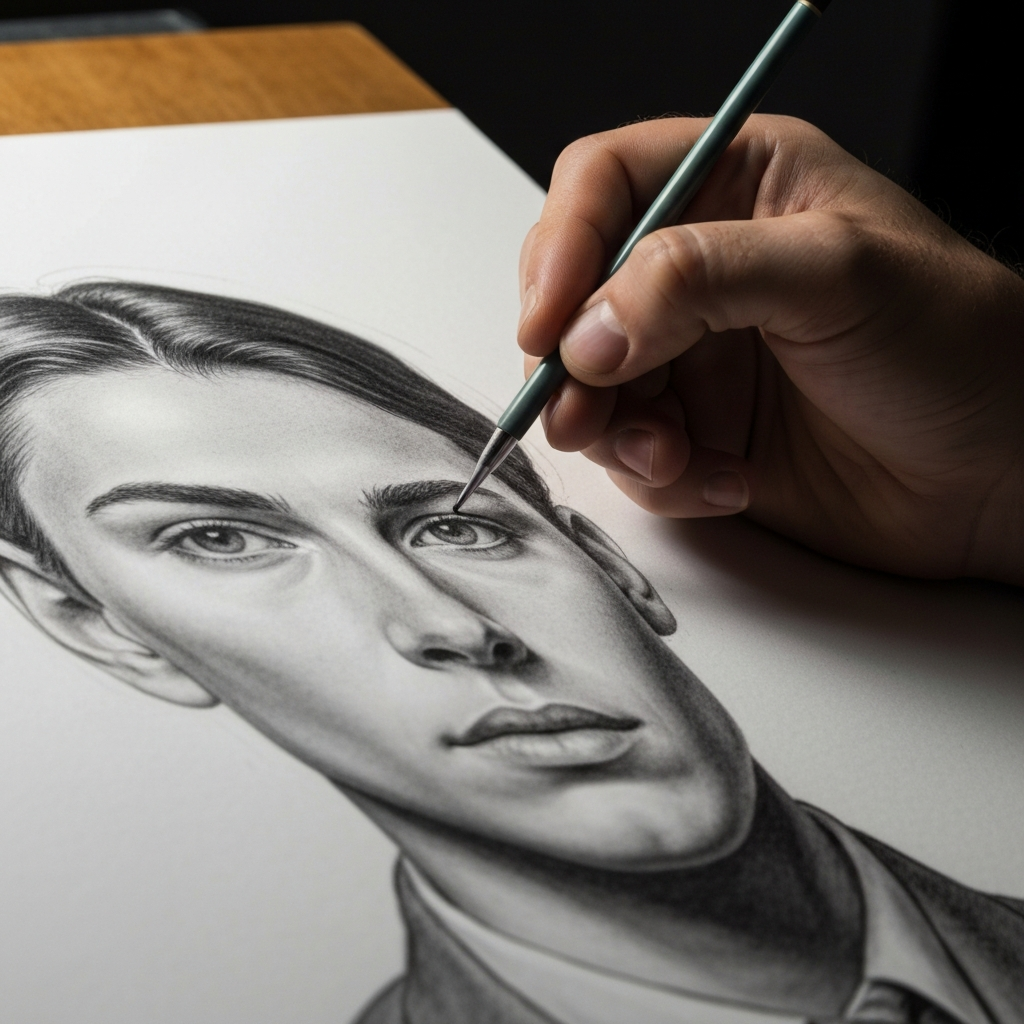
Step 4: Positioning the Eyes
Using the horizontal line you drew earlier as a guide, sketch the eyes. Hermione has expressive eyes, so pay attention to their shape and placement. Her eyes are relatively large and almond-shaped. Leave some space between the eyes, roughly the width of one eye. Lightly sketch the eyebrows above each eye. The placement and shape of the eyebrows greatly influence the emotion conveyed by the character.
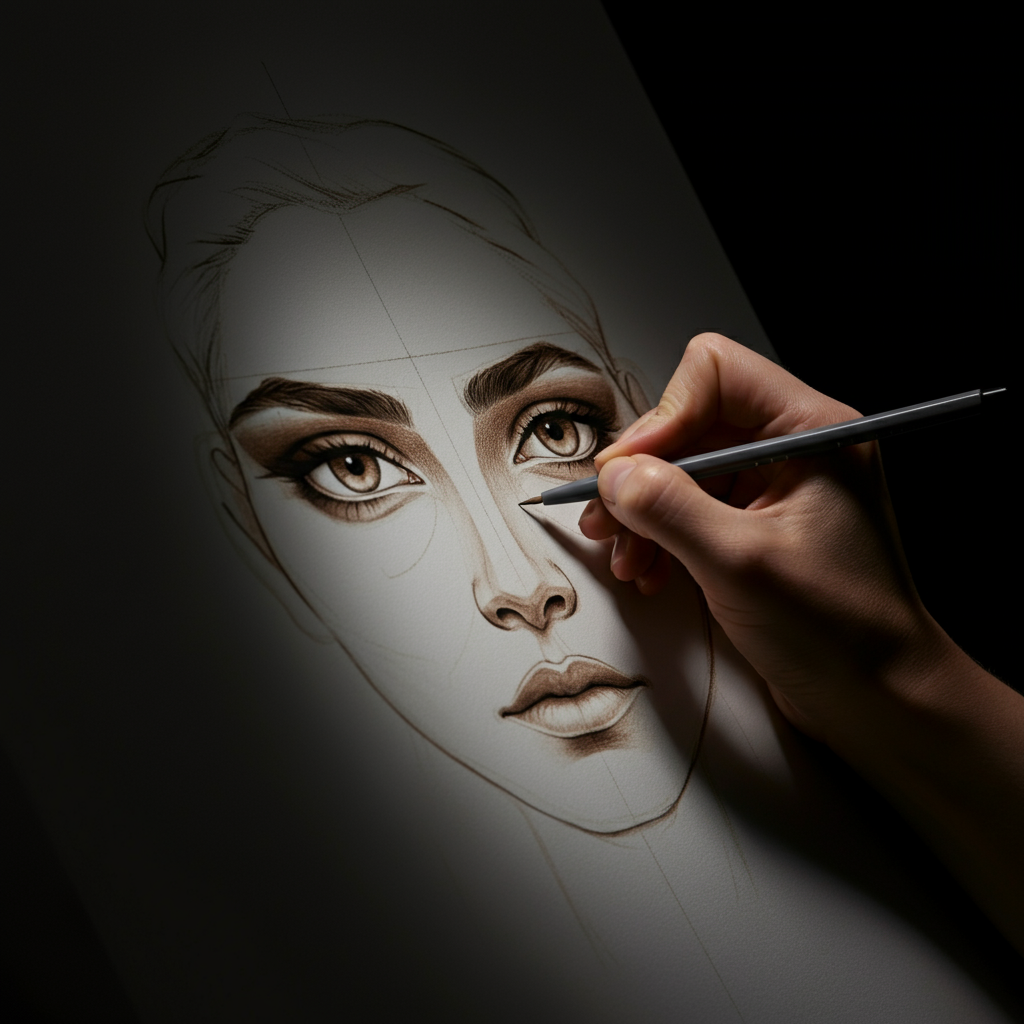
Step 5: Shaping the Nose and Mouth
Now, use the remaining horizontal guidelines to sketch the nose and mouth. Hermione's nose is fairly small and slightly upturned. Keep it simple at this stage. For the mouth, start with a light line indicating the center of the lips. Then, add the upper and lower lips, paying attention to their curve and thickness. Avoid drawing harsh lines around the mouth; softer lines will create a more natural look. Even slight variations in these features can significantly alter the likeness.
Step 6: Adding the Hair Details
Begin adding details to Hermione's hair. Remember her characteristic bushy hair. Start with the general shape and flow of the hair, then add individual strands to create texture and volume. Don't try to draw every single hair; focus on capturing the overall movement and texture. Consider using different pencil pressures to create variations in tone and depth. Think about how the light interacts with the hair, creating highlights and shadows.
Step 7: Defining the Clothes
Sketch the outline of Hermione's clothes. She's often seen in her Hogwarts uniform, so you can draw the robe, shirt, and tie. Pay attention to the folds and wrinkles in the fabric to create a more realistic look. Keep the clothing details relatively simple at this stage; focus on the overall shape and structure. Think about the way the fabric drapes and falls on the body. Adding these clothing details can help establish the character’s recognizable features from the Harry Potter series.
Step 8: Adding the Finishing Touches
Add any remaining details, such as her wand or any accessories. Refine the lines of her face, hair, and clothing. Add shadows and highlights to create depth and dimension. Pay close attention to the details that make Hermione unique, such as her determined expression or her distinctive hairstyle. This is the time to correct any mistakes and refine the overall composition of your drawing.
Step 9: Erasing and Refining
Once you're happy with the overall drawing, carefully erase the guidelines. Use a kneaded eraser to gently lift the graphite without damaging the paper. Refine any lines that need adjusting. Be careful not to erase too much; you want to leave some of the underlying structure intact. This step helps to create a clean and polished final image.
Step 10: Adding Color (Optional)
If you choose to add color, use colored pencils, crayons, markers, or watercolors to bring Hermione to life. Consider her skin tone, hair color, and the colors of her Hogwarts uniform. Start with light layers of color and gradually build up the intensity. Experiment with different blending techniques to create smooth transitions and realistic skin tones.
Common Mistakes to Avoid
- Drawing the eyes too close together or too far apart.
- Making the nose too large or too small.
- Ignoring the proportions of the face.
- Drawing the hair too flat and lifeless.
- Using harsh lines that make the drawing look stiff.
Conclusion
Drawing Hermione Granger is a fun and challenging project that can be enjoyed by artists of all levels. By following these steps and practicing regularly, you can create a beautiful and accurate portrait of this beloved character. Remember to pay attention to the details, such as her expressive eyes and bushy hair, and don't be afraid to experiment with different techniques and styles. Most importantly, have fun and let your creativity shine!