The back squat is a foundational exercise in strength training, revered for its ability to build lower body power, increase overall strength, and improve athletic performance. It's a compound movement, meaning it engages multiple muscle groups simultaneously, making it highly efficient for building muscle and burning calories. However, the back squat can be technically challenging, and improper form can lead to injuries. This guide will provide a step-by-step approach to performing the back squat safely and effectively.
Whether you're a beginner just starting your fitness journey or an experienced lifter looking to refine your technique, this guide will offer valuable insights and practical tips. We'll cover everything from proper setup and execution to common mistakes and safety considerations. Remember, consistency and proper form are key to maximizing the benefits of the back squat while minimizing the risk of injury. So, let's dive in and learn how to squat like a pro.
The back squat is more than just an exercise; it's a movement pattern that translates directly to real-life activities. From picking up heavy objects to climbing stairs, the back squat strengthens the muscles you use every day. By mastering this exercise, you'll not only improve your physique but also enhance your functional fitness and overall quality of life.
Step-by-Step Guide
-
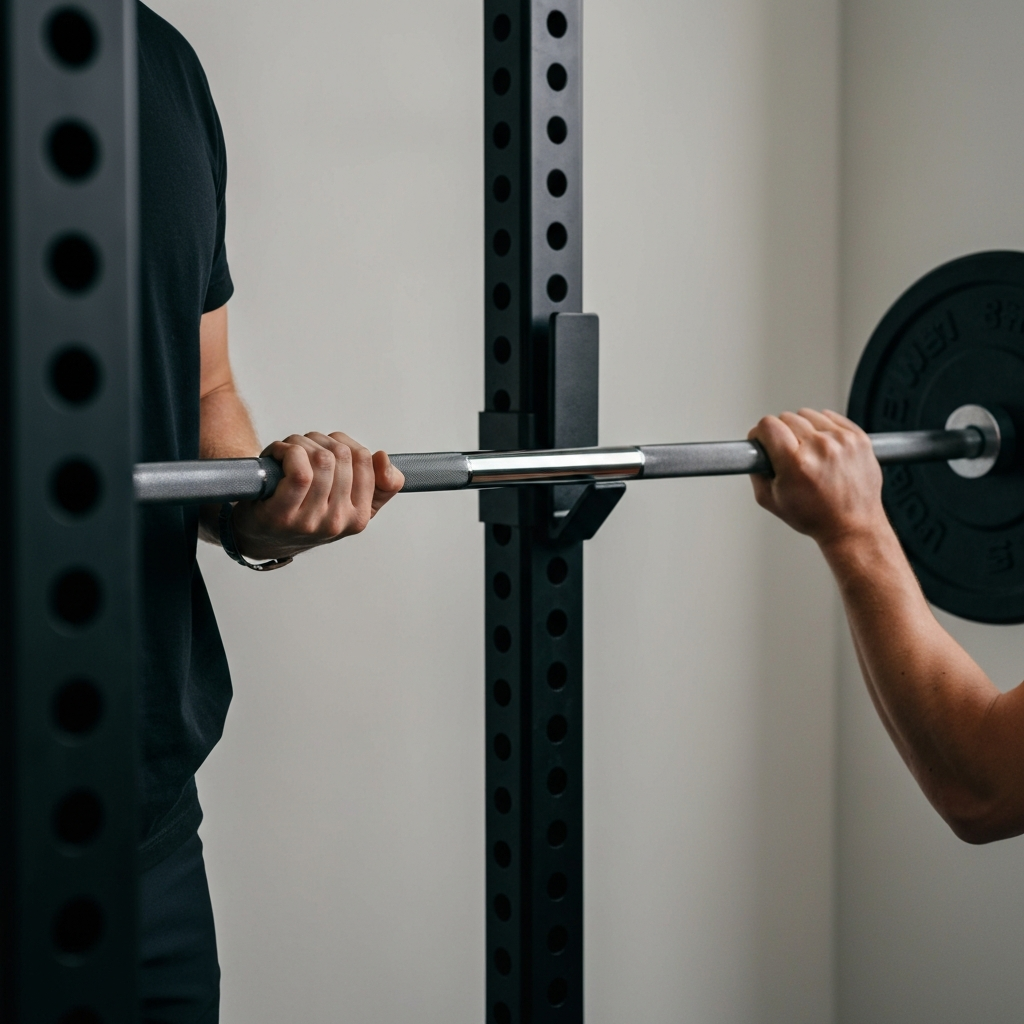
Step 1: Setting Up the Barbell
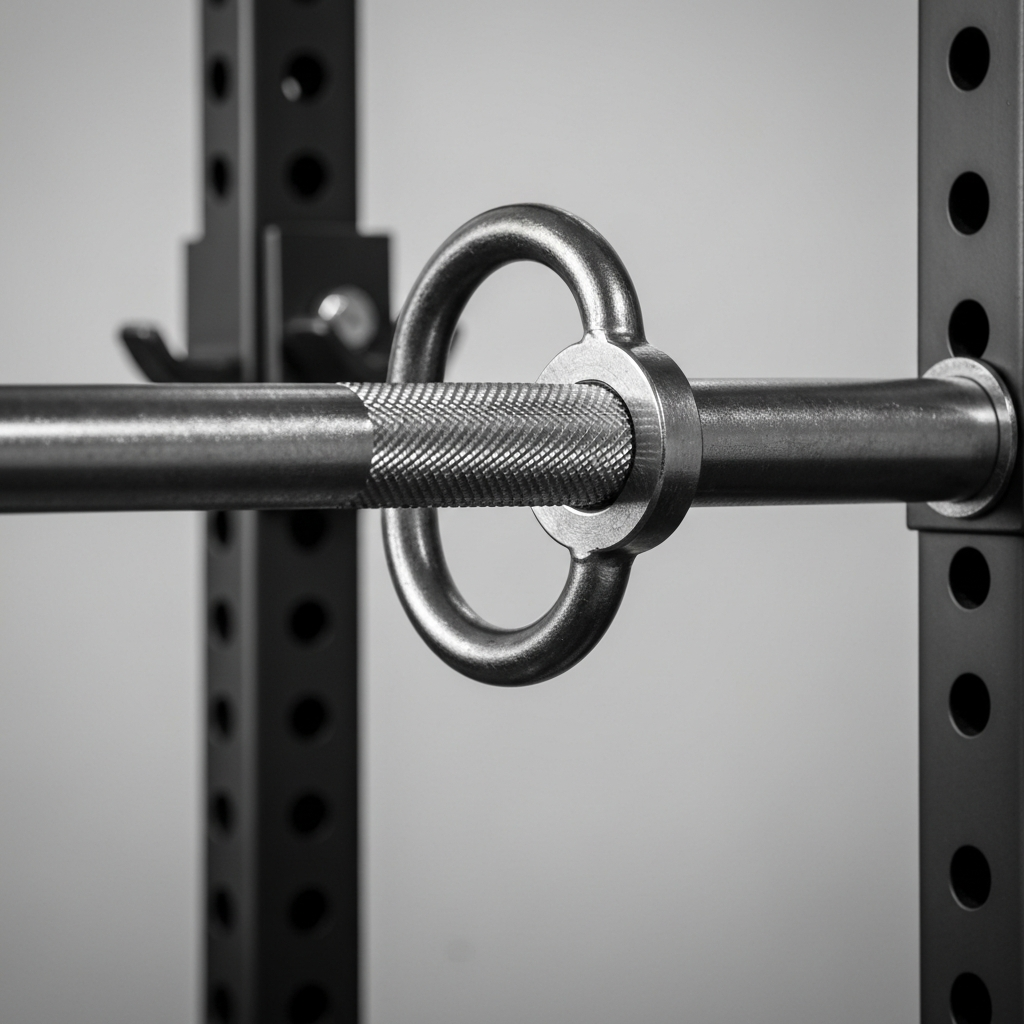
Before you even think about squatting, it's crucial to set up the barbell correctly. Start by ensuring the barbell is securely positioned in a squat rack at a height that allows you to comfortably unrack the weight without having to stand on your toes or excessively duck under the bar. The ideal height will vary depending on your individual height and shoulder mobility. Position yourself facing the barbell with your feet directly underneath the bar. This will allow for a balanced un-racking. Make sure the safety bars are adjusted appropriately so that they catch the weight if you fail a rep.
-
Step 2: Finding the Proper Bar Position
There are two primary bar positions: the high bar and the low bar. The high bar position involves placing the barbell across your upper traps, just below your neck. This position emphasizes the quadriceps. The low bar position places the barbell lower down on your back, across the rear deltoids. This position engages more of the posterior chain (glutes and hamstrings). For beginners, the high bar position is often easier to learn and control. To find the correct position, grip the bar slightly wider than shoulder-width apart, step under the bar, and position it on your traps. Squeeze your shoulder blades together to create a "shelf" for the bar to rest on.
-
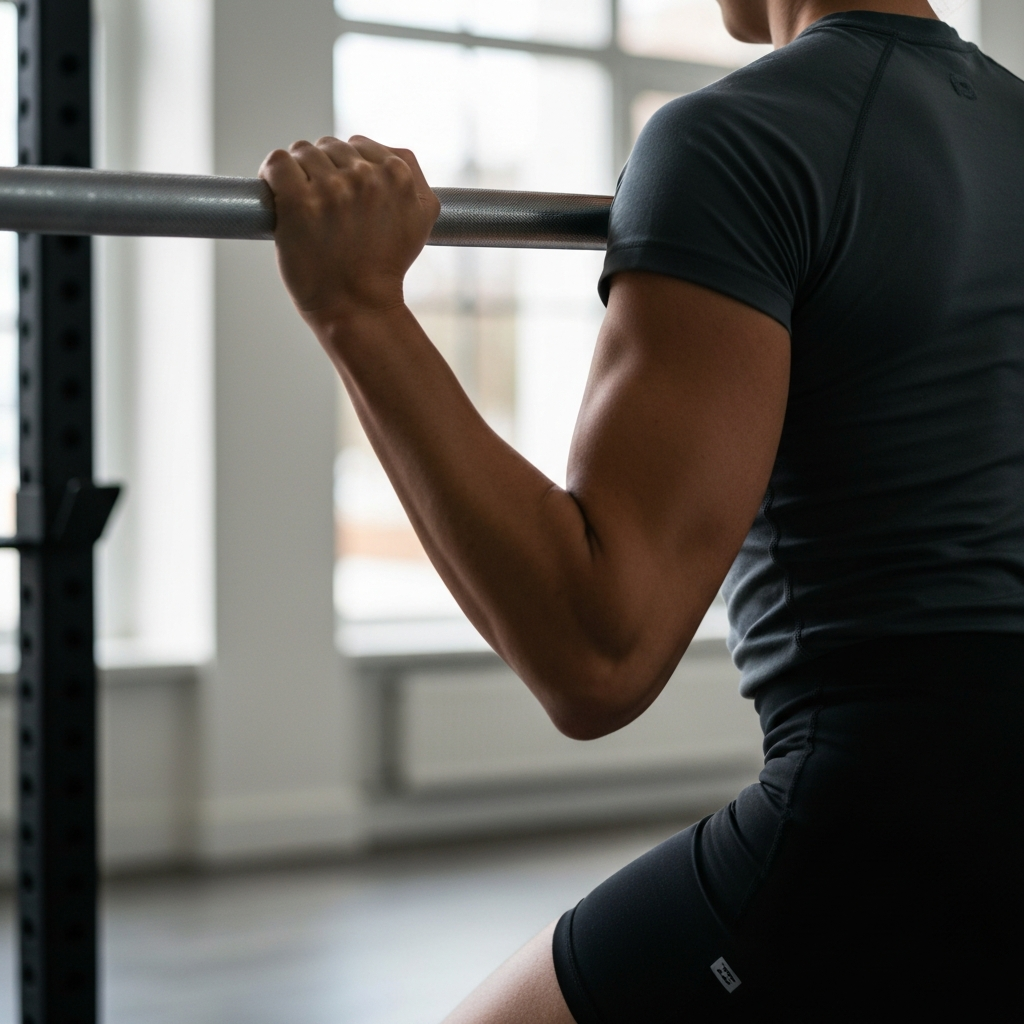
Step 3: Un-racking the Weight
With the bar properly positioned, take a deep breath, brace your core, and stand up to un-rack the weight. Take small, controlled steps backward, ensuring you have enough space to perform the squat. Avoid taking too many steps, as this can compromise your stability and increase the risk of injury. Your feet should be approximately shoulder-width apart, with your toes pointed slightly outward. Maintain a tight core and a neutral spine throughout the entire movement. Before beginning the squat, ensure the weight is balanced and you feel stable.

-
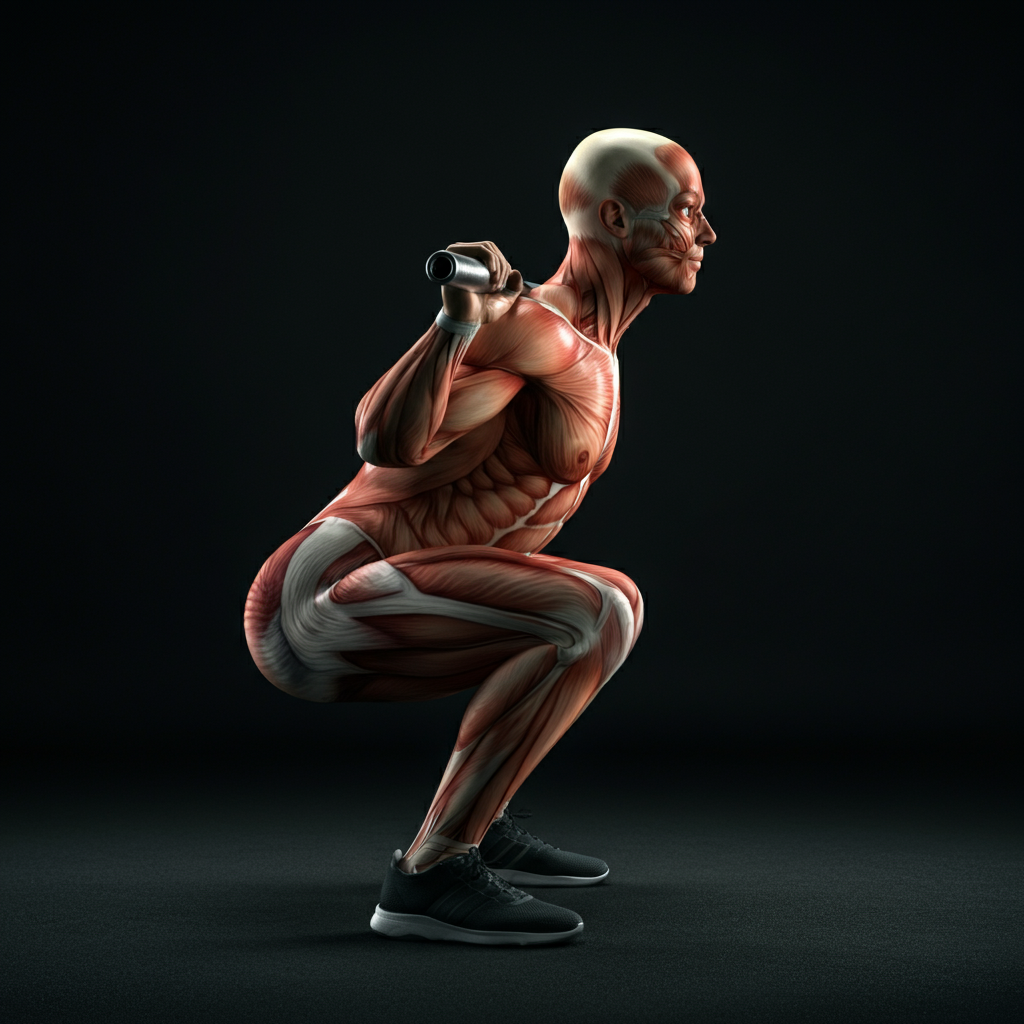
Step 4: Descending into the Squat
Initiate the squat by hinging at your hips and bending your knees simultaneously. Imagine sitting back into a chair, keeping your chest up and your core engaged. Maintain a neutral spine throughout the descent. The depth of your squat will depend on your individual mobility and goals. Aim to reach a point where your hip crease is below your knee, which is considered a full squat. If you lack the mobility to achieve this depth safely, work on improving your flexibility and range of motion. Control the descent, avoiding any sudden drops or bouncing at the bottom of the movement.
-
Step 5: Ascending from the Squat
Once you've reached your desired depth, begin the ascent by driving through your heels and contracting your glutes and quadriceps. Maintain a tight core and a neutral spine as you stand back up to the starting position. Avoid rounding your back or letting your knees cave inward. As you reach the top of the squat, fully extend your hips and knees, but avoid locking your knees. Take another deep breath and prepare for the next repetition. Remember to maintain control throughout the entire movement, both on the way down and on the way up.
-
Step 6: Re-racking the Weight
After completing your set, carefully walk forward towards the squat rack. Position yourself so that the barbell is aligned with the J-hooks. Slowly descend, allowing the barbell to rest securely in the hooks. Avoid simply dropping the weight, as this can damage the equipment and increase the risk of injury. Once the bar is secure, step out from under the bar and allow yourself to recover. Take a few deep breaths and prepare for your next set. Always be mindful of your surroundings and ensure the area is clear before re-racking the weight.
Common Mistakes to Avoid
- Rounding the Back: This is a common mistake that can lead to serious back injuries. Keep your core engaged and maintain a neutral spine throughout the entire movement.
- Knee Valgus (Knees Caving In): This can put excessive stress on your knee joints. Focus on driving your knees outward, keeping them aligned with your toes.
- Not Squatting Deep Enough: Aim to reach a point where your hip crease is below your knee. Squatting too shallow can limit the benefits of the exercise.
- Looking Down: Keep your head up and your gaze focused forward to maintain a neutral spine.
- Lifting Too Much Weight Too Soon: Gradually increase the weight as you get stronger. Focus on mastering proper form before adding more weight.
Safety Considerations
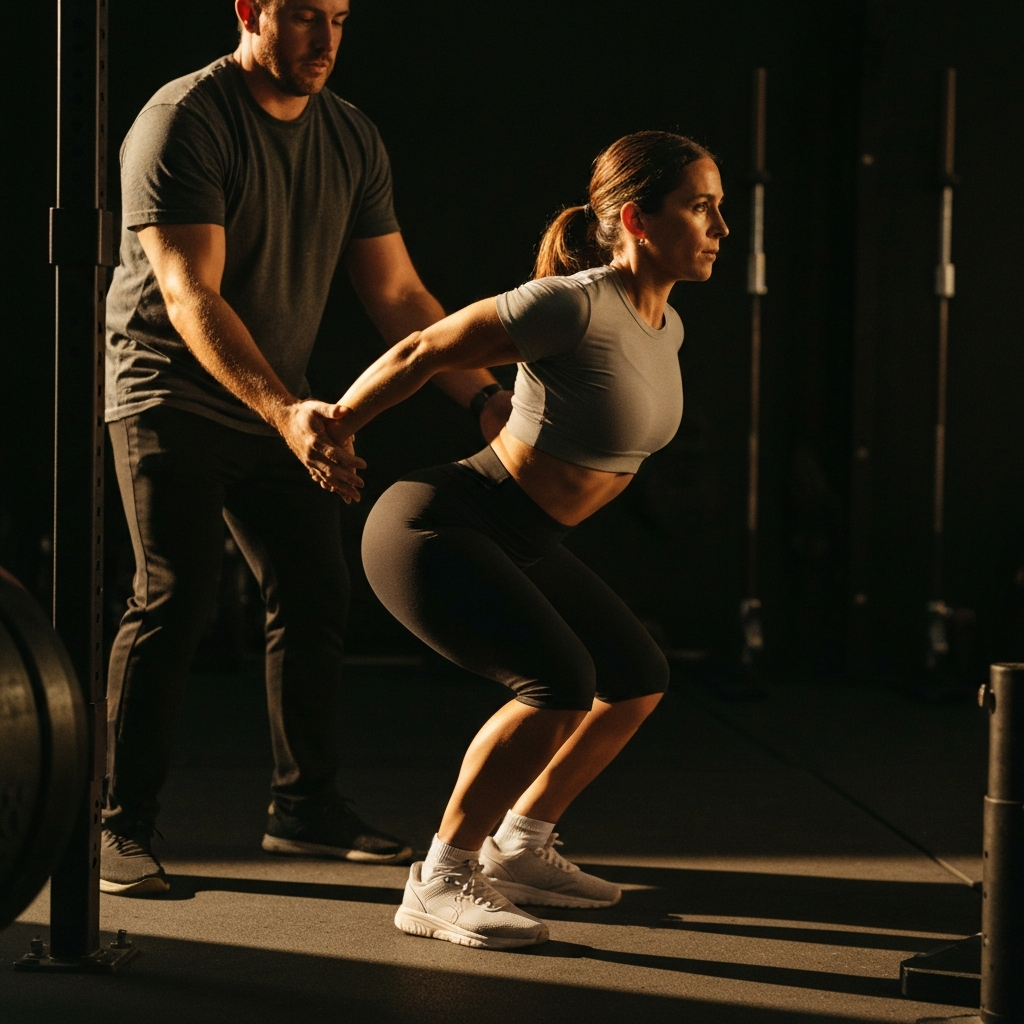
- Always Use a Spotter: Having a spotter can provide assistance if you fail a rep and prevent serious injuries.
- Warm-Up Properly: Before performing back squats, warm up your muscles with light cardio and dynamic stretching.
- Use Proper Footwear: Wear shoes with a flat, stable sole to provide a solid base of support.
- Listen to Your Body: If you experience any pain, stop the exercise and consult with a qualified healthcare professional.
- Wear a Weight Lifting Belt: Using a weightlifting belt can help to keep your core tight and back aligned.
Pro Tips
- Practice your bracing technique by taking a deep breath into your belly and tightening your core muscles as if you're about to be punched in the stomach.
- Visualize the movement before you begin to help improve your focus and coordination.
- Record yourself squatting and review the footage to identify any areas for improvement.
- Experiment with different foot positions and widths to find what feels most comfortable and stable for you.
- Don't be afraid to ask for help from a qualified coach or trainer.
FAQ Section
- How often should I back squat?
- Aim for 2-3 times per week, allowing for adequate recovery between sessions.
- What weight should I start with?
- Start with a weight that allows you to perform the exercise with proper form for the desired number of repetitions. It's better to start too light than too heavy.
- How can I improve my squat depth?
- Work on improving your ankle, hip, and thoracic spine mobility through stretching and mobility exercises.
- What if I don't have access to a squat rack?
- You can perform goblet squats or front squats using dumbbells or kettlebells.
Conclusion
The back squat is a powerful exercise that can significantly improve your strength, power, and overall fitness. By following the steps outlined in this guide and focusing on proper form, you can safely and effectively incorporate back squats into your training routine. Remember to start slow, gradually increase the weight, and listen to your body. With consistent effort and attention to detail, you'll be well on your way to mastering the back squat and reaping its many benefits.