If your HP notebook is experiencing issues like failing to boot, displaying a black screen, or exhibiting other signs of BIOS corruption, a BIOS recovery USB drive can be a lifesaver. The BIOS (Basic Input/Output System) is crucial for starting your computer, and a corrupted BIOS can render your device unusable. This guide provides a detailed, step-by-step process to create a recovery USB drive and use it to restore your HP notebook to a functional state.
This process requires access to a second, working computer with internet access, as you'll need to download the necessary BIOS files from HP's support website. Ensure the secondary computer is also an HP device if possible, to guarantee compatibility with the HP BIOS recovery tool. The following instructions are designed to be clear and comprehensive, enabling even users with limited technical experience to successfully recover their HP notebook's BIOS.
Before starting, understand that improper BIOS flashing can potentially brick your device. Follow each step carefully and double-check all information to minimize risks. This guide aims to provide a safe and effective method for BIOS recovery, but neither the author nor HP is responsible for any damages resulting from improper execution.
Step 1: Gather Necessary Information
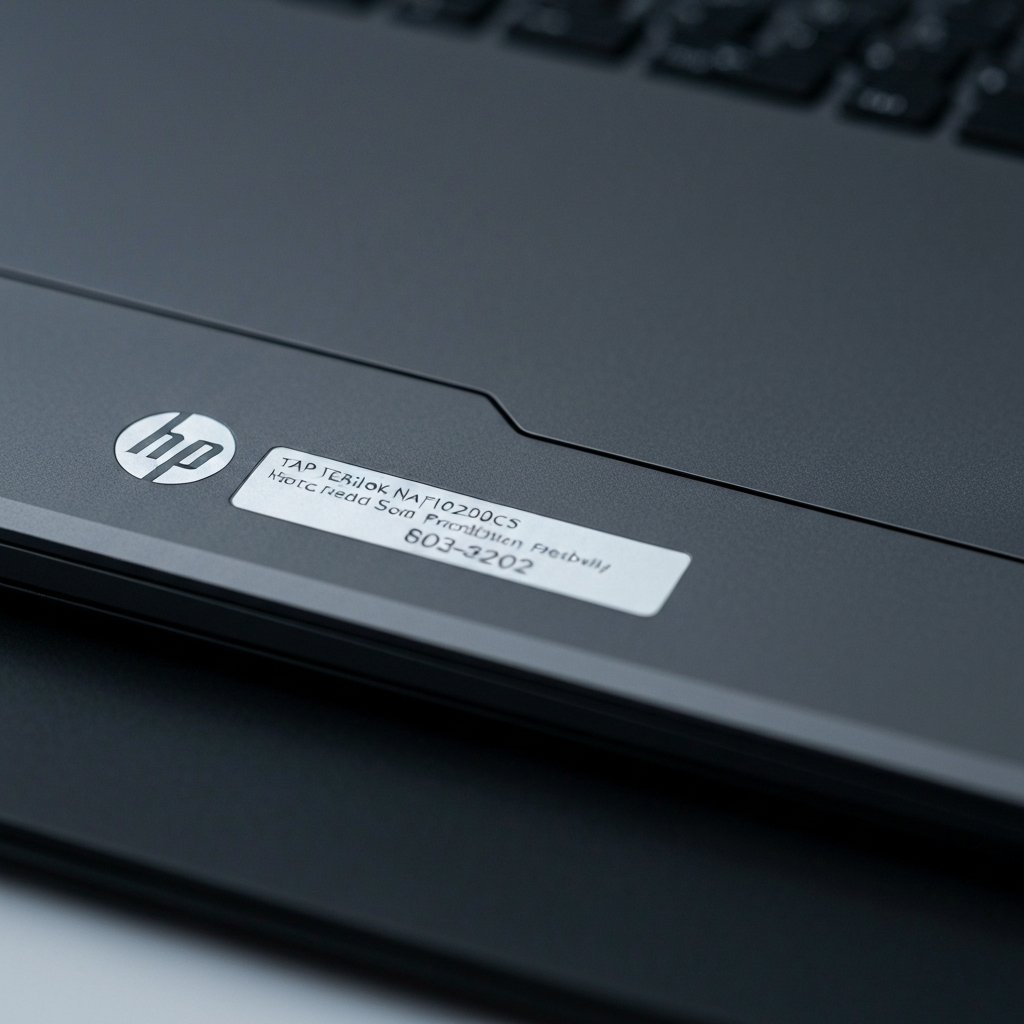
Before you begin creating the recovery USB drive, you'll need to identify the exact model number of your affected HP notebook. This information is crucial for downloading the correct BIOS recovery files. Locate the product number, often found on a sticker on the bottom of the notebook, inside the battery compartment, or on the original packaging. Write this number down as you will need it to navigate the HP support website. Also, note the operating system version (e.g., Windows 10, Windows 11) installed on the notebook, as this may be required during the BIOS download process.
Step 2: Prepare the USB Flash Drive
You'll need a USB flash drive with at least 4GB of storage space to create the recovery drive. It is strongly recommended to use a USB 2.0 drive, as USB 3.0 drives can sometimes cause compatibility issues during the recovery process. Insert the USB flash drive into a USB port on your working computer. Before proceeding, back up any important data on the USB drive, as the process will erase all existing content. Format the drive using the FAT32 file system. This can be done through Windows File Explorer or Disk Utility on macOS.

Step 3: Download the BIOS Recovery Files
Navigate to the official HP Customer Support website (support.hp.com) on your working computer. Use the product number you noted in Step 1 to find the support page for your specific HP notebook model. On the support page, look for the "Software and Drivers" section. Select your operating system from the dropdown menu if prompted. Browse the available drivers and locate the "BIOS" category. Ensure you download the latest BIOS version available, unless you have a specific reason to use an older version. Verify the BIOS update details match your computer specifications to avoid compatibility issues.

Step 4: Install the BIOS Update (on the working computer)
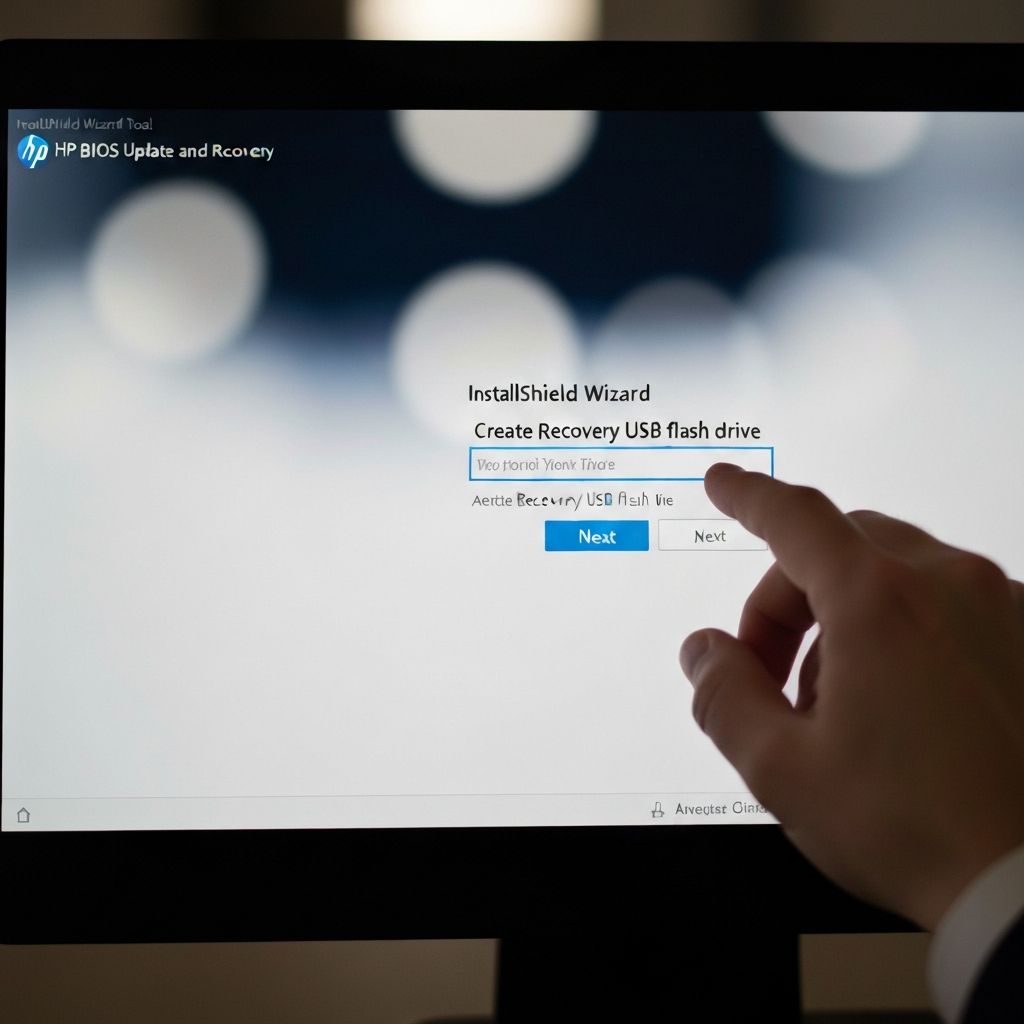
After downloading the BIOS update file, typically an executable (.exe) file, run the downloaded file on your working computer. Follow the on-screen instructions to install the HP BIOS Update and Recovery tool. You may be prompted to accept a license agreement and choose an installation location. Pay close attention to the options presented during installation; the key to creating the recovery drive lies within this tool. During the installation process, look for the option to create a BIOS recovery USB flash drive. This option might be labeled as "Create Recovery Media" or similar.
Step 5: Create the Recovery USB Drive
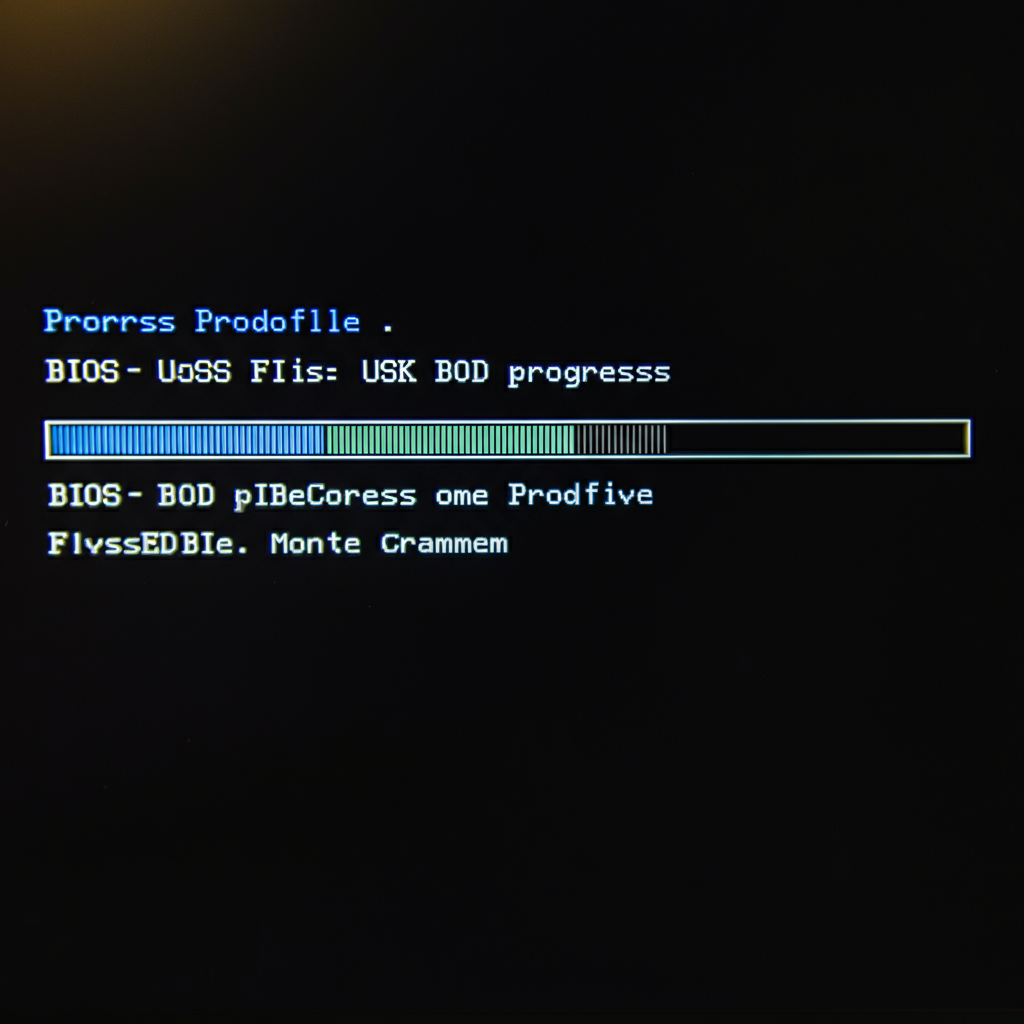
Within the HP BIOS Update and Recovery tool, select the option to create a recovery USB flash drive. Choose the USB drive you prepared in Step 2 as the destination for the recovery files. The tool will copy the necessary BIOS files onto the USB drive, making it bootable and ready for the recovery process. Do not interrupt this process, as it may corrupt the recovery files. A progress bar will indicate the status of the file transfer. Once the process is complete, the tool will notify you that the recovery drive has been created successfully. Safely eject the USB drive from the computer.
Step 6: Initiate BIOS Recovery on the Affected Notebook
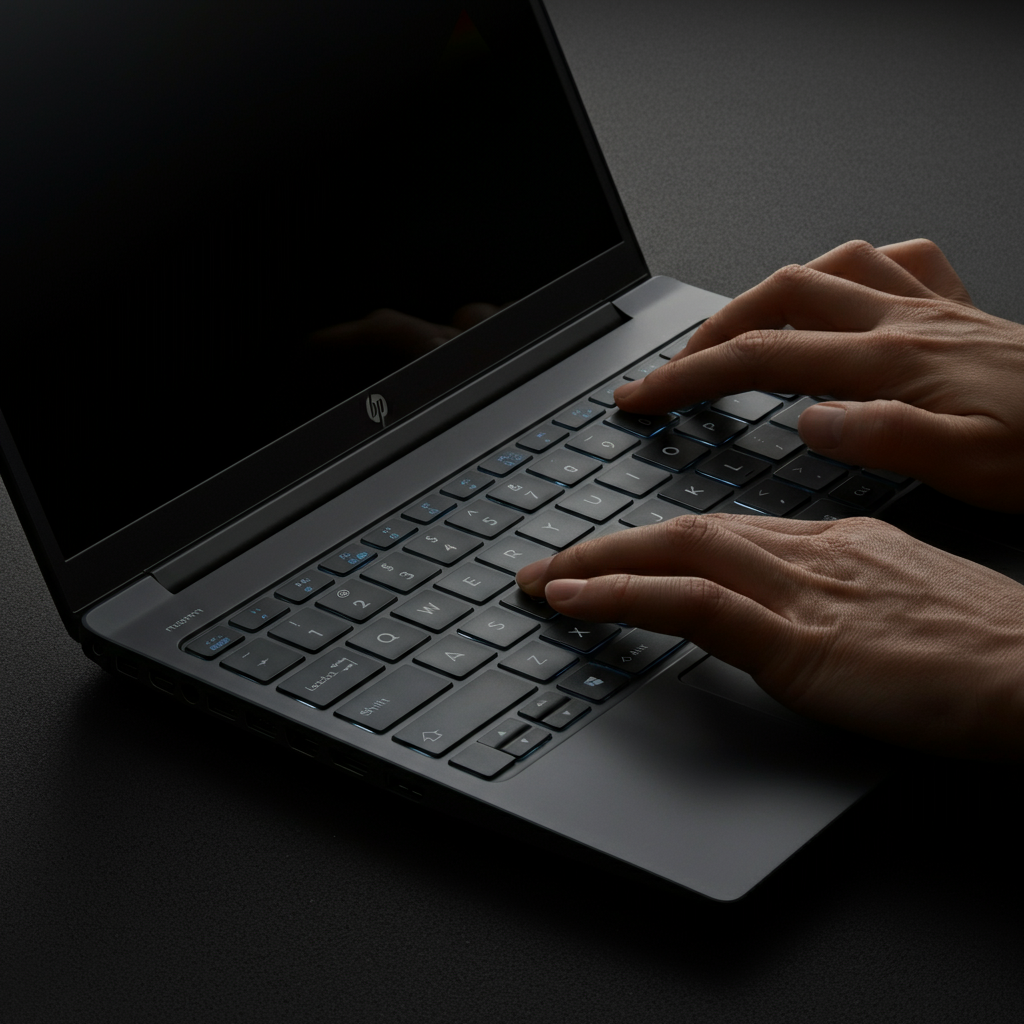
Now, proceed to the affected HP notebook that requires BIOS recovery. Ensure the notebook is completely powered off. Disconnect any peripherals, such as external hard drives or printers. Connect the AC adapter to the notebook, as the recovery process requires a stable power supply. Insert the BIOS recovery USB drive into an available USB port on the notebook. Press and hold the Windows key and the B key simultaneously. While holding these keys, press and hold the power button for one second, then release the power button while continuing to hold the Windows and B keys.
Step 7: Complete the BIOS Recovery Process
After a few seconds, the HP BIOS Update screen should appear. You may hear a series of beeps, indicating that the recovery process has started. The notebook will automatically read the BIOS recovery files from the USB drive and begin flashing the BIOS. Do not interrupt this process under any circumstances. The screen may display progress indicators, and the notebook may restart automatically during the process. Once the BIOS flashing is complete, the notebook will boot into Windows (or the installed operating system). If prompted with a message about improper shutdown or boot problems, follow the on-screen instructions to resolve the error.
Step 8: Verify Successful Recovery
After the notebook has successfully booted, it's essential to verify that the BIOS recovery was successful. Access the BIOS settings by pressing the appropriate key during startup (typically F2, F10, or Esc – refer to your notebook's documentation for the specific key). Check the BIOS version to ensure it matches the version you downloaded and installed. If the BIOS version is correct and the notebook is functioning normally, the recovery process was successful. If you continue to experience issues, contact HP Customer Support for further assistance.
Common Mistakes to Avoid
- Using the wrong BIOS version for your notebook model.
- Interrupting the BIOS flashing process.
- Using a faulty or incompatible USB flash drive.
- Failing to connect the AC adapter during the recovery process.
- Downloading BIOS files from unofficial or untrusted sources.
Pro Tips
- Always back up your important data before attempting a BIOS recovery.
- Use a USB 2.0 flash drive for optimal compatibility.
- Ensure a stable power supply during the entire process.
- Consult the HP support website or documentation for specific instructions for your notebook model.
FAQ Section
- Q: What if the HP BIOS Update screen doesn't appear?
- A: Ensure the USB drive is properly formatted and contains the correct BIOS recovery files. Try using a different USB port or a different USB flash drive. If the issue persists, your notebook may have a more severe hardware problem, and you should contact HP Customer Support.
- Q: Can I use a USB Type-C flash drive?
- A: It is recommended to avoid USB Type-C flash drives, especially on Intel platforms, as they can sometimes cause compatibility issues during the recovery process. Use a standard USB Type-A drive instead.
- Q: What if the BIOS recovery fails?
- A: If the BIOS recovery fails, try repeating the process from the beginning. If the issue persists, your notebook may have a hardware failure, and you should contact HP Customer Support for assistance.
Conclusion
Creating and using a BIOS recovery USB drive can be an effective solution for restoring your HP notebook to a working state after experiencing BIOS corruption. By following the steps outlined in this guide carefully and paying attention to the common mistakes to avoid, you can significantly increase your chances of a successful recovery. Remember to always back up your data and consult the HP support website for specific instructions for your notebook model. If you encounter any issues, don't hesitate to contact HP Customer Support for assistance.