Zentangle is a fascinating art form that combines structured patterns to create beautiful, abstract designs. Applying this technique to a wooden surface adds a unique rustic charm and provides a durable canvas for your artwork. This guide will walk you through the process of creating your own Zentangle masterpiece on wood, from preparing the surface to sealing your finished design.
Whether you're a seasoned artist or a beginner looking to explore a new creative outlet, Zentangle on wood is a rewarding and meditative process. The beauty of Zentangle lies in its simplicity and the freedom it offers to express yourself through repetitive patterns. Get ready to transform a plain piece of wood into a stunning work of art!
This guide offers clear, step-by-step instructions, along with practical tips and advice to ensure your success. Let's dive in!
Step 1: Preparing the Wood Surface
Sanding and Cleaning the Wood
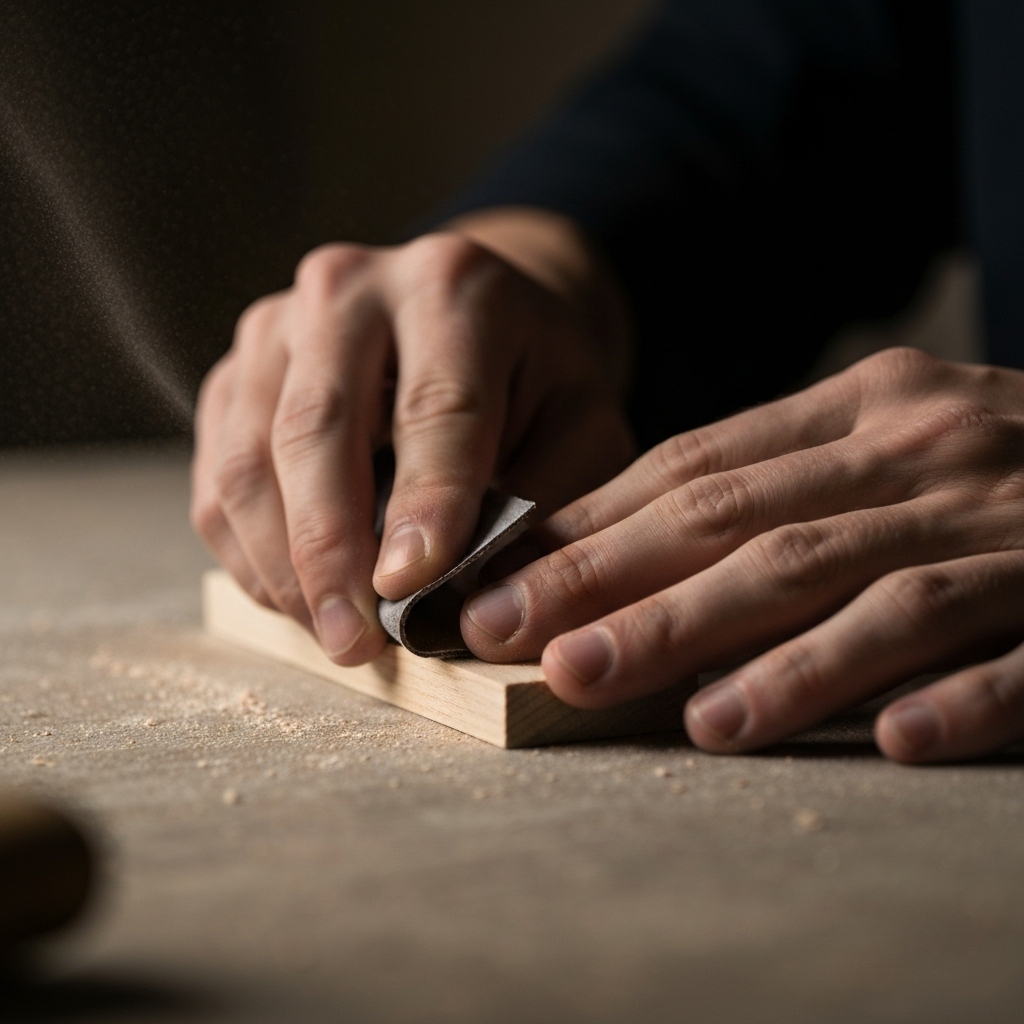
Before you begin any artwork, it's crucial to prepare the wooden surface. Start by using medium-grit sandpaper to smooth out any rough edges or imperfections. Follow up with fine-grit sandpaper for a polished finish. Once sanding is complete, use a clean, dry cloth to remove all sanding dust. Dust particles can interfere with paint adhesion and create a bumpy texture. Consider using a tack cloth for optimal dust removal.
Step 2: Applying a Base Coat (Optional)
Priming for Better Color
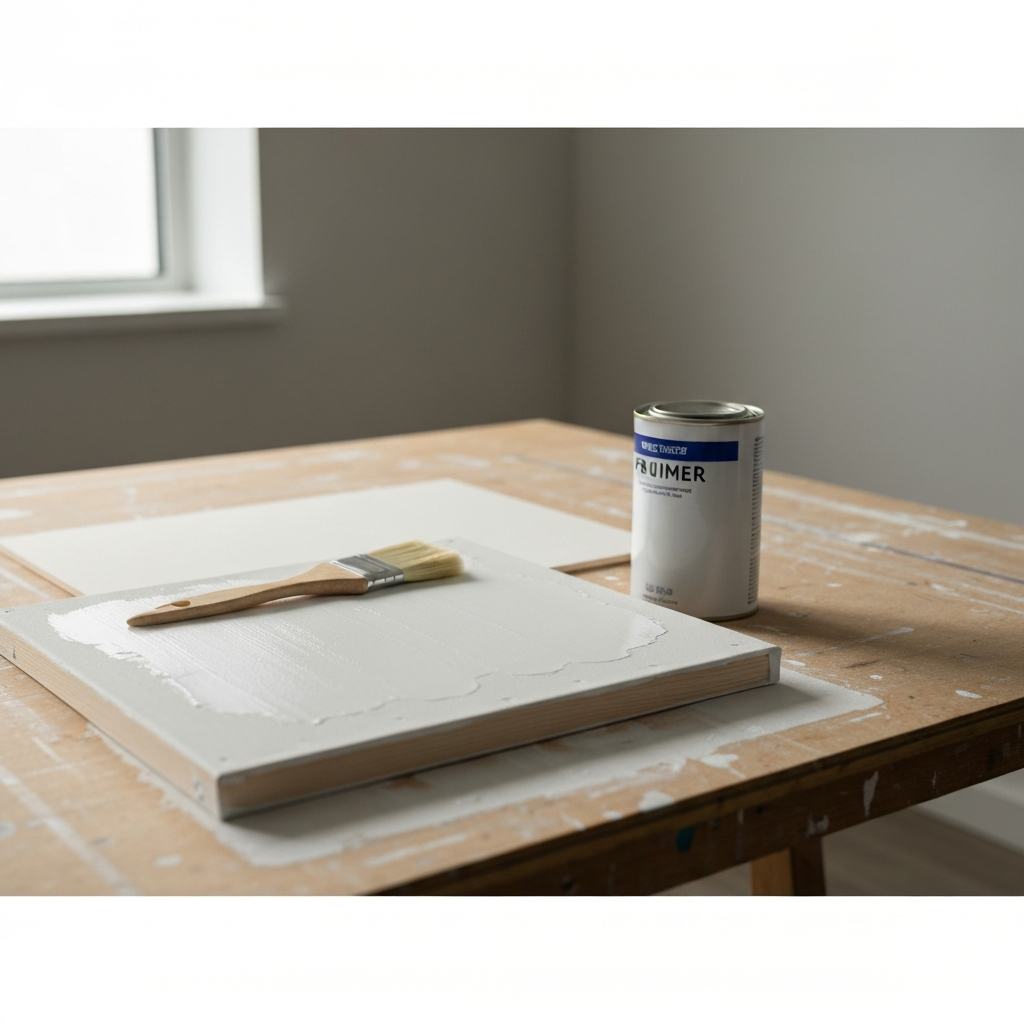
Applying a base coat is an optional step, but it's highly recommended, especially if you're planning to use light-colored paints or want to minimize the visibility of the wood grain. A white or light-neutral primer will provide an even surface for your paint to adhere to, resulting in more vibrant and consistent colors. Apply one to two thin coats of primer, allowing each coat to dry completely before applying the next. Ensure the primer is fully dry to prevent the paint from peeling or cracking later on.
Step 3: Painting the Wood Blank
Creating the Background
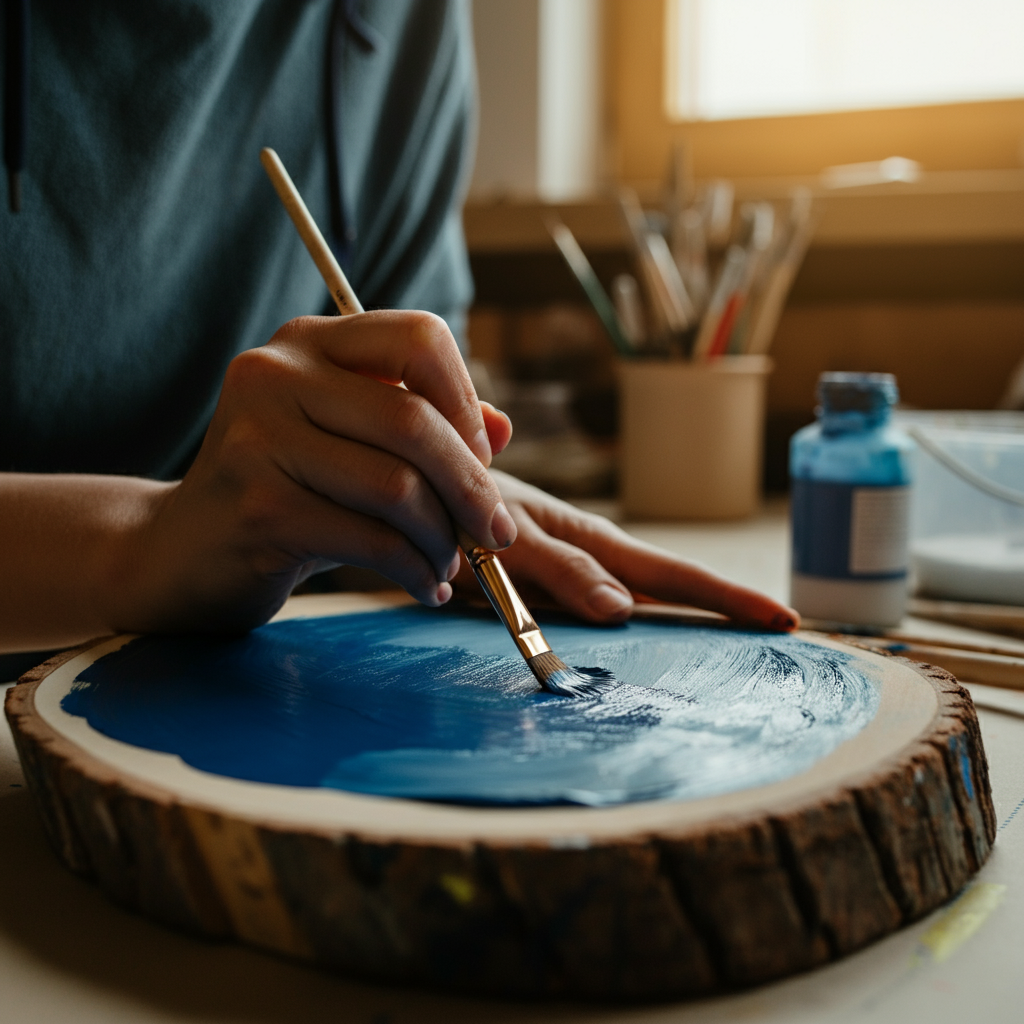
Now it's time to add color to your wooden canvas! Choose your desired paint color and apply it in thin, even coats. Allow each coat to dry completely before applying the next. The number of coats needed will depend on the paint's opacity and your desired level of coverage. For a more professional look, consider using artist-quality acrylic paints. Avoid applying thick coats of paint, as this can lead to drips and uneven drying.
Step 4: Adding Depth and Dimension (Optional)
Enhancing the Visual Appeal
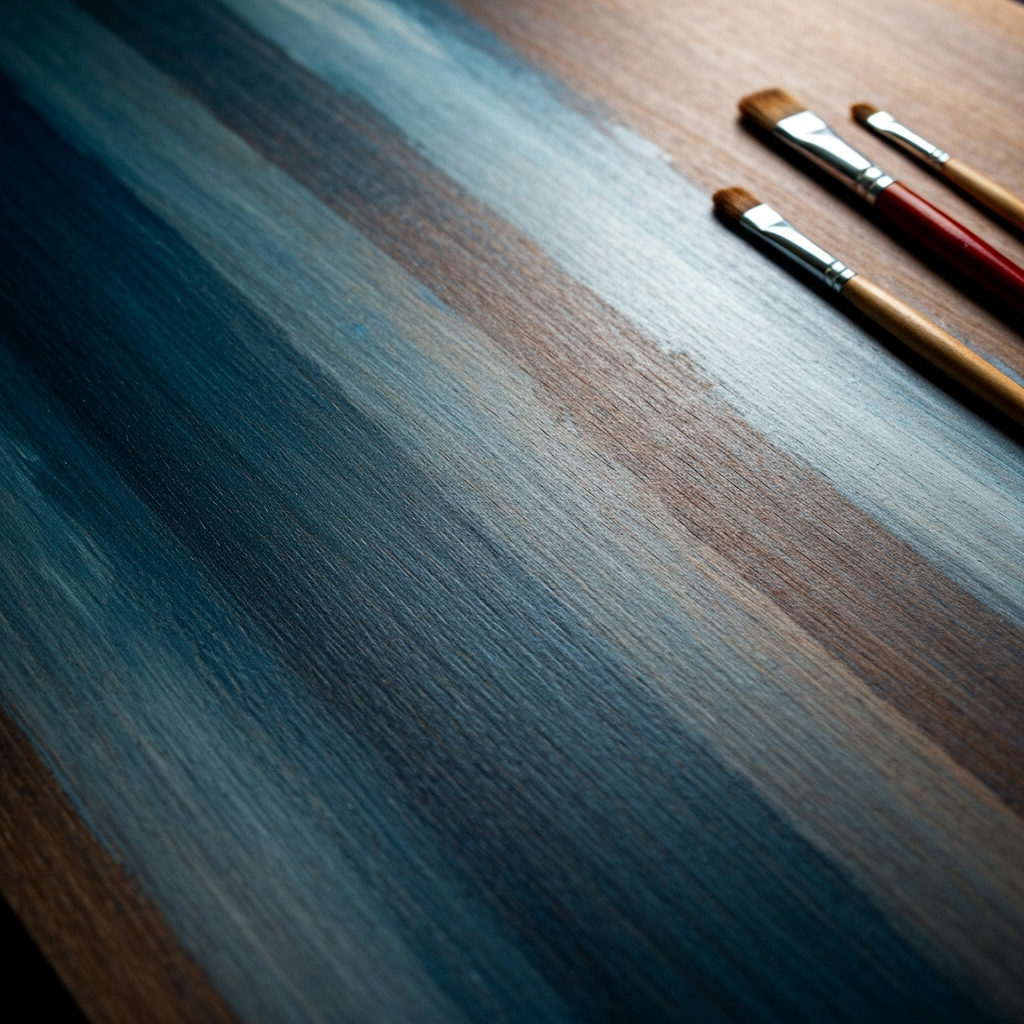
To create visual interest and depth, consider blending lighter or darker shades of your chosen color into various parts of the painted wood. You can also experiment with different painting techniques, such as dry brushing or stippling, to add texture and character. This is your chance to get creative and personalize your artwork! Remember that this step is optional, and you can skip it if you prefer a flat, uniform background.
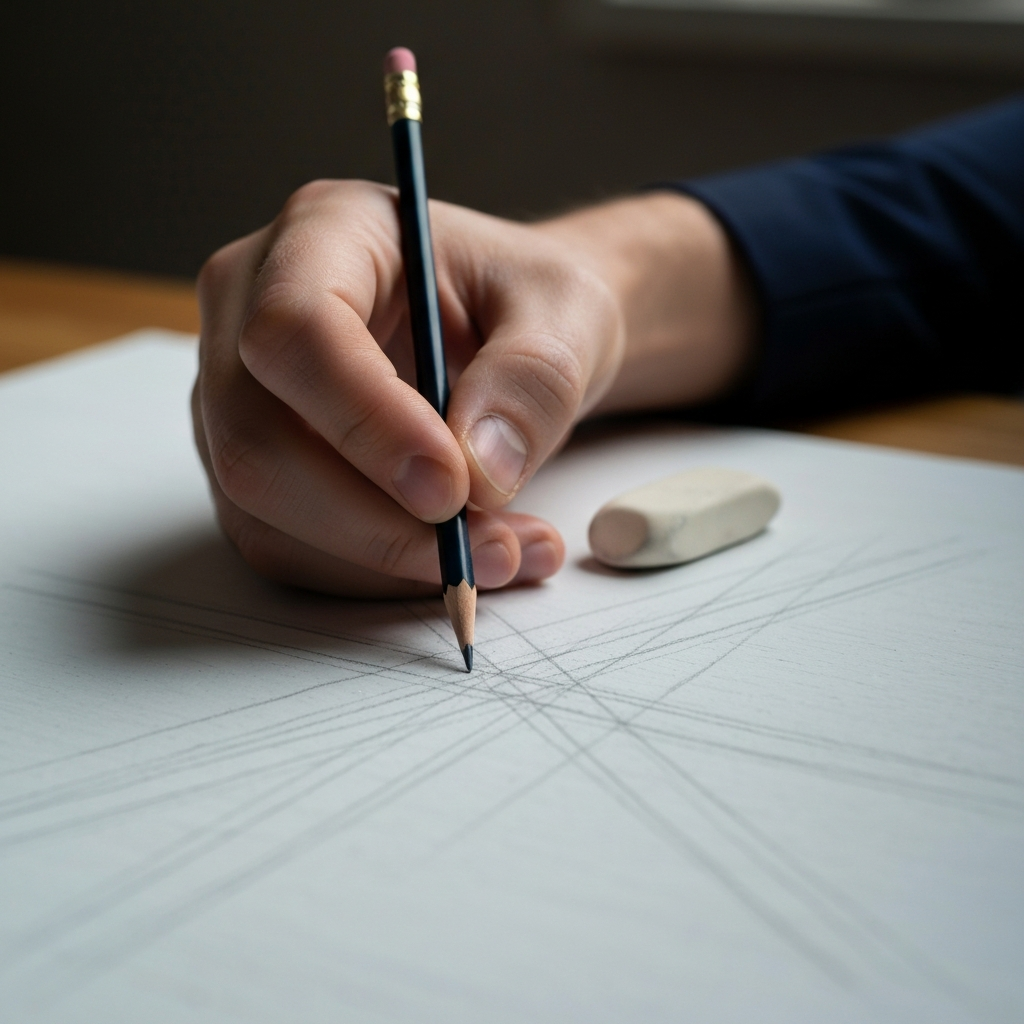
Step 5: Drafting the Zentangle Design with Pencil
Creating the Foundation
Before committing to permanent ink, use a pencil to sketch out your Zentangle design. Begin by drawing large, intersecting lines across the board to create sections. These lines will serve as the framework for your patterns. Don't be afraid to experiment with different line weights and curves. This is a crucial step in planning your design. Lightly sketch your design so that the pencil marks are easy to erase later.
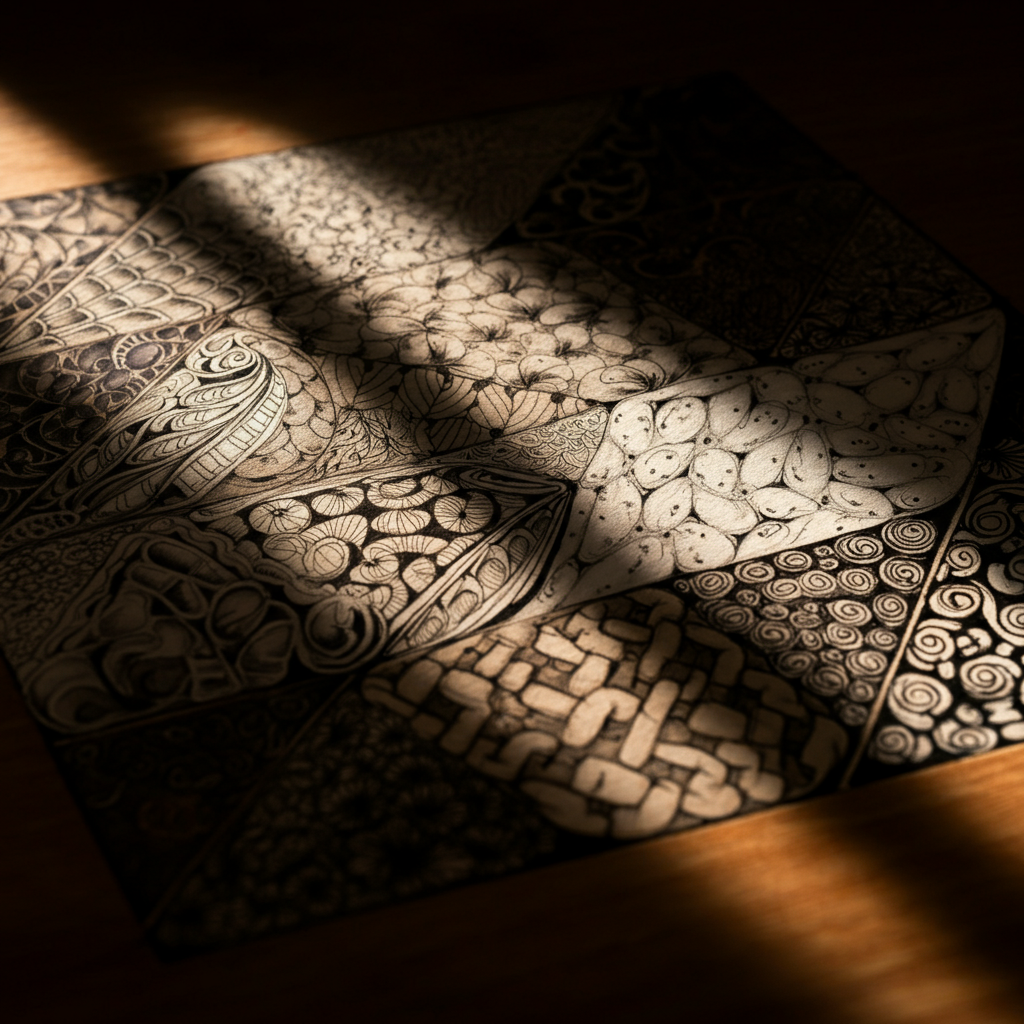
Step 6: Adding Detailed Lines and Shapes
Filling the Spaces
Now, fill in the spaces created by your intersecting lines with detailed patterns and shapes. This is where the magic of Zentangle truly comes to life! Use a variety of lines, curves, and geometric shapes to create intricate and visually appealing designs. There are no rules in Zentangle; let your creativity guide you! Consider researching different Zentangle patterns online for inspiration.
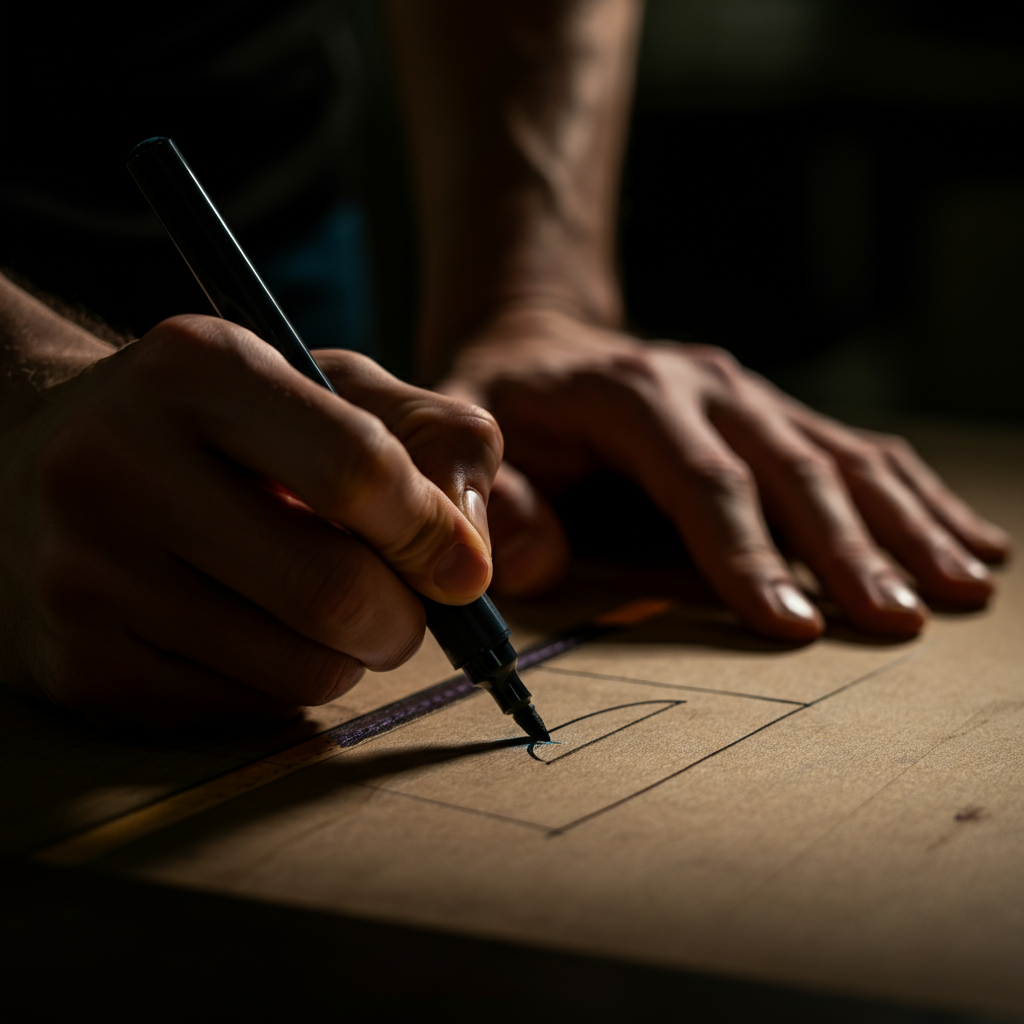
Step 7: Tracing the Design with Permanent Marker
Defining the Artwork
Once you're satisfied with your pencil sketch, it's time to trace over your design with permanent markers. Use different sizes of markers to create variations in line weight and emphasize certain elements of your design. Be patient and take your time to ensure clean, crisp lines. Consider using archival-quality markers to prevent fading over time. A fine-tipped marker is essential for detailed work.
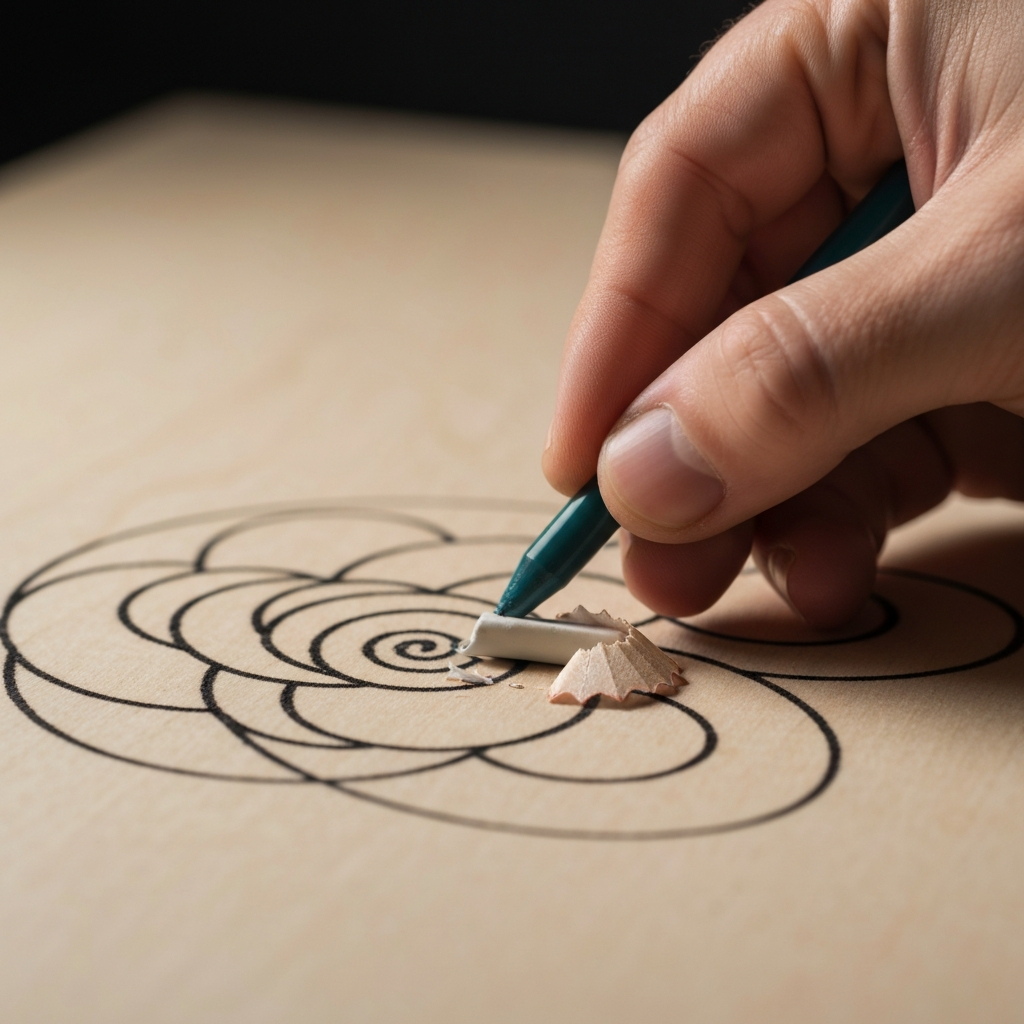
Step 8: Erasing Pencil Marks and Cleaning Up
Perfecting the Design
After you've finished outlining your design with permanent marker, carefully erase any remaining pencil marks. Use a soft eraser to avoid smudging the ink. Inspect your artwork closely to ensure that all pencil marks are completely removed. This is also a good time to touch up any marker lines that need refinement. Be gentle when erasing to avoid damaging the paint or ink.
Step 9: Wiping Down the Board
Preparing for Sealing
Before sealing your artwork, use a clean, dry cloth to wipe down the board and remove any eraser shavings or dust particles. A clean surface is essential for proper sealant adhesion and a smooth, professional finish. Even the smallest dust particle can create imperfections in the final sealed coat.
Step 10: Applying a Clear Coat to Seal the Artwork
Protecting the Creation
To protect your artwork from damage and ensure its longevity, apply a clear coat sealant. Choose a sealant that is compatible with both acrylic paint and wood. Apply the sealant in thin, even coats, allowing each coat to dry completely before applying the next. The number of coats needed will depend on the sealant's instructions and your desired level of protection. Consider using a matte finish to reduce glare. Always follow the sealant manufacturer's instructions carefully.
Step 11: Hanging or Displaying Your Design
Showcasing the Finished Piece
Once the sealant is completely dry, your Zentangle art piece on wood is ready to be displayed! Use command strips for lightweight pieces, or consider adding a sawtooth hanger for heavier creations. Find a prominent spot in your home to showcase your artwork and enjoy the fruits of your labor. Consider the lighting in your display area to enhance the visual impact of your artwork.
Tools or Materials Required
- Wooden blank (various shapes and sizes)
- Sandpaper (medium and fine grit)
- Clean cloths
- Primer (optional)
- Acrylic paints (various colors)
- Paintbrushes (various sizes)
- Pencils
- Eraser
- Permanent markers (various sizes)
- Clear coat sealant
- Command strips or sawtooth hanger
Common Mistakes to Avoid
- Skipping surface preparation
- Applying thick coats of paint
- Using incompatible sealant
- Not allowing sufficient drying time between coats
- Using low-quality materials
Safety Considerations
- Work in a well-ventilated area when using paints and sealants.
- Wear a dust mask when sanding wood.
- Protect your work surface with a drop cloth.
- Dispose of paint and sealant containers properly.
Pro Tips
- Experiment with different color combinations and patterns.
- Use stencils to create more complex designs.
- Consider adding embellishments, such as beads or glitter.
- Seal your artwork with multiple thin coats for maximum protection.
Conclusion
Creating Zentangle art on wood is a rewarding and meditative process that allows you to transform a simple wooden blank into a stunning work of art. By following the steps outlined in this guide, you can create your own unique Zentangle masterpiece that will be cherished for years to come. Remember to be patient, experiment with different techniques, and most importantly, have fun! The possibilities are endless!